
Setting up your Valheim server comes down to three things: a machine to run it on, the right ports open, and a handful of config values set correctly. You can do all three yourself with SteamCMD, or skip the machine part entirely and let a host manage it for you. Either way, the steps underneath are the same, and this guide walks through both paths.
In this guide, you’ll learn how to set up your Valheim server from a completely blank slate, whether that’s your own PC, a rented VPS, or a managed game panel. We’ll walk through the exact steps, from installing the dedicated server files, to configuring your world and ports, to making yourself admin and getting your crew connected. By the end, you’ll have a live Valheim server, full admin control over it, and a plan for keeping it backed up and online while you’re off fighting Yagluth.
Want to skip the SteamCMD install entirely? Physgun’s Valheim server hosting deploys a ready-to-configure server in seconds and gives you a full console, File Manager, and automated Backups from the Physgun Gamepanel, no command line required.
Picking Where Your Valheim Server Will Run
Before you install anything, decide where the server lives. You’ve got three real options:
- Your own PC. Free, but the world only stays up while that PC is on and awake. Close the game or put the machine to sleep and everyone gets disconnected.
- A rented VPS or dedicated box. Always on and fully under your control, but you’re responsible for the OS, security patches, and every config file yourself.
- A managed Valheim host. The provider handles the machine, the OS, and the panel. You just configure the world and invite people.
Valheim supports up to ten players by default, including the host. Compatible mods can raise that cap, but hardware, bandwidth and mod compatibility still affect performance. Physgun does not charge per player: the Viking, Eikthyr, and Deathsquito tiers are sized by how big and built-out your world gets, and every tier runs on overclocked Ryzen 9 7900X hardware with DDR5 and NVMe storage. If you’d rather rent bare hardware and install Valheim yourself, dedicated server hosting gets you the box without the game panel.
Setting Up A Valheim Dedicated Server Through The Physgun Gamepanel
If you’re hosting through Physgun, the install is already done for you. You’re just configuring a server that’s already running.
To set up your Valheim server through the panel:
- Order a Valheim plan and pick a data center near you (Chicago or London). Instant Setup means your server deploys on dedicated hardware within seconds of checkout.
- Head to the Physgun Gamepanel and select your new server.
- On the left side of the screen, open Config Editor and set your world name, server name, and password.
- Save your changes and start the server from the console panel.
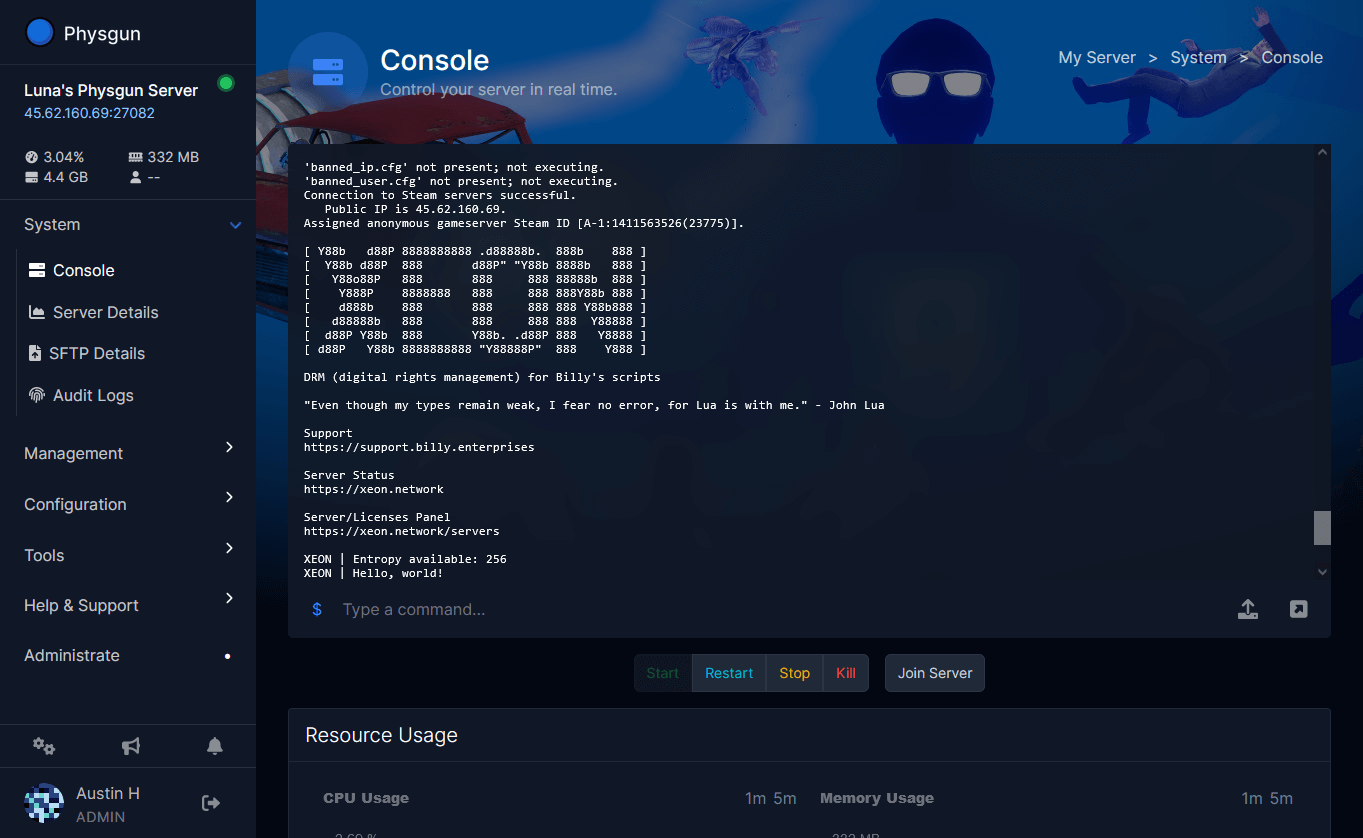
- Watch the console output (the panel’s True Console streams it live from the server) for the line confirming the world has generated and the server is listening for connections.
- If you don’t see that line within a minute or two, check the console for an error instead of restarting blindly. Most first-boot failures are a bad value in the config, not a broken server.
- Editing configs from your phone works fine too. The File Manager is browser-based with full root access, so there’s nothing to install locally.
That’s genuinely it. No port forwarding, no SteamCMD, no router settings, since the host’s network already routes traffic to your server correctly.
Setting Up A Valheim Dedicated Server Manually
Installing SteamCMD And The Server Files
Valheim’s dedicated server is a free download through Steam, separate from the regular game. To install it manually:
- Install SteamCMD on the machine that will run the server. Windows and Linux both work.
- Open a terminal and log in anonymously:
login anonymous. - Set your install directory:
force_install_dir ./valheim-server. - Download the dedicated server files:
app_update 896660 validate. - Wait for SteamCMD to report the update as complete.
Configuring Launch Parameters
The dedicated server reads its settings from launch flags, not a settings menu. On Windows, you’ll edit start_headless_server.bat; on Linux, start_server.sh.
| Flag | What it sets |
|---|---|
| -name | Server name shown in the browser |
| -port | Base UDP port (default 2456) |
| -world | World save name |
| -password | Server password, 5+ characters, no spaces |
| -public | 1 to list it in the server browser, 0 to hide it |
A typical launch line looks like this:
valheim_server.exe -nographics -batchmode -name "My Server" -port 2456 -world "MyWorld" -password "yourpassword" -public 1Starting The Server
Run the batch or shell script. Leave the window open, closing it kills the server. On Linux, run it inside screen or tmux so it survives you closing the SSH session.
- Short passwords get silently rejected by newer Valheim builds. If players can’t connect, check your password length first.
Opening The Right Ports
This is the step that trips up almost everyone hosting from home. Valheim needs three consecutive UDP ports open and forwarded to the server’s local IP, starting at whatever you set with -port. With the default of 2456, that’s 2456, 2457, and 2458.
To open them:
- Log into your router’s admin page and find the port forwarding section.
- Forward UDP ports 2456 through 2458 to your server machine’s local IP address.
- Set that machine’s local IP to static, so the forward doesn’t break when your router hands out a new address.
- Test with an online UDP port checker, or just have a friend try to connect.
- Some ISPs use carrier-grade NAT, where you don’t have a real public IP to forward to at all. If port forwarding doesn’t work no matter what you try, that’s usually why, and no router setting fixes it.
None of this applies on managed hosting. A Physgun server sits behind an Anycast Network that routes each player to the nearest edge node and already has the right ports open, so you skip the router entirely.
Making Yourself Admin
Being admin lets you use server commands like kick, ban, and save. Valheim reads admin rights from a plain text file, not an in-game menu.
To make yourself admin:
- Find your Steam64 ID from your Steam profile URL or a site like steamid.io.
- Open adminlist.txt in your server’s save folder. On Physgun, do this through File Manager instead of SFTP, no client needed.
- Add your Steam64 ID on its own line.
- Save the file and restart the server for the change to take effect.
- Once connected, open chat and type /help to see the commands your admin rights unlock.
- Running a server with friends? Instead of handing out full admin, Physgun’s Subusers feature lets you give trusted people limited panel access, like restart and console rights, without giving them your login.
Connecting To Your Server
Players can join through Steam’s in-game server browser by searching your server name, or by direct connect using your IP and port. Direct connect is faster once your group already knows the address.
Crossplay works when it’s enabled on your dedicated server, letting PC and Xbox players share the same world through the crossplay flag. Console support has shifted as Valheim has updated, so confirm current crossplay behavior for your platform mix before you promise your group a specific setup.
- Running mods? Modded Valheim servers run BepInEx server-side, and your world files are the .fwl and .db pair in the save folder, both of which move cleanly from a local co-op world to a dedicated server if you copy them over.
Backing Up Your World Before You Change Anything
Valheim’s world files corrupt more easily than people expect, usually from a crash mid-save or a bad mod update. Back up before any risky change: a config edit, a mod install, or a big server update.
Manually, that means copying the .fwl and .db files out of the save folder to somewhere else before you touch anything. On Physgun, Backups does this automatically on a schedule, plus you can trigger a manual backup right before a mod install and restore it in a couple of clicks if something breaks.
- Moving a world between machines? SFTP access uses the same credentials as SSH, so you can pull your save files down or push them to a new server without learning a new tool.
Keeping Your Server Running Well
A server that boots is only half the job, it also needs to stay fast and stay up. A few things matter more than people expect:
- Restart on a schedule. Valheim’s memory usage climbs the longer a world stays loaded, especially with a lot of base building. Physgun’s Scheduler handles a nightly restart without you needing to be awake for it.
- Watch tick time, not just player count. A laggy server usually means the tick rate is dropping, not that the CPU is maxed out. The panel’s Live Server Profiling shows CPU load, memory, and tick time live, so you catch it before players start complaining.
- Let crash recovery do its job. If the server process crashes, automated crash recovery restarts the affected service within seconds on Physgun, instead of you finding out from an angry Discord message.
- Don’t underestimate DDoS risk on a public listing. A public Valheim server is a real target for griefers. Physgun’s DDoS protection uses positive-security filtering, only traffic it already knows is legitimate for the game gets through.
- Made a change you don’t remember making? Audit Logs record every file upload, restart, and console action with who and when, which saves a lot of guessing when something breaks after a group session.
Troubleshooting Your First Boot
Most first-time setup problems fall into a short list:
| Symptom | Likely cause |
|---|---|
| Server shows in browser but times out on connect | Ports aren’t actually forwarded, or CGNAT is blocking a real public IP |
| Friends can’t find the server in the browser | -public isn’t set to 1, or the server hasn’t finished its first boot |
| Server crashes right after loading the world | Corrupted save file, restore from your last backup |
| Password rejected on connect | Password is too short or contains a space |
| Mods cause an immediate crash | Version mismatch between BepInEx and the mod, check the mod’s changelog |
If none of that explains it, check the console output first. It almost always names the exact problem. If you’re stuck, Physgun’s support is reachable on Discord for quick questions or through the client-portal ticket system for anything account-specific, and it’s staffed by people who actually play the games they host.
Getting Your Valheim World Live
Setting up your Valheim server really only has three moving parts: get the server files running somewhere, open the right ports, and configure the world before you invite anyone. Take the manual route if you want full control over the machine, or skip straight to configuring a world if you’d rather not manage ports, backups, and crash recovery yourself. Whichever way you go, back up before every risky change and keep an eye on tick time, not just player count, once people start building.
If you want the machine and the network handled for you, Physgun’s Valheim server hosting sets up your server in seconds, includes automated backups and DDoS protection by default, and comes with a 3-day money-back guarantee if it’s not the right fit.