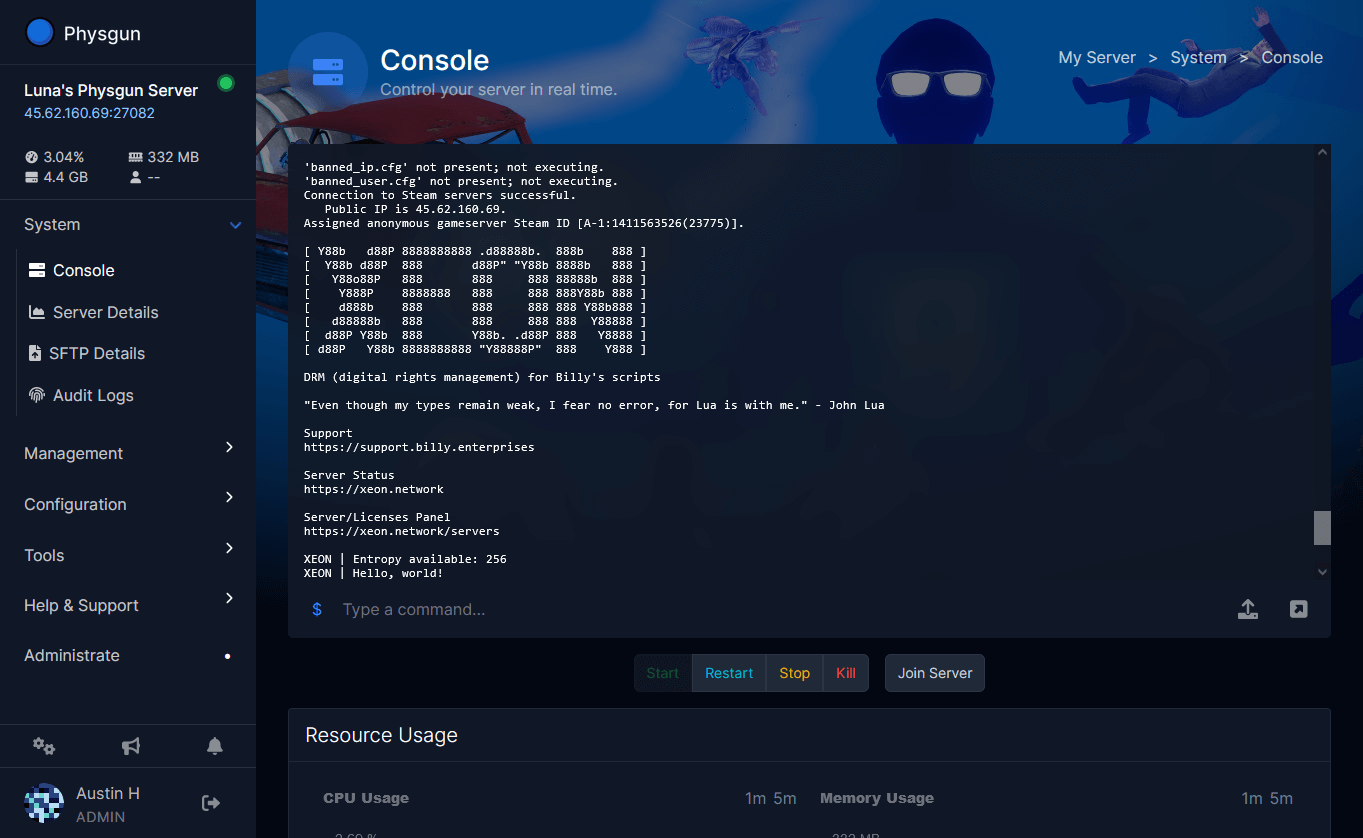
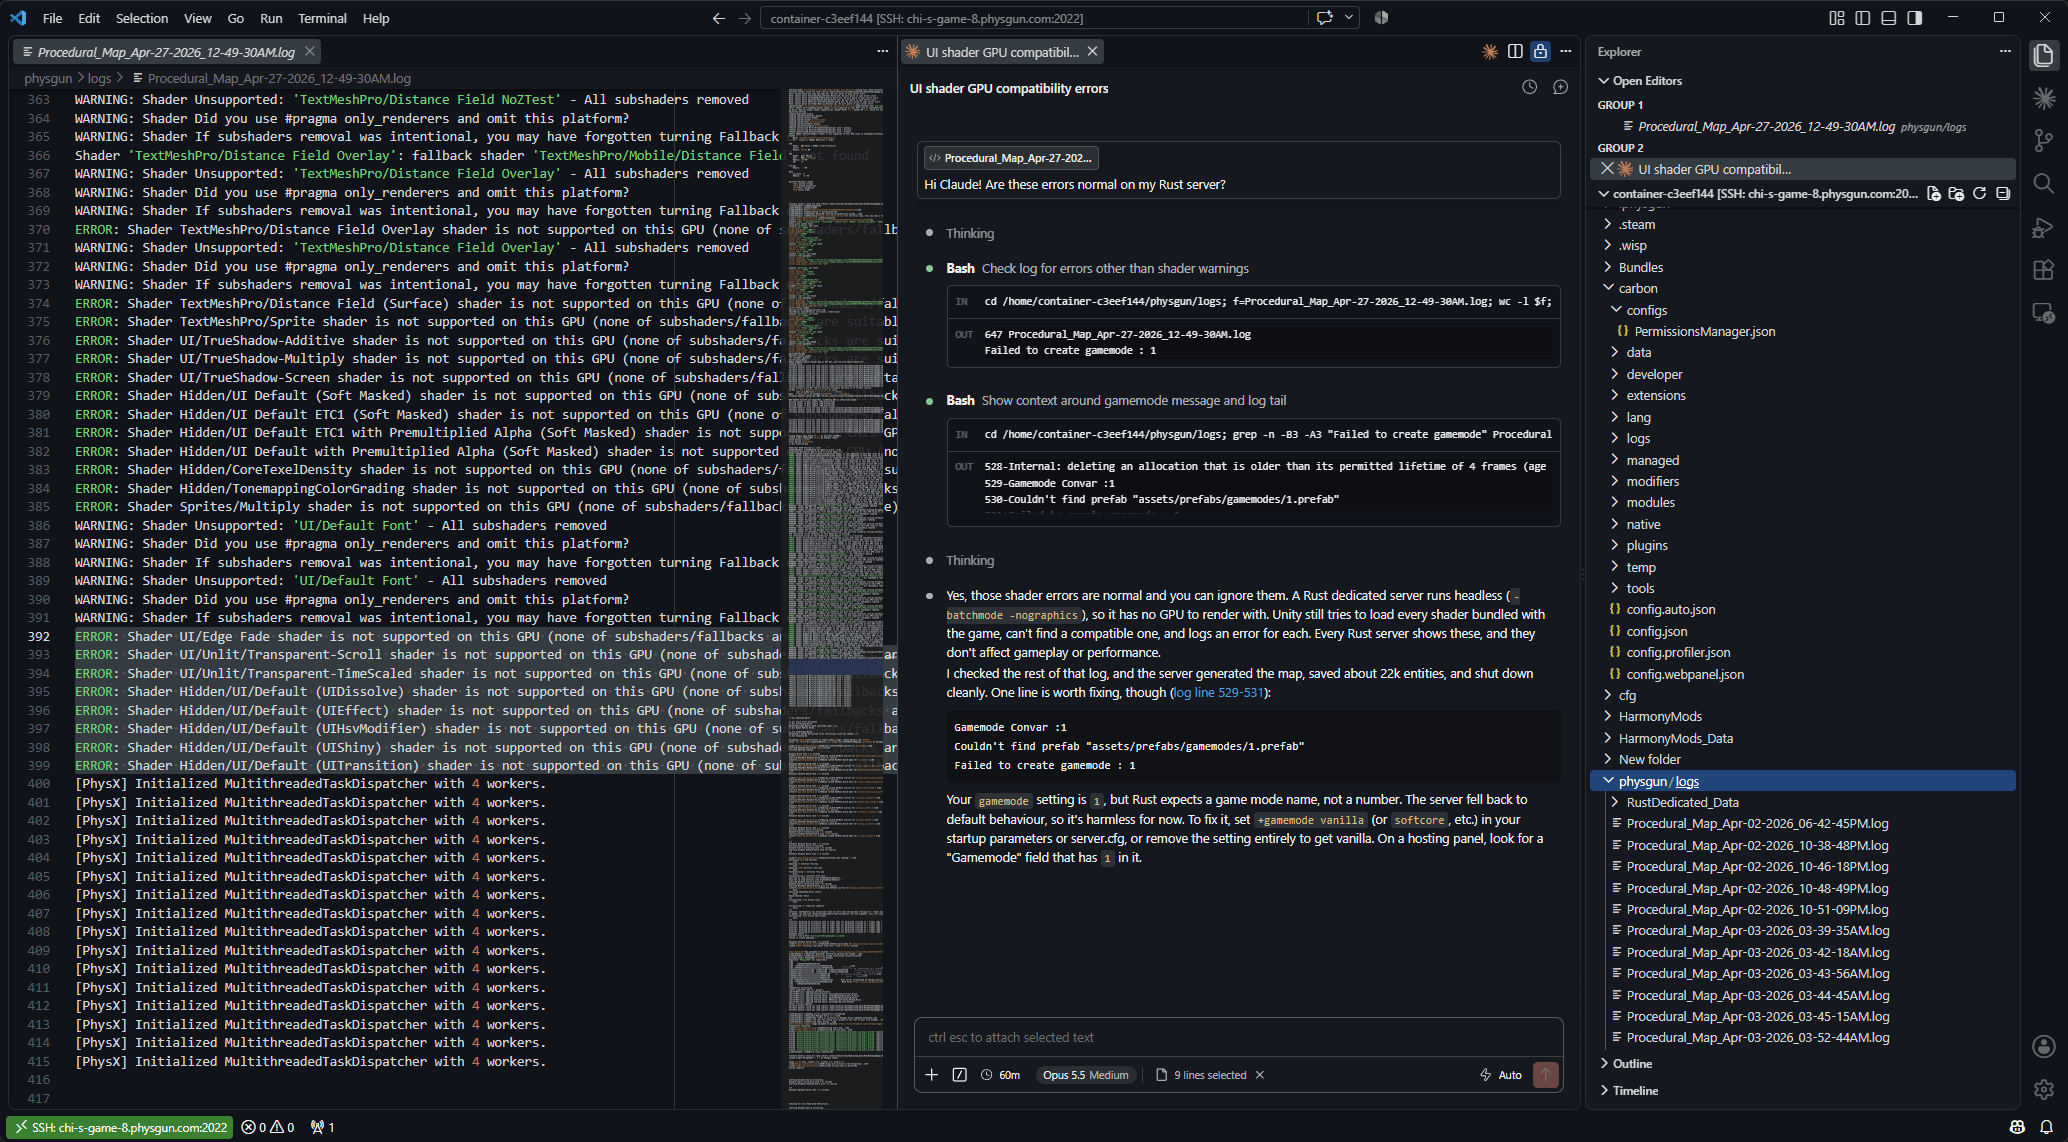
After rolling out our much loved Physgun exclusive SSH & VS Code feature, we’ve noticed a new workflow that server owners are enjoying with it: recruiting the help of Al harnesses such as Claude Code and OpenAl’s Codex to help manage their server’s files and settings.
This wields server owners with a sharp tool that can save countless hours of work in managing & building your server. If you were already asking Claude or ChatGPT questions about how to fix a plugin on your Rust server, how to change the tickrate of your Garry’s Mod server, or simply to understand why your server is spamming 1,000s of errors throughout the night… instead, with Physgun, you can simply give the AI of your choice full context of your server’s files and settings; no more back and forth copy & pasting into the chat box, just ask and ye shall receive!
This is completely free of charge, and all Physgun customers can enjoy this functionality. You sign in with your own OpenAI or Claude account; nothing goes through us, and you can make use of your existing subscriptions to these services.
How to use Codex with your Physgun server
- Access your server on the Physgun Game Panel
- Click “SSH Details” in the sidebar
- Click the “Launch VS Code SSH” or “Launch IDE SSH” button
- Pick which IDE you use. If you’ve never installed an IDE before, we highly recommend VS Code.
- Wait for your IDE to launch and connect.
- When prompted, choose “Linux” as the remote operating system.
- When prompted, enter the password for your Physgun Game Panel account.
- Wait for VS Code to set up in your game panel account, this can take 1-10 minutes, so please be patient. This only happens the first time you connect.
- Once launched - welcome to your server files, and your own VS Code environment! Let’s install the Codex extension.
- Click “Extensions” in the sidebar, or press CTRL+SHIFT+X
- Type Codex into the search bar.
- Install the Codex extension from OpenAI.
- Click on one of your server’s files to open it, then click the Codex icon in the top right.
- Sign in with your OpenAI account.
- You can now enjoy vibe coding your Physgun server 😉 Your conversations with Codex are saved in your persistent home folder, so you can come back to them later if you ever take a break.
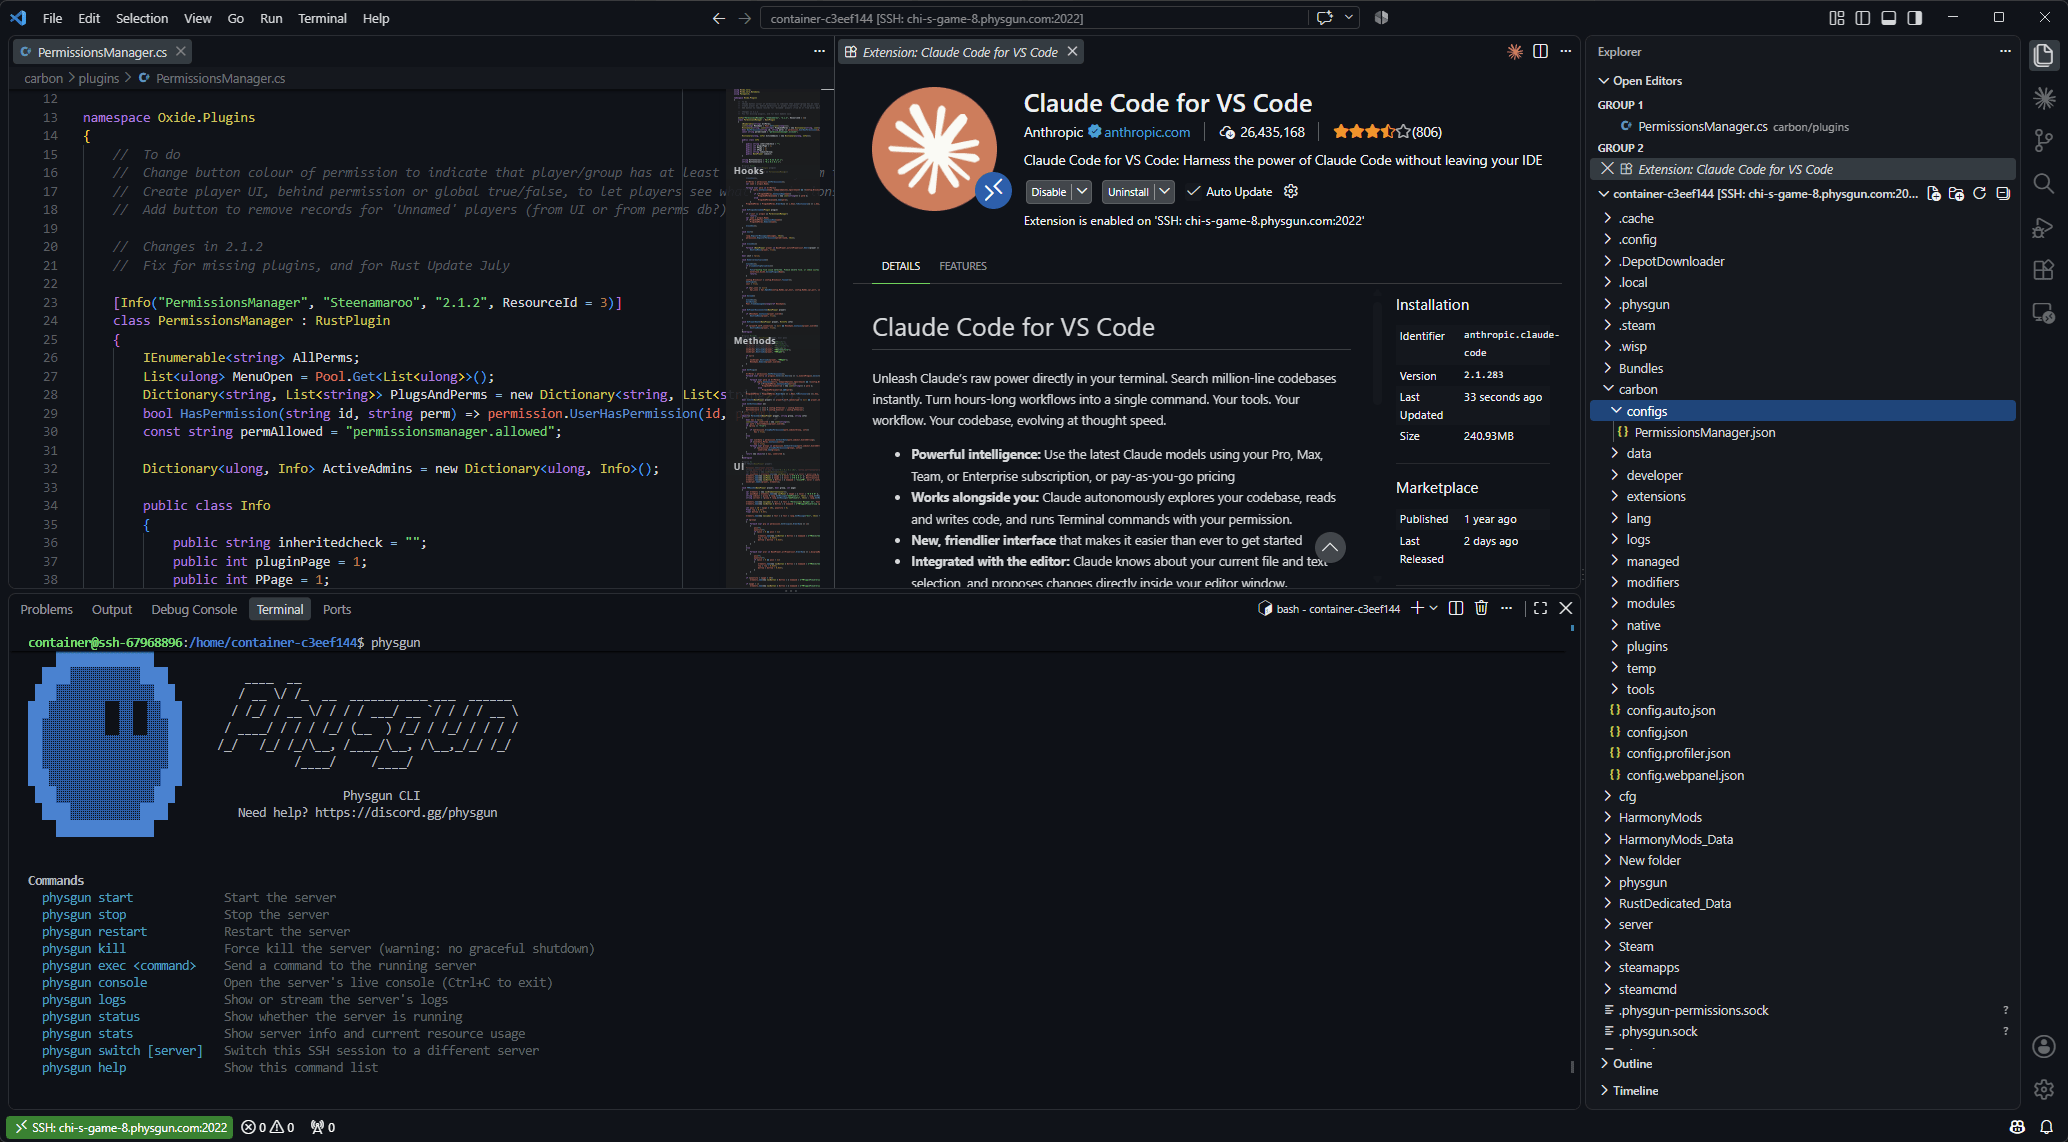
How to use Claude Code with your Physgun server
- Access your server on the Physgun Game Panel
- Click “SSH Details” in the sidebar
- Click the “Launch VS Code SSH” or “Launch IDE SSH” button
- Pick which IDE you use. If you’ve never installed an IDE before, we highly recommend VS Code.
- Wait for your IDE to launch and connect.
- When prompted, choose “Linux” as the remote operating system.
- When prompted, enter the password for your Physgun Game Panel account.
- Wait for VS Code to set up in your game panel account, this can take 1-10 minutes, so please be patient. This only happens the first time you connect.
- Once launched - welcome to your server files, and your own VS Code environment! Let’s install the Claude Code extension.
- Click “Extensions” in the sidebar, or press CTRL+SHIFT+X
- Type Codex into the search bar.
- Install the Claude Code extension from Anthropic.
- Click on one of your server’s files to open it, then click the Claude icon in the top right.
- Sign in with your Anthropic account.
- You can now enjoy vibe coding your Physgun server 😉 Your conversations with Claude are saved in your persistent home folder, so you can come back to them later if you ever take a break.
Prefer to use the CLI?
Some advanced users may prefer to use the CLI interface of Claude Code or Codex. We totally support this too.
If you’re reading this, we’ll assume you know what you’re doing! Installing and using the Claude Code CLI or Codex CLI with your Physgun server is just as easy as using the VS Code extensions.
- Access your server on the Physgun Game Panel
- Click “SSH Details” in the sidebar
- If you want to just work with a raw terminal over an SSH client, click “Launch SSH” - otherwise, you can also use VS Code (or a supported IDE that supports an integrated terminal) via the “Launch VS Code SSH” or the “Launch IDE SSH” button. You can skip any IDE-related steps below if you clicked “Launch SSH”.
- Wait for your IDE/SSH client to launch and connect.
- When prompted, enter the password for your Physgun Game Panel account. Alternatively, you can also add an SSH key to your account on the game panel.
- On VS Code/IDE, when prompted, choose “Linux” as the operating system.
- Wait for VS Code or your IDE to set up in your game panel account, this can take 1-10 minutes, so please be patient.
- Once launched/connected - welcome to your server files, and your own IDE environment! Let’s install your preferred CLI.
- If you’re using VS Code or an IDE, open a new integrated terminal (yes - that just works!)
- Install your preferred CLI using one of the installers below:
Codex
curl -fsSL https://chatgpt.com/codex/install.sh | shClaude Code CLI
curl -fsSL https://claude.ai/install.sh | bash- Follow any instructions from the CLI installer scripts.
- Type
claudeorcodexto access your preferred CLI. - Sign in to your OpenAI/Anthropic account.
- You can now enjoy vibe coding your Physgun server 😉 Your conversations with Claude/Codex are saved in your persistent home folder, so you can come back to them later if you ever take a break.
Coming Soon: Physgun MCP
We’ll soon be rolling out the Physgun MCP server, which will be preinstalled in your SSH/VS Code environment. This will greatly extend Claude or GPT’s abilities to help you manage your server, enabling it to autonomously perform actions that you’d normally have to do from the panel, for example, setting your server’s startup options, combing through your audit logs for crash logs, stopping/starting/restarting your server, viewing/watching its current logs, and more!
When that comes, we’ll be sure to push out an announcement on our Discord!