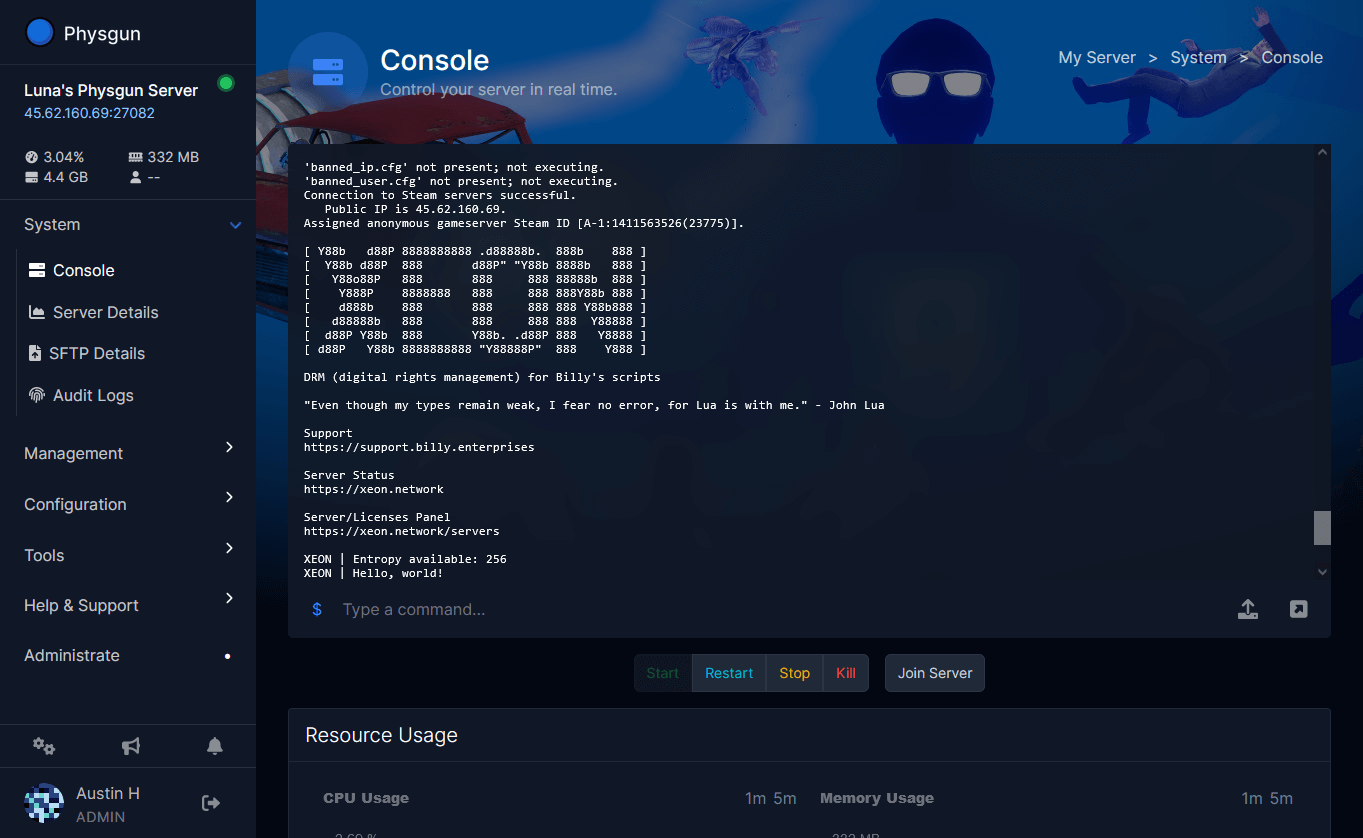

Migrating a game server can be a daunting task, especially if you’re worried about losing files or having to reconfigure everything from scratch. That’s why Physgun’s Server Importer is designed to automate as much of the process as possible, allowing you to transfer your server with just a few clicks.
Whether your current host supports a direct panel-to-panel transfer or you need to connect over SFTP, this guide will walk you through importing your server and making sure it’s ready to play once the transfer is complete.
Finding and Navigating the Server Importer
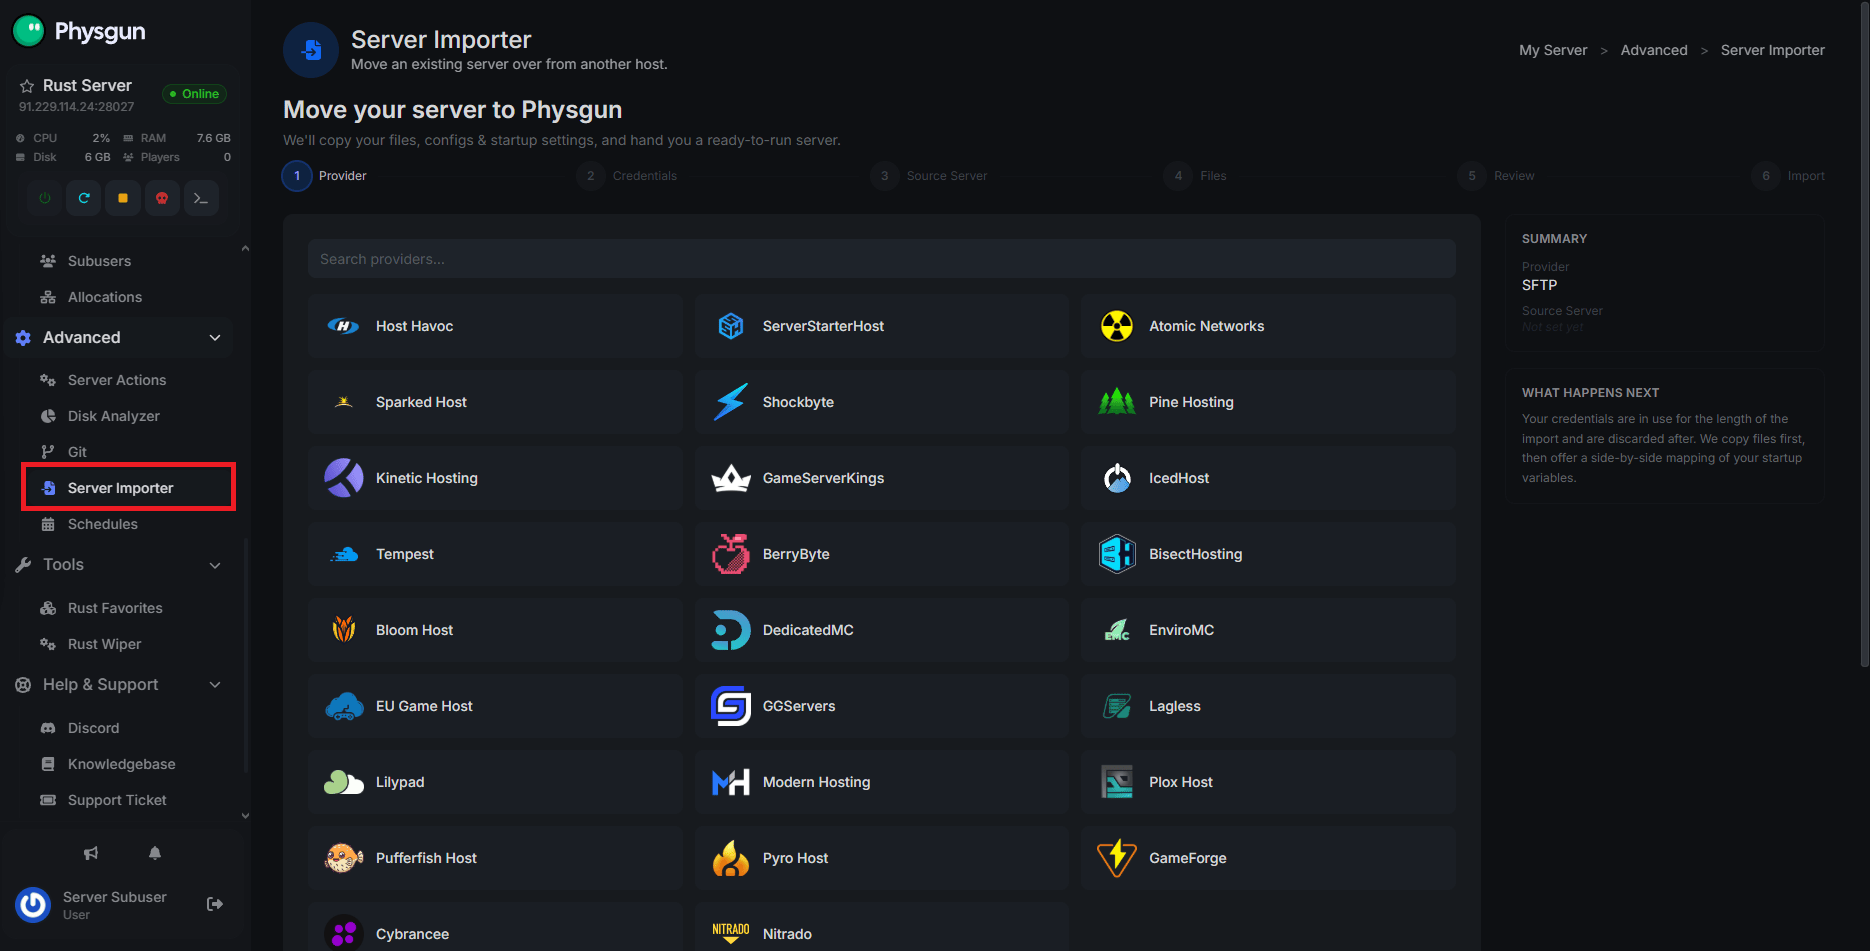
The server importer can be found directly in your Physgun game panel. Just log in and scroll down to the Advanced Category. You should see the Server Importer tab. Click it, and you’ll be brought to a list of server hosts.
How to Transfer Your Server Using Host-to-Host Connection
To transfer your server directly from your host panel over to Physgun:
- Select your desired server host. If you don’t see it, paste your panel URL in the bottom input box and click Detect. Once you have your server selected, click Continue.
- Copy the temporary email generated by the importer. We will use this to access your old information.
- Head over to your other server panel and grant that email all permissions. This will ensure we can handle everything properly.
- Click “I’ve sent the invite” and wait for our system to detect the invitation email.
- Once we’ve been granted access, select the specific server you want to transfer and click Continue.
- Next is the meat and potatoes. Go through your server files and select the ones you want to transfer. By default, we’ll select all of the important files for the game you’re hosting. Once you’re satisfied, click Continue.
- Lastly, specify all of your startup commands to ensure nothing gets messed up. Go through them and update them as needed.
- Review all of your information and click Start Import. You’ll receive a notification once everything has been transferred.
How to Transfer Your Server Using SFTP
If you run into issues with the subuser invite method, you can still connect attempt via SFTP. To do so:
- In the Server Importer, click FTP or SFTP.
- In your old panel, copy your SFTP Server Address and Username.
- Paste the address, port, and username into the importer. You’ll also need a password. This is usually the same password you use to log into your panel.
- Click Sign In.
- Select the server you want to transfer and click Continue.
- Select the files you want to transfer. Like before, we’ll automatically select the suggested files to transfer.
- Review your information and click Start Import. Wait for the notification to know when your server is completely moved over.
Verifying and Troubleshooting
Manual Imports
While the Server Importer can handle file and startup parameter transfers, there are many things that we just can’t copy over without some serious security violations. These include your automatic schedules, databases, IP-bound configurations, and more. Most of these things will need to be manually set up in your Physgun panel instead. Check out some of our other articles for more details.
Validating Your Transfer is Functional
The best way to verify that your server is fully transferred is to boot it up and join the game. Otherwise, check out your important file paths, including our config files, mod/plugins folders, and player data.
You can also quickly check the Server Options tab to see if your startup parameters properly transferred over.
Conclusion
The Server Importer takes much of the hassle out of switching hosting providers by transferring your server’s files and startup configuration with minimal manual work. Whether you’re using a direct host connection or importing over SFTP, the process is designed to get you up and running as quickly as possible.
After the import is complete, take a few minutes to verify your server’s configuration, plugins, and gameplay before inviting players back. A quick check now can save you from troubleshooting issues later.