
Managing a Valheim server comes down to five recurring jobs: configuring the world correctly, backing it up before anything risky, restarting on a schedule, moderating who joins, and watching performance as the map grows. Get those five right and the server mostly runs itself.
Running a dedicated server means your world stays up even when you log off, instead of depending on one player’s game to host everyone else’s Viking crew. In this guide, you’ll learn how to manage your Valheim server from first login to the day your build gets too big for the map to keep up with.
We’ll walk through the exact steps, from setting your world and admin permissions, through backups and restart schedules, to spotting the difference between a mod conflict and a hardware problem. By the end, you’ll know how to keep a Valheim server online, moderated, and fast without babysitting it every day.
Want to run this on your own server? Physgun’s Valheim server hosting deploys in minutes with a full console, automated backups, and restart scheduling already built in, so most of what’s below is a few clicks instead of a config file. The Physgun Gamepanel is the same interface across every game we host, so if you’ve managed a server with us before, none of this will be new.
Setting Up Admin Access First
Before you touch anything else, get admin rights sorted. Valheim tracks in-game admin separately from panel access, they’re two different systems and mixing them up causes confusion later.
Your Steam64 ID goes in the server’s adminlist.txt file. Anyone on that list can use admin console commands once they’re in the world, including kicking and banning players.
Managing Admin Access Through The Physgun Gamepanel
To add an admin through the panel:
- Head to the Physgun Gamepanel and select your Valheim server.
- Open File Manager and browse to your world’s save folder.
- Open adminlist.txt and add the Steam64 ID on its own line.
- Save the file and restart the server.
- Use Subusers to control who can log into the panel and touch files, backups, or restarts. That’s separate from in-game admin. An in-game admin can’t touch your billing or panel settings.
Managing Admin Access Manually
To do it without the panel:
- Connect over SFTP to your server.
- Find adminlist.txt in the world’s save directory (or wherever you pointed
-savedir). - Add each Steam64 ID on its own line and save.
- Restart the server for the change to take effect.
Configuring Your World and Server Settings
Your launch settings decide who can find your server and how it plays. Name, password, port, and public visibility are the basics.
World modifiers, combat difficulty, resource rates, raid frequency, portal restrictions, and death penalty, get locked in when you create the world, not after. Pick them carefully the first time.
Editing Server Settings Through The Physgun Gamepanel
To change your server settings through the panel:
- Head to the Physgun Gamepanel and open your server.
- Select Config Editor on the left side of the screen.
- Update the server name, password, port, and crossplay flag in the exposed fields, no need to hunt down exact startup flag syntax.
- Save and restart the server to apply.
- Valheim dedicated servers can turn on crossplay so PC and Xbox players can join the same world. Toggle it in the same config screen instead of editing a launch script by hand.
Editing Server Settings Manually
To edit settings manually:
- Open your server’s startup script (
start_headless_server.shor.bat). - Edit the
-name,-password,-port, and-crossplayflags directly. - Save the script and restart the server process to apply changes.
- World modifiers are locked in at world creation. Changing them later usually means starting a new world or using a mod that unlocks them mid-save.
Scheduling Restarts to Keep Your Server Healthy
Valheim’s memory use climbs the longer a server runs, especially once your crew has explored a lot of the map. A nightly restart clears that buildup and keeps tick time steady.
Scheduling Restarts Through The Physgun Gamepanel
To schedule automatic restarts:
- Head to the Physgun Gamepanel and open your server.
- Select Scheduler on the left side of the screen.
- Create a new task, set it to restart, and pick a low-traffic time like early morning.
- Save the schedule. Automated crash recovery covers you the rest of the time, restarting the process within seconds if it ever dies outside your window.
Scheduling Restarts Manually
To schedule a restart yourself:
- Write a cron job (Linux) or scheduled task (Windows) that stops and relaunches your server process.
- Point it at your startup script and confirm the working directory is correct.
- Test it once manually before trusting it to run unattended.
- Restarting mid-raid or mid-boss fight is rough on your players. Pick a time your crew is reliably offline.
Backing Up Your World
Your world’s .db and .fwl files are everything. Lose them and you lose the map, the base, and every item your crew has stashed.
Valheim’s dedicated server has built-in backup flags (-backups, -backupshort, -backuplong) that snapshot your save on an interval. They’re a good baseline, but they live on the same disk as your live world, so they won’t help if the drive itself fails.
Backing Up Through The Physgun Gamepanel
To back up through the panel:
- Head to the Physgun Gamepanel and open your server.
- Select Backups on the left side of the screen.
- Trigger a manual backup before any risky change, a big update, a mod install, a world modifier tweak.
- Confirm automated backups are scheduled so you’re covered even when you forget.
- Physgun’s Valheim server hosting includes automated backups on every plan, stored separately from your live server’s disk.
Backing Up Manually
To back up manually:
- Connect over SFTP and download your world’s .db and .fwl files.
- Store copies somewhere other than the server itself, an external drive or cloud storage works.
- Repeat on a schedule you’ll actually stick to, weekly at minimum, and always before a major update.
Updating The Server Without Breaking Your World
Valheim patches through Steam, and your server needs to match the version your players are running. A version mismatch shows up as a connection error, not a helpful message telling you what’s wrong.
Dedicated servers update through SteamCMD using app ID 896660. If you run mods, check your mod manager or Thunderstore page for compatibility first, a big patch can break BepInEx plugins until they’re rebuilt.
Updating Through The Physgun Gamepanel
To update through the panel:
- Head to the Physgun Gamepanel and open your server.
- Take a manual Backup first.
- Use the panel’s update option to pull the latest server build.
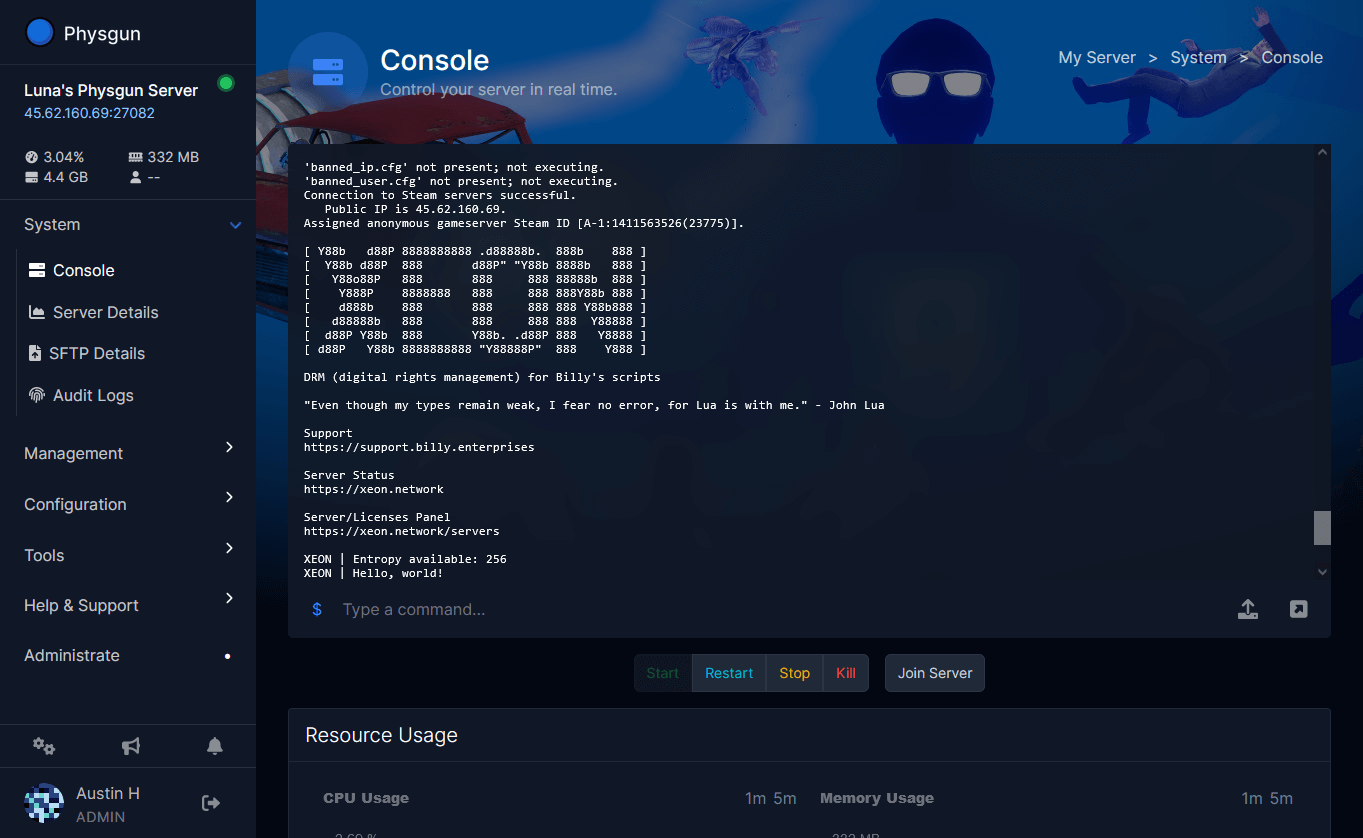
- Check True Console & SSH Access for the startup log to confirm the update applied cleanly before players jump back in.
Updating Manually
To update by hand:
steamcmd +login anonymous +app_update 896660 +quit- Stop the server process.
- Run the command above.
- Confirm the version in your console output matches your players’ client version.
- Restart the server.
- If you run mods, hold off updating until your key plugins confirm compatibility. A broken mod list crashes clients on join, not just the server.
Installing and Managing Mods
Modded Valheim servers run BepInEx server-side. Every player needs a matching mod list, mismatched versions are the single most common “can’t connect” complaint in modded Valheim communities.
Installing Mods Through The Physgun Gamepanel
To install mods through the panel:
- Head to the Physgun Gamepanel and open your server.
- Open File Manager and upload BepInEx and your plugin .dll files to BepInEx/plugins.
- Edit each plugin’s config under BepInEx/config directly in the file manager, no downloading, editing, and re-uploading.
- Restart the server and check the console for load errors.
- Moving a world from local co-op to a dedicated server? Your .fwl and .db files transfer over directly. Upload them through File Manager or SFTP into the server’s save folder.
Installing Mods Manually
To install mods manually:
- Connect over SFTP and upload the BepInEx pack to your server’s root directory.
- Add plugin .dll files to BepInEx/plugins.
- Restart the server and confirm it loads cleanly before telling your crew to update their client.
Moderating Players and Setting Permissions
Valheim’s moderation runs on three text files: adminlist.txt, bannedlist.txt, and permittedlist.txt. Each holds Steam64 IDs, one per line.
Admins can kick and ban players in-game through the console (opened with F5). The same actions work by editing the list files directly if you’d rather not do it mid-session.
To ban a player:
- Get their Steam64 ID, from the server console log when they connect, or by asking them directly.
- Add it to bannedlist.txt through File Manager, or use the in-game
bancommand as an admin. - Kick them if they’re currently connected so the ban applies immediately.
- Check Audit Logs if a config file or list changes and you’re not sure who did it. It records file edits and restarts with who and when.
Monitoring Performance and Player Count
Valheim doesn’t limit player count in code, your real ceiling is CPU and memory. A server that handles 10 players comfortably can bog down at 20 if the world is heavily built up, since more structures and terrain edits mean more to simulate every tick.
Checking Performance Through The Physgun Gamepanel
To check performance through the panel:
- Head to the Physgun Gamepanel and open your server.
- Open Live Server Profiling to see live CPU load, memory, and tick time.
- Watch for memory that keeps climbing over days of uptime, that’s your cue to restart sooner.
- If your own hardware or a budget host is the bottleneck rather than your world size, that usually shows up as high CPU with nothing obvious causing it. Physgun runs Valheim servers on overclocked Ryzen 9 7900X hardware with DDR5 memory, plus engine-level tuning specific to Valheim on top of the raw specs.
Checking Performance Manually
To check performance manually:
- SSH into your server.
- Run
toporhtopto watch CPU and memory for the server process. - Compare against your host’s advertised specs to see how much headroom is left.
- Physgun’s Valheim plans bill for hardware, not player slots, so you’re not paying per head or hitting an artificial cap as your crew grows.
Troubleshooting Common Server Problems
Most Valheim server problems fall into a short list of repeat offenders.
| Problem | Likely Cause | Fix |
|---|---|---|
| Players can’t join at all | Port 2456/2457 UDP not open, or a Steam relay issue | Check firewall and port forwarding, or wait out a Steam outage |
| ”Incompatible version” error | Server and client versions don’t match | Update the server, confirm the build number in the console log |
| World won’t load or crashes on start | Corrupted .db file | Restore from your latest Backup |
| Client crashes on join, server stays up | Mismatched mod list | Confirm every player has the same BepInEx plugin versions |
| Server slows down over days of uptime | Memory buildup | Restart on a schedule via Scheduler |
- If a problem started right after a config or mod change, check Audit Logs first. It shows exactly what changed and when.
- Still stuck? Physgun’s support answers through the client portal or on Discord, usually within a few hours during business hours.
Protecting Your Server From Griefers and DDoS Attacks
A public Valheim server is a target the moment its join code gets shared around. Connection floods and DDoS attacks are the most common way griefers take a server down without ever joining it.
Physgun’s network runs multi-layer DDoS protection with over 10 Tbps of mitigation capacity spread across a dozen-plus edge locations, backed by an Anycast Network that also routes each player to the nearest edge node for a better ping in the in-game server browser. Rather than trying to spot bad traffic after the fact, the filtering only allows traffic it already recognizes as legitimate for the game, which catches new attack patterns that a raw “Gbps protected” number from another host tends to miss. You can see it hold up under a simulated attack with the DDoS protection demo, no account needed.
If you’re managing all this on your own hardware or a budget host, moving to Physgun’s Valheim server hosting folds DDoS protection, backups, and crash recovery into the same panel you’re already using for the rest of this list.
Keeping Your Valheim Server Running Smoothly
Good Valheim server management is a short list, repeated well. Back up before anything risky, restart on a schedule before memory catches up with you, keep your mod list and server version in sync, and moderate through the adminlist rather than trust alone. Watch performance as your world grows, since a bigger base and more explored terrain cost more CPU than more players usually do.
Most of the manual steps above turn into a few clicks once Config Editor, Scheduler, Backups, and Live Server Profiling are doing the tracking for you. If you’d rather spend your evenings raiding instead of babysitting a server, Physgun’s Valheim server hosting covers everything above out of the box, backed by a 3-day money-back guarantee if it’s not the right fit.