How To Get On Cargo Ship Without Harbor In Rust
Learn how to get on the Cargo Ship event without using a Harbor in Rust.
Landing on a cargo ship directly from the open ocean is how to get on cargo ship without harbor in Rust: approach the ship by boat, find the dock switch on the hull near the bow or starboard side, lower the ramp, and go in through the doors to reach the cargo hold. For Rust players on PC and Rust Console Edition who want a stealthier way to secure high-tier loot before other players do, this route avoids the crowded dock, early fights, and the race to open the first locked crate.
Below is a step-by-step guide to the no-harbor boarding method, including cargo ship layout and spawn paths, what to bring and how to set up your boat, how to board cleanly, how to handle ship defenses and rival players, the mistakes that get runs ruined, and a quick checklist you can use before you commit.
The hidden “no‑harbor” route: why it matters for Rust players
Landing on a cargo ship straight from the sea lets you claim the high‑tier weapons, ammunition, and rare resources before the majority of players converge on the harbor. The usual method forces you to fight through other raiders who have already secured the first doors and drawn the heavy scientists’ attention. By arriving from the open water you keep the ship’s interior largely untouched, giving a clear advantage in the first few minutes of the raid.
Most Rust players still rely on the harbor because it is the most obvious spawn point; the “vast majority” follow the map‑highlighted dock and accept the inevitable competition. The no‑harbor technique flips that expectation, turning the ship into a private stronghold for a short window. It works the same on Rust Console Edition and on PC, although console controls make boat handling a bit slower, so plan your approach accordingly.
Understanding cargo ship anatomy and spawn locations
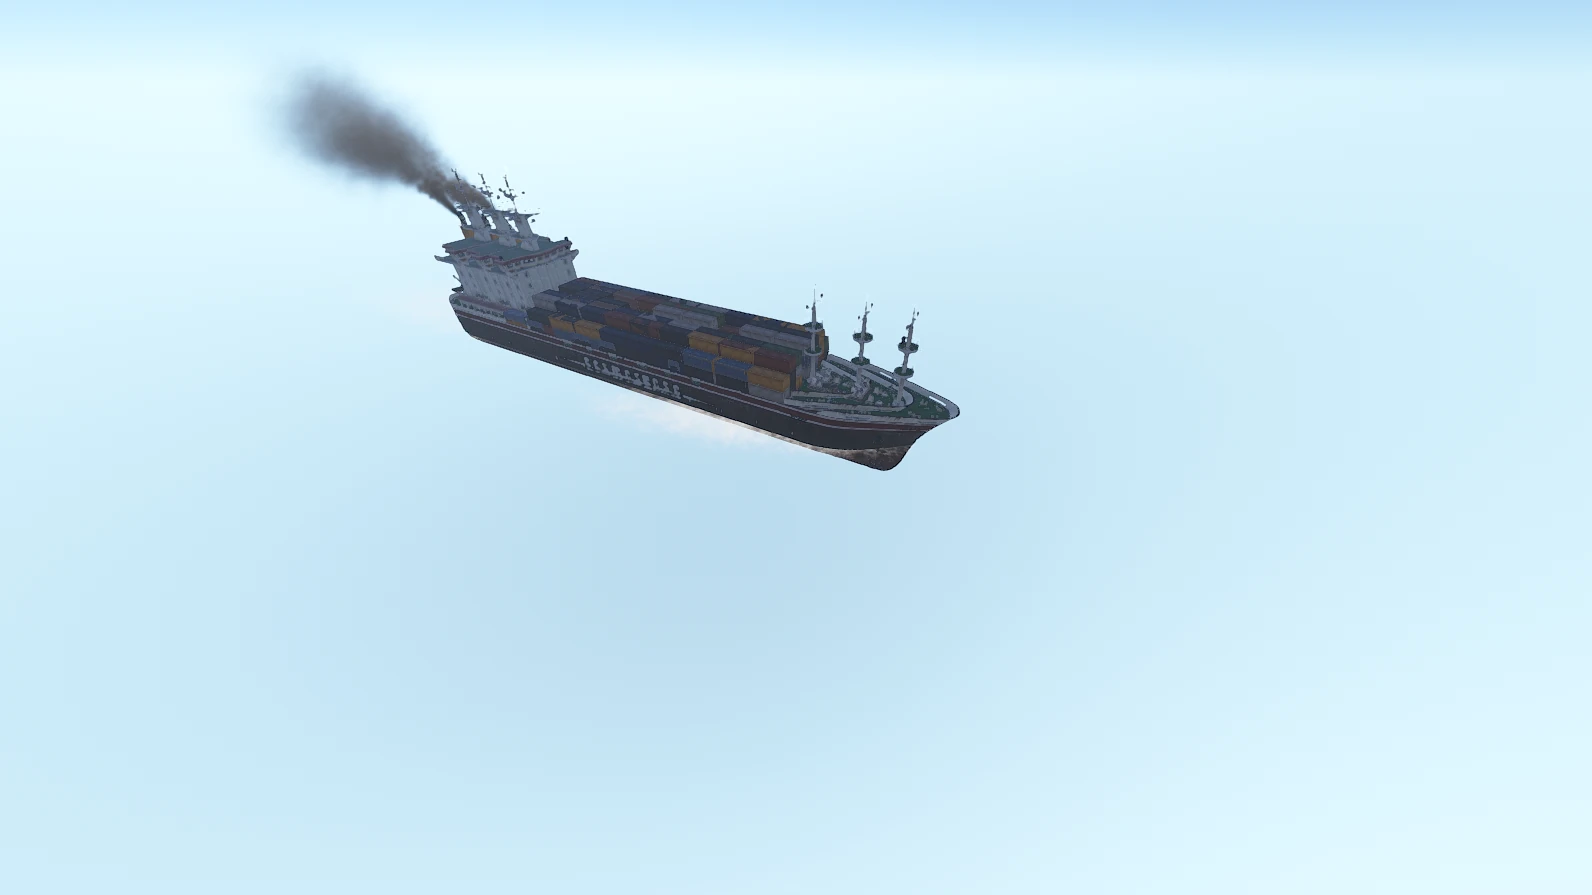
Cargo ships appear at random on the ocean’s edge, usually drifting within a few kilometres of the map’s larger monuments—oil rigs, the new “other monument” islands, or the distant sea‑side cliffs. They travel a set route but pause long enough for a raid. The ship’s silhouette is easy to spot: a long hull with a smokestack, a set of towering cranes, and a faint glow from the deck lights.
Key parts you’ll interact with:
-
Deck – the open top surface where you first step onto the ship. It contains a few scattered crates and the entrance to the lower decks.
-
Openable doors / hatches – located near the bow and on the starboard side of the deck. These doors swing inward and can be opened with a simple “E” interaction, provided the ship’s dock mechanisms are lowered.
-
Ship docks – metal platforms that extend from the hull when a nearby harbor dock switch is activated. On a no‑harbor raid the docks remain retracted, so you must use the built‑in ship switches (small lever‑like panels) to lower the ramps manually.
-
Cargo holds – interior chambers accessed through staircases behind the doors. This is where the bulk of the loot resides, including the multiple locked crates.
-
Locked crates – steel containers that require a keycard, lockpick, or an explosive charge to open. They spawn in the holds and on the deck, often near the ship’s engine room.
Visible cues that the ship is ready for boarding include a steady plume of smoke from the engine, the hull’s hull‑painted texture (fresh paint was added in the latest Wave of Change update), and the absence of moving water around the stern, indicating the ship has stopped its route.
Preparing your loadout and boat for the approach
A successful no‑harbor raid starts with the right gear. Heavy scientists guard the ship, and other Rust players will try to ambush you as soon as you appear on the deck.
-
Weapons – a semi‑automatic rifle (e.g., LR‑300) for mid‑range fights, a shotgun for close‑quarters breach, and a pistol for quick finishes. Keep enough high‑velocity ammunition; the ship’s interior is cramped, and missed shots can attract attention.
-
Protective gear – a full set of metal armor, a face shield, and a radiation suit if you expect to linger near the engine room, where residual radiation may appear after a recent raid.
-
Tools – a lockpick set for faster crate opening, a satchel charge or timed explosive for stubborn locked crates, and a repair bench if you need to fix a broken boat on the spot.
-
Boat types – the Seashark offers speed but low durability; the RHIB provides a balance of speed and armor, while the Motorboat can carry more supplies and survive a few hits from enemy fire. Upgrade the hull with reinforced plating if you expect enemy gunfire while crossing open water.
-
Resource management – carry at least 200 health kits, 150 bandages, and a small stash of low‑grade fuel. Keep your inventory organized: weapons in the quick‑slot bar, medical items in a dedicated pouch, and loot bags in the main inventory.
Radiation isn’t a constant threat on the open ocean, but the cargo ship’s engine room can emit low levels after a recent raid. Carry a small dose of anti‑radiation medicine just in case.
The step‑by‑step “no‑harbor” boarding process
1. Locate the ship and plan your path
Open the map and look for the large dark shape that matches the cargo ship’s profile. Without harbor access, boarding it means intercepting it while it travels, so it will usually be near an oil rig or another monument, often a short swim from the nearest island. Use the compass to set a bearing, then plot a route and adjust your path to match the ship’s movement while avoiding the main currents that push you toward the shore where other players congregate.
If you have a boat, aim for the side of the hull that faces away from the sun; the glare will make you harder to spot. When swimming, follow the coastline’s edge and hide behind rocks or floating debris until you’re within 30‑40 metres of the ship.
2. Approach the ship stealthily
Stay low in the water and use the hull’s shadow as natural cover. In this part of the game, stealth and audio discipline matter as much as aim. Approach from the stern (rear) rather than the bow, because the front is usually the first point of contention when a harbor dock is active. If you’re using a boat, throttle down to a crawl speed and keep your engine off until you’re within visual range; that makes it harder for other players to hear the motor and track you.
Nighttime offers lower visibility, but the ship’s lights make the deck a beacon. Dawn or dusk provides a balance—enough darkness to stay hidden, yet enough light to see the openable doors. Ambushes can happen if you drift into lit sightlines or obvious lanes.
3. Access the ship’s openable doors and dock area
When you reach the hull, look for a small metal panel near the bow. Interacting with this panel toggles the ship’s internal dock switches, lowering the ramp onto the deck, though you can also use ladders to board once you’re at the side. The animation is brief; once the ramp extends, sprint onto the deck, check the tight corners around the entry, and head for the nearest openable door.
The door you need is the large hatch on the starboard side of the deck, marked by a faint rusted frame. Press “E” to open; the door swings inward, and the doorway with the nearby walls can give you brief cover as you enter before the short staircase leads down to the cargo holds.
4. Secure the cargo hold and deal with locked crates
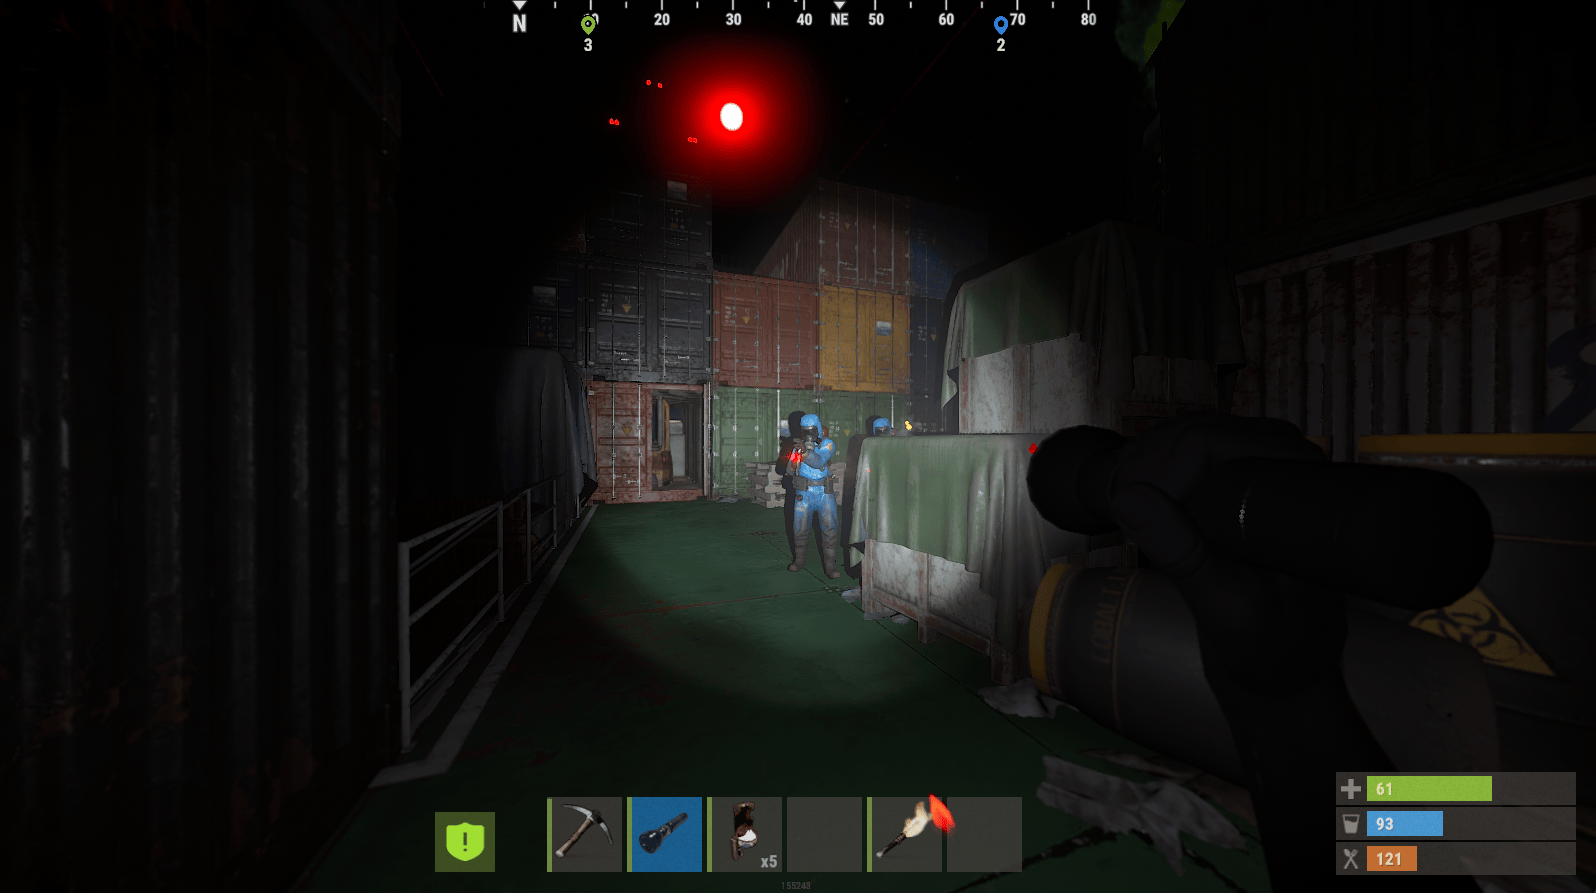
Inside the hold, you’ll encounter the first wave of heavy scientists. You may also be waiting on a locked crate to complete while holding the room. Take them out quickly with a burst from your rifle; the AI will call for reinforcements if you linger. After the scientists are down, move to the locked crates.
If you have a keycard (dropped by a scientist or found in a nearby office), use it to open the crate instantly. Without a keycard, apply a lockpick—each attempt takes about three seconds, and a failed attempt triggers a short alarm that can attract other players. For the toughest crates, place a satchel charge a few metres away and detonate it; the blast opens the crate and destroys nearby loot, so position yourself carefully. The Cargo Ship horn sounds 60 seconds before departure, so finish looting or rotate out quickly.
Recent bug fixes have adjusted the lockpick timing, making it slightly slower but more reliable. Keep an eye on the crate’s health bar and let the unlock complete; if it reaches zero before that, the crate will explode and destroy its contents. Forcing it early is a risk if preserving the loot matters more than speed.
5. Loot the ship and manage the loot run
Prioritize high‑value items: weapon crates, ammunition boxes, and the rare “cargo” containers that hold metal fragments, high‑grade fuel, and occasionally a minigun. Stack loot in your inventory as you move toward the exit to save space for the most valuable items.
When your bag is near full, sprint back to the lowered ramp, then to your boat. If you’re on a boat, keep the engine off until you’re clear of the ship’s line of sight, then power up and head toward the nearest island or harbor. The faster you extract, the less chance other players have to contest your haul, and you can grab the rest later only if it’s still worth the risk.
Dealing with the ship’s defenses and other players
Heavy scientists wield assault rifles and a shotgun, and they call in a patrol helicopter if you trigger the ship’s alarm. Take out the scientists before the alarm sounds; a single headshot can silence the alarm for a short window.
If a helicopter appears, use the ship’s interior pillars as cover and aim for the rotor to bring it down. The helicopter’s health bar is visible on the mini‑map; a few well‑placed shots will down it.
When other players arrive, assess whether you have the firepower to defend the deck. If you’re outnumbered, retreat to your boat and use a smoke grenade to create a visual barrier while you escape to protect yourself and your loot. Remember that the ship’s hull is solid; you cannot swim through it, so plan your exit route before engaging.
Common pitfalls and how to avoid them
-
Wrong entry point – to break down the most common mistakes, note that many players try to board from the bow, only to find the dock ramp retracted and the door sealed. Always locate the internal dock switch near the stern or starboard side.
-
Timing – arriving after the first wave of players means the ship’s interior is already looted and the scientists are on high alert. Aim for the first 30‑60 seconds after the ship stops moving, though catching those ideal first seconds is not always impossible to miss on busy fights.
-
Bug‑related crate behavior – a recent update fixed a glitch where locked crates could be opened without a keycard, but it also introduced a delay in the lockpick animation. Keep a satchel charge as a backup, since timing and nearby competition can vary across servers.
-
Other monument interference – oil rigs and the new “other monument” islands sometimes spawn near the ship, providing extra cover for enemy raiders. Use those structures currently present around the ship to your advantage for a hidden approach, but be aware they also give enemies a line of sight.
Practical takeaways: checklist for a successful run
Pre‑run checklist
-
Rifle, shotgun, and pistol loaded with appropriate ammo; this in-depth guide assumes you’re ready to move fast.
-
Full set of metal armor, face shield, and radiation suit.
-
Lockpick set, satchel charge, and at least two medical kits for better quality of life during a rushed prep.
-
Boat of choice with reinforced hull, fuel topped up, and a spare repair kit.
-
Map notes indicating a nearby house, oil rig, or monument for orientation and a quick regroup or deposit point.
On‑the‑fly adjustments
-
Switch from boat to swimming if enemy fire forces you to a quieter approach.
-
Drop a decoy flare to distract other players while you loot the hold.
-
If the dock switch fails, use a hammer to force the ramp down (requires a few hits).
Post‑run steps
-
Return to base, deposit loot in a secure container, and repair any damaged gear.
-
Replenish ammo and medical supplies before the next raid, especially if you’re a rust player trying to chain runs.
-
Review the ship’s spawn timer on your map; as mentioned earlier, the cargo ship will reappear after a set interval, giving you a chance to plan a future no‑harbor strike.
Was this article helpful?
Thanks for the feedback!