Running your own Windrose server gives you full control over world settings, player access, and server management, no relying on someone else’s hosting provider or dealing with a shared environment. The setup pulls dedicated server files through Steam, runs as a background process separate from your game client, and uses a JSON file to handle everything from world settings to invite codes. It takes a bit of initial setup, but once it’s running, you can host multiple worlds, transfer saves, and keep things stable across game patches. Here’s how to get a dedicated Windrose server up and running.
Creating a Server with Physgun
Ordering the Instance
-
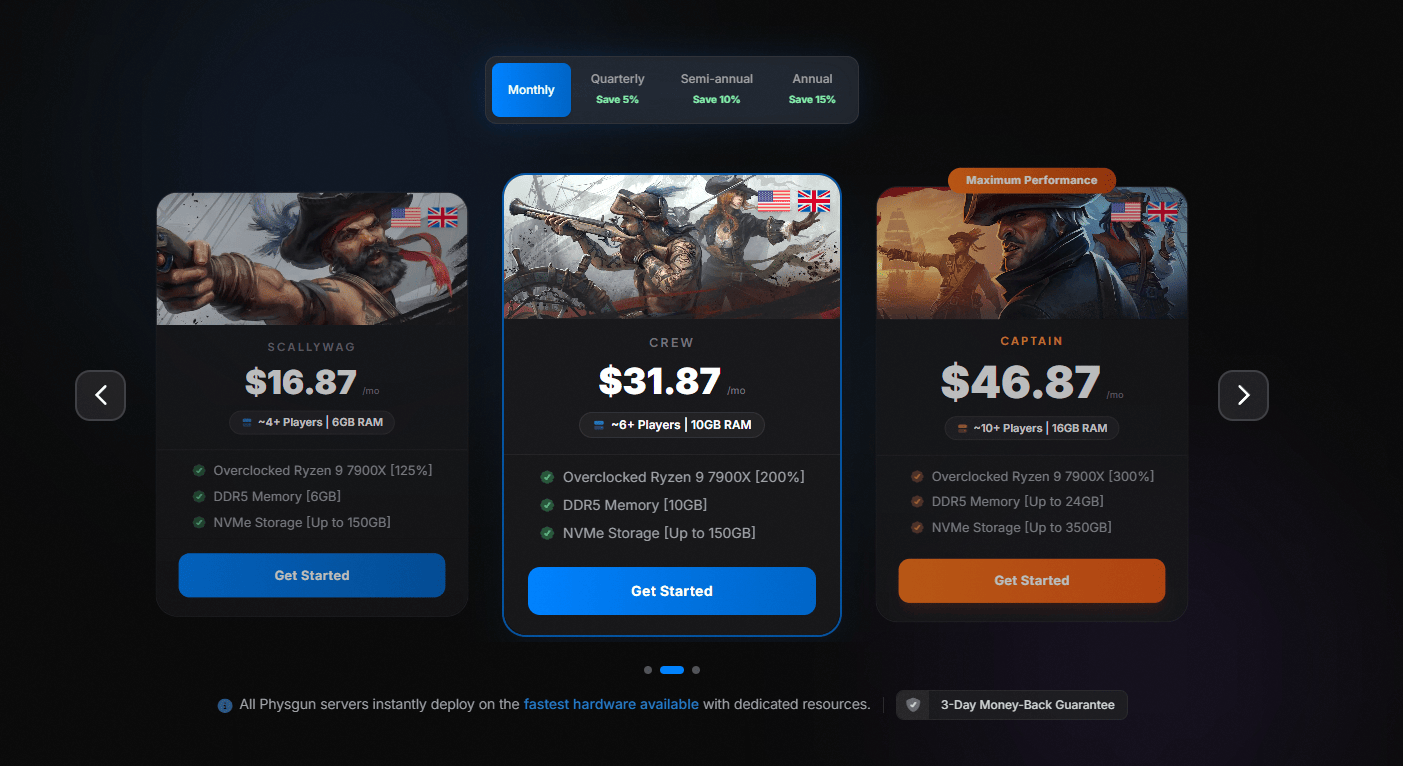
Sign up and order a Windrose plan: You can do this through the Physgun Billing Portal or Game Hosting Page and select a Windrose server plan. Complete the checkout and your server will be automatically deployed! No need to manually download or configure anything.
-
Pick a location that’s geographically close to you or your player base.
-
Choose RAM based on expected player count (8 GB for up to 8 players, 12 GB for larger groups).
-
Confirm the purchase; the panel will spin up the server automatically and keep the world available continuously.
Starting the Instance
-
From the Gamepanel, hit Start.
-
The initial server start generates a handful of JSON files inside the server folder.
-
For a simple setup, launch StartServerForeground.bat in a separate command line window, or use WindroseServer.exe to run it as a background process; the console view makes game logs easier to monitor directly.
-
Wait until the console reports “Server ready” before proceeding.
Key Configuration Files
-
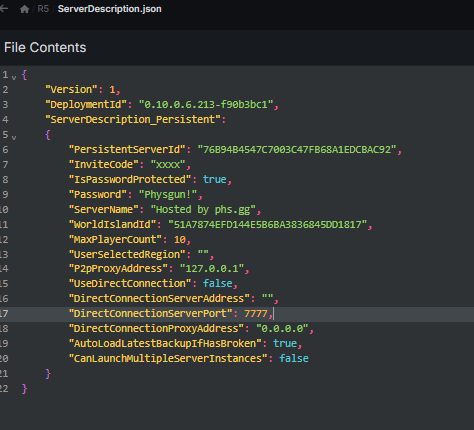
ServerDescription.json – name, invite code, password protection, player slots.
-
WorldDescription.json – stores world specific tweaks for each world.
These are the common server settings files, and both are created automatically on first launch inside the server’s root folder, then can be edited later with the server stopped.
Server Hosting on a VPS or Dedicated Machine
Installing via SteamCMD
SteamCMD is the preferred tool for remote servers and automation setups.
mkdir ~/windrose_server && cd ~/windrose_server
steamcmd +login anonymous +force_install_dir ./ +app_update 2334500 validate +quit-
app_update 2334500 is the Steam ID for the Windrose dedicated server.
-
force_install_dir must point to a valid path.
-
The validate flag ensures all files are correctly downloaded.
This installs the dedicated server files into the internal folder or chosen install directory, not the main game folder.
After the download finishes, launch the binary:
cd ~/windrose_server
./WindroseServer.exe -batchmode -nographics
The first run generates the config files, which you can then edit for server settings. Windrose uses automatic Steam networking protocols for player connections.
Linux Workarounds
Official binaries are Windows‑only, but some administrators run them under Wine or inside Docker containers. These approaches work but lack official support.
Editing Server Settings and ServerDescription.json
This file defines how players join, and ServerDescription.json contains the common server settings.
{
  "ServerName": "My Windrose Haven",
  "InviteCode": "g7x9q2",
  "IsPasswordProtected": true,
  "Password": "Secret123",
  "MaxPlayers": 12
}-
Change ServerName to something memorable.
-
InviteCode can be any alphanumeric string; share it with friends.
-
Set IsPasswordProtected to false for an open server.
Tip: Always stop the server before editing JSON; changes are read only at startup.
Make edits with the server completely shut to avoid partial writes or ignored changes.
WorldDescription.json
Each world lives in its own subfolder with a matching JSON file, and each world can have its own world specific tweaks in this file.
{
  "WorldName": "Eternal Forest",
  "Difficulty": "Hard",
  "ResourceMultiplier": 1.5,
  "EnablePvP": false,
  "SpawnLocation": { "X": 1024, "Y": 64, "Z": -256 }
}-
ResourceMultiplier scales ore, food, and crafting yields.
-
EnablePvP toggles player‑vs‑player combat.
You can create as many worlds as needed, with each world using its own WorldDescription.json and the world’s game settings.
Restart the server after any edit to apply the new values.
Hardware Recommendations and System Requirements
Windows 10 or Windows 11 (64-bit) is the recommended operating system for a Windrose dedicated server.
| Server Size | RAM | Storage | CPU |
|---|---|---|---|
| Small (≤8 players) | 16 GB | SSD (≥30 GB free) | Quad-core Intel i7-8700K / AMD Ryzen 7 2700X or better |
| Medium (9‑16 players) | 12‑16 GB | NVMe SSD (≥100 GB) | High‑frequency i7 or Ryzen 5 |
| Large (≥17 players) | 24 GB+ | NVMe SSD (≥200 GB) | Ryzen 7/9 or Xeon with AVX2 |
Windrose’s server binary checks for AVX2 support at launch; older CPUs will abort with an error message.
If the server and game client run on the same machine, extra headroom is helpful.
For optimal performance, aim for 32 GB of RAM and a graphics card such as an RTX 3080 or RX 6800 XT.
Networking Basics
Windrose relies on invite‑code networking combined with NAT punch‑through and UPnP, so ports are often dynamically assigned in most cases. In most cases you won’t need to open ports manually, but the following can cause trouble:
-
VPNs that block inbound traffic.
-
Firewalls disabling UPnP.
-
Router firmware that mishandles NAT traversal.
If friends can’t connect, try disabling the VPN, ensuring the server’s firewall allows outbound UDP, and confirming the router’s UPnP is active. If automatic networking fails, forward ports 7777 and 7778 for direct connections.
Backups and Updates
Backing Up Saves
World save files live in:
< server_root>/R5/Saved/SaveProfilesThese game files should be copied only after the server is completely shut down.
Copy the entire SaveProfiles folder to a separate drive or cloud storage before any update. If you need to transfer saves from a local install, they may also be in the appdata folder, while an epic games store install uses its own platform-specific location. A simple script can automate the process:
#!/bin/bash
TIMESTAMP=$(date +%Y%m%d_%H%M)
cp -r ~/windrose_server/R5/Saved/SaveProfiles ~/backups/windrose_$TIMESTAMP
Updating the Server
-
Stop the process (Ctrl + C in the console or use the panel’s Stop button); if it’s stuck in the background, open Task Manager and end it manually.
-
Run SteamCMD with the +app_update command again; it downloads only the changed files during updates.
-
Verify the game version, game client version, and dedicated server version all match (visible in the game’s main menu under Version).
-
Restart the server.
Update the server regularly to stay compatible with game patches.
Mismatched versions will reject connections with a “Version mismatch” error.
Common Beginner Pitfalls
-
Under‑powered hardware – worlds grow quickly; CPU usage spikes during chunk generation.
-
Skipping backups – corrupted saves require a full restore from a recent backup.
-
Editing JSON while the server runs – changes are ignored until the next launch.
-
Ignoring AVX2 – the binary exits with “CPU does not support required instruction set.”
-
Using harmful third party modifications – unverified files can compromise stability or file integrity.
-
Sharing login details – legitimate hosts or admins should never ask for them during setup or troubleshooting.
Addressing these early saves time and frustration.
With the steps above you can spin up a Windrose server, tweak world parameters, and keep your community online around the clock. Regular backups and matching client versions are the simplest ways to avoid downtime, while Physgun hosting offers a hassle‑free entry point for those who don’t want to manage hardware themselves. Happy surviving!