Want to give your players a head start, reward your VIPs, or set up custom loadouts for different roles on your server? The Rust Kits plugin makes all of that possible. It’s a free Oxide plugin that lets server admins create and manage pre-made item kits that players can claim in-game, complete with cooldowns, usage limits, permissions, and even auto-kits that activate on spawn. In this guide, we’ll walk you through installing the plugin, creating your first kit, setting up permissions, and configuring options to get the most out of it.
What Is The Rust Kits Plugin?
The Kits plugin allows server owners to create pre-made kits of items for their players to select and equip or redeeming them through the sale system. It contains a built-in, informative interface with a customizable interface style, allowing you to define each kit’s display name, string kitname, and contents. You can change different permissions for each kit, create kits that are assigned when a player spawns, and even design kits that are sold through vendors or claimed kit directly through commands.
It also supports deeper customization, letting you edit lang files to match your server’s own language or implement its API, similar to many other popular kit plugins.
The Kits plugin supports other plugins too, namely the Copy Paste plugin!
Installing The Kits Plugin On A Rust Server
To install the Kits plugin on a Rust server through Physgun:
-
Log in to your Physgun server panel
-
Navigate to the Plugin Installer tab located under Tools
-
Search for the Rust Kits plugin
-
Click the Install button and restart your server
-
That’s all you have to do!
To install the Kits plugin on a Rust server through uMod:
-
Visit the uMod website and install the Kits Plugin (make sure you have Oxide installed on your server)
-
Click the download button
-
You should have received a .cs file
-
Place the file in your oxide/plugins folder
-
Restart your server
-
You’re done! You should see now that the plugin works.
Configuration Settings
Editing the Config File
You can find a ton of configuration options in the Kits.json file located in the oxide/config directory. Here you can edit the command, currency types, enable sales, logging methods, autokits, image setup, and much more. Mess around with these settings and tweak the plugin to your server’s needs.
Setting Permissions
Kits doesn’t support or really require many permissions, though in order to set up administrative permissions, you’ll have to assign the kits.admin permission. You can do so using the oxide.grant command in your server console. This is formatted like:
oxid.grant [user or group] [name of group OR player steam id] [permission]For example, if you wanted to give your moderators access to the admin commands, you would write it as such:
oxide.grant group moderator kits.adminOnce you have everything configured and permissions assigned, restart your server or type writecfg into your server’s command line.
List of Kit Commands
Player Commands
-
/kit - Opens the kit system menu.
-
/kit [name of kit] - Claims a specific kit.
-
/kit autokit - Toggles whether or not a player should receive kits when they spawn if the option is enabled in the first place.
Admin Commands
-
/kit help - Opens a help menu with all available commands.
-
/kit list - Shows a full list of kit names.
-
/kit add - Creates a new kit. Alternatively, you could type “/kit new”.
-
/kit edit [name of kit] - Edits an existing kit by name.
-
/kit remove [name of kit] - Removes the named kit. Alternatively, you could use “/kit delete”.
-
/kit give [player name/ID] [name of kit] - Gives the specific player, specified by the string (userid or name) a specific kit.
-
/kit givenpc [name of kit] - Gives the specified kit to the NPC you’re looking at.
-
/kit reset - Reset all kit-usage related player data.
-
/kit resetuses [player name/ID] [name of kit] - Reset the uses for the specified kit and player.
Creating New Kits
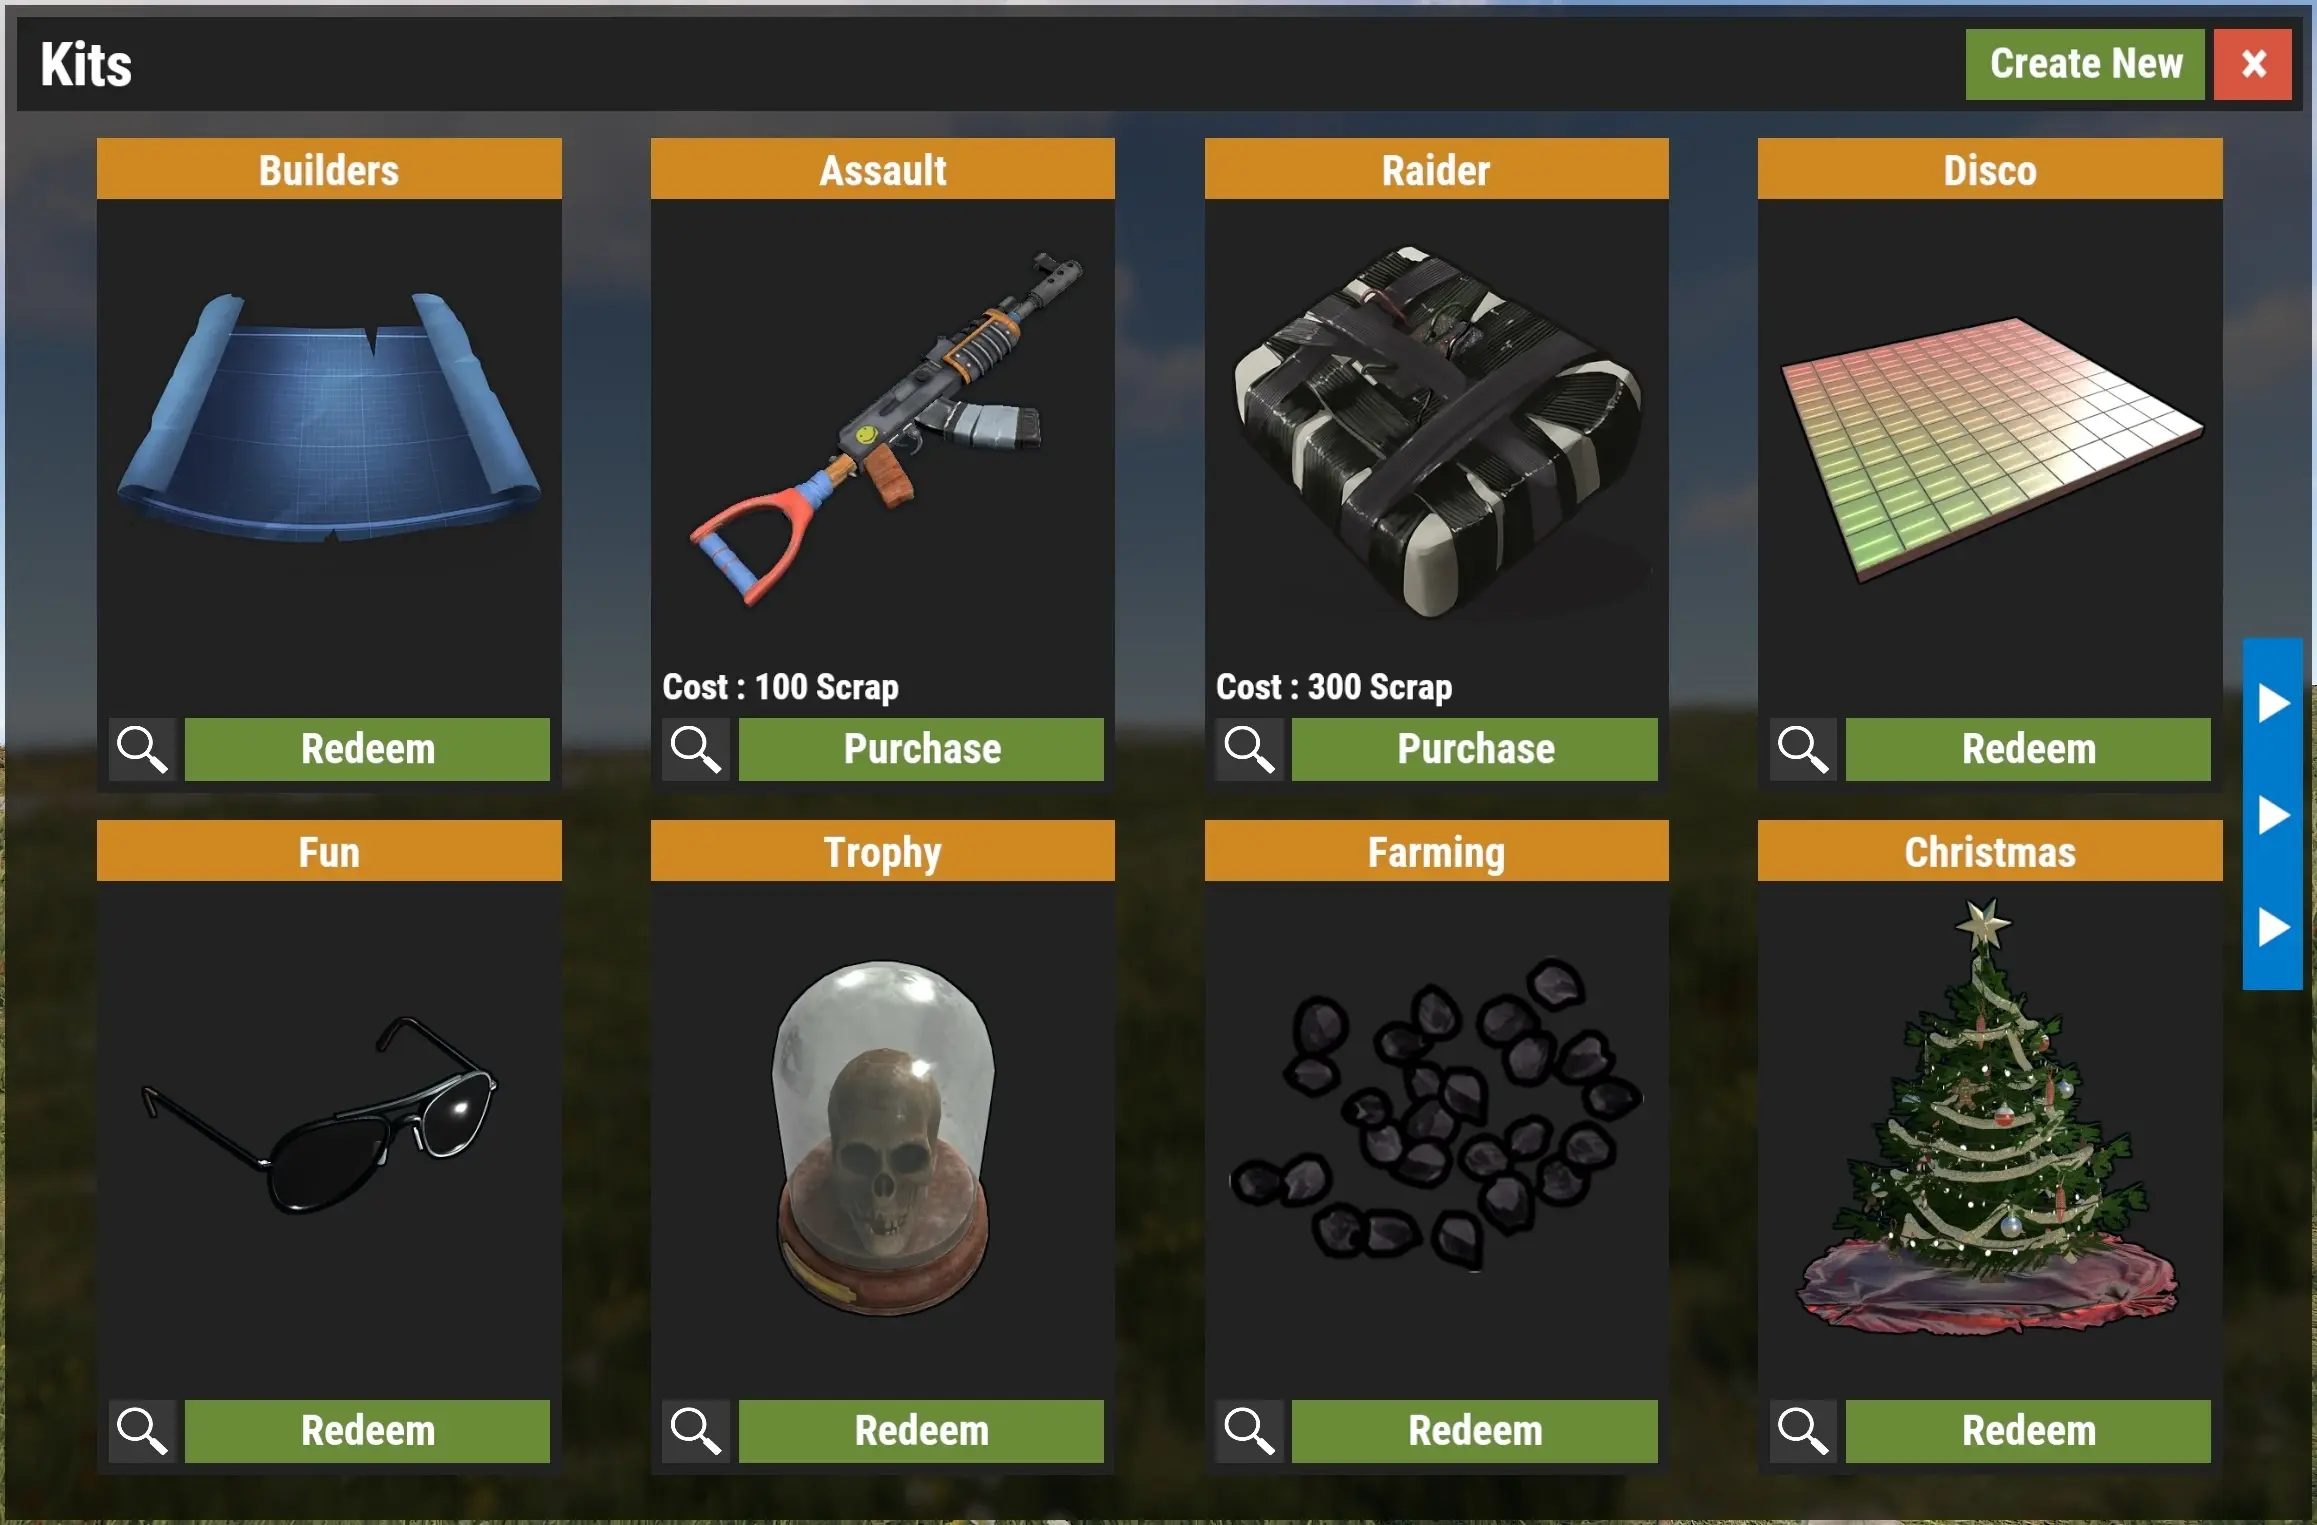
Before you start making a kit, clear your inventory and give yourself all of the items you want in the kit. Once you’ve got everything, type “/kit new”, “/kit add”, or simply press the create new button in the main UI menu, where you find all of the available kits.
You should see a menu pop up with options for:
-
Image URL.
-
Display name.
-
Description.
-
Selling price.
-
Spots to add custom items.
-
Among other options.
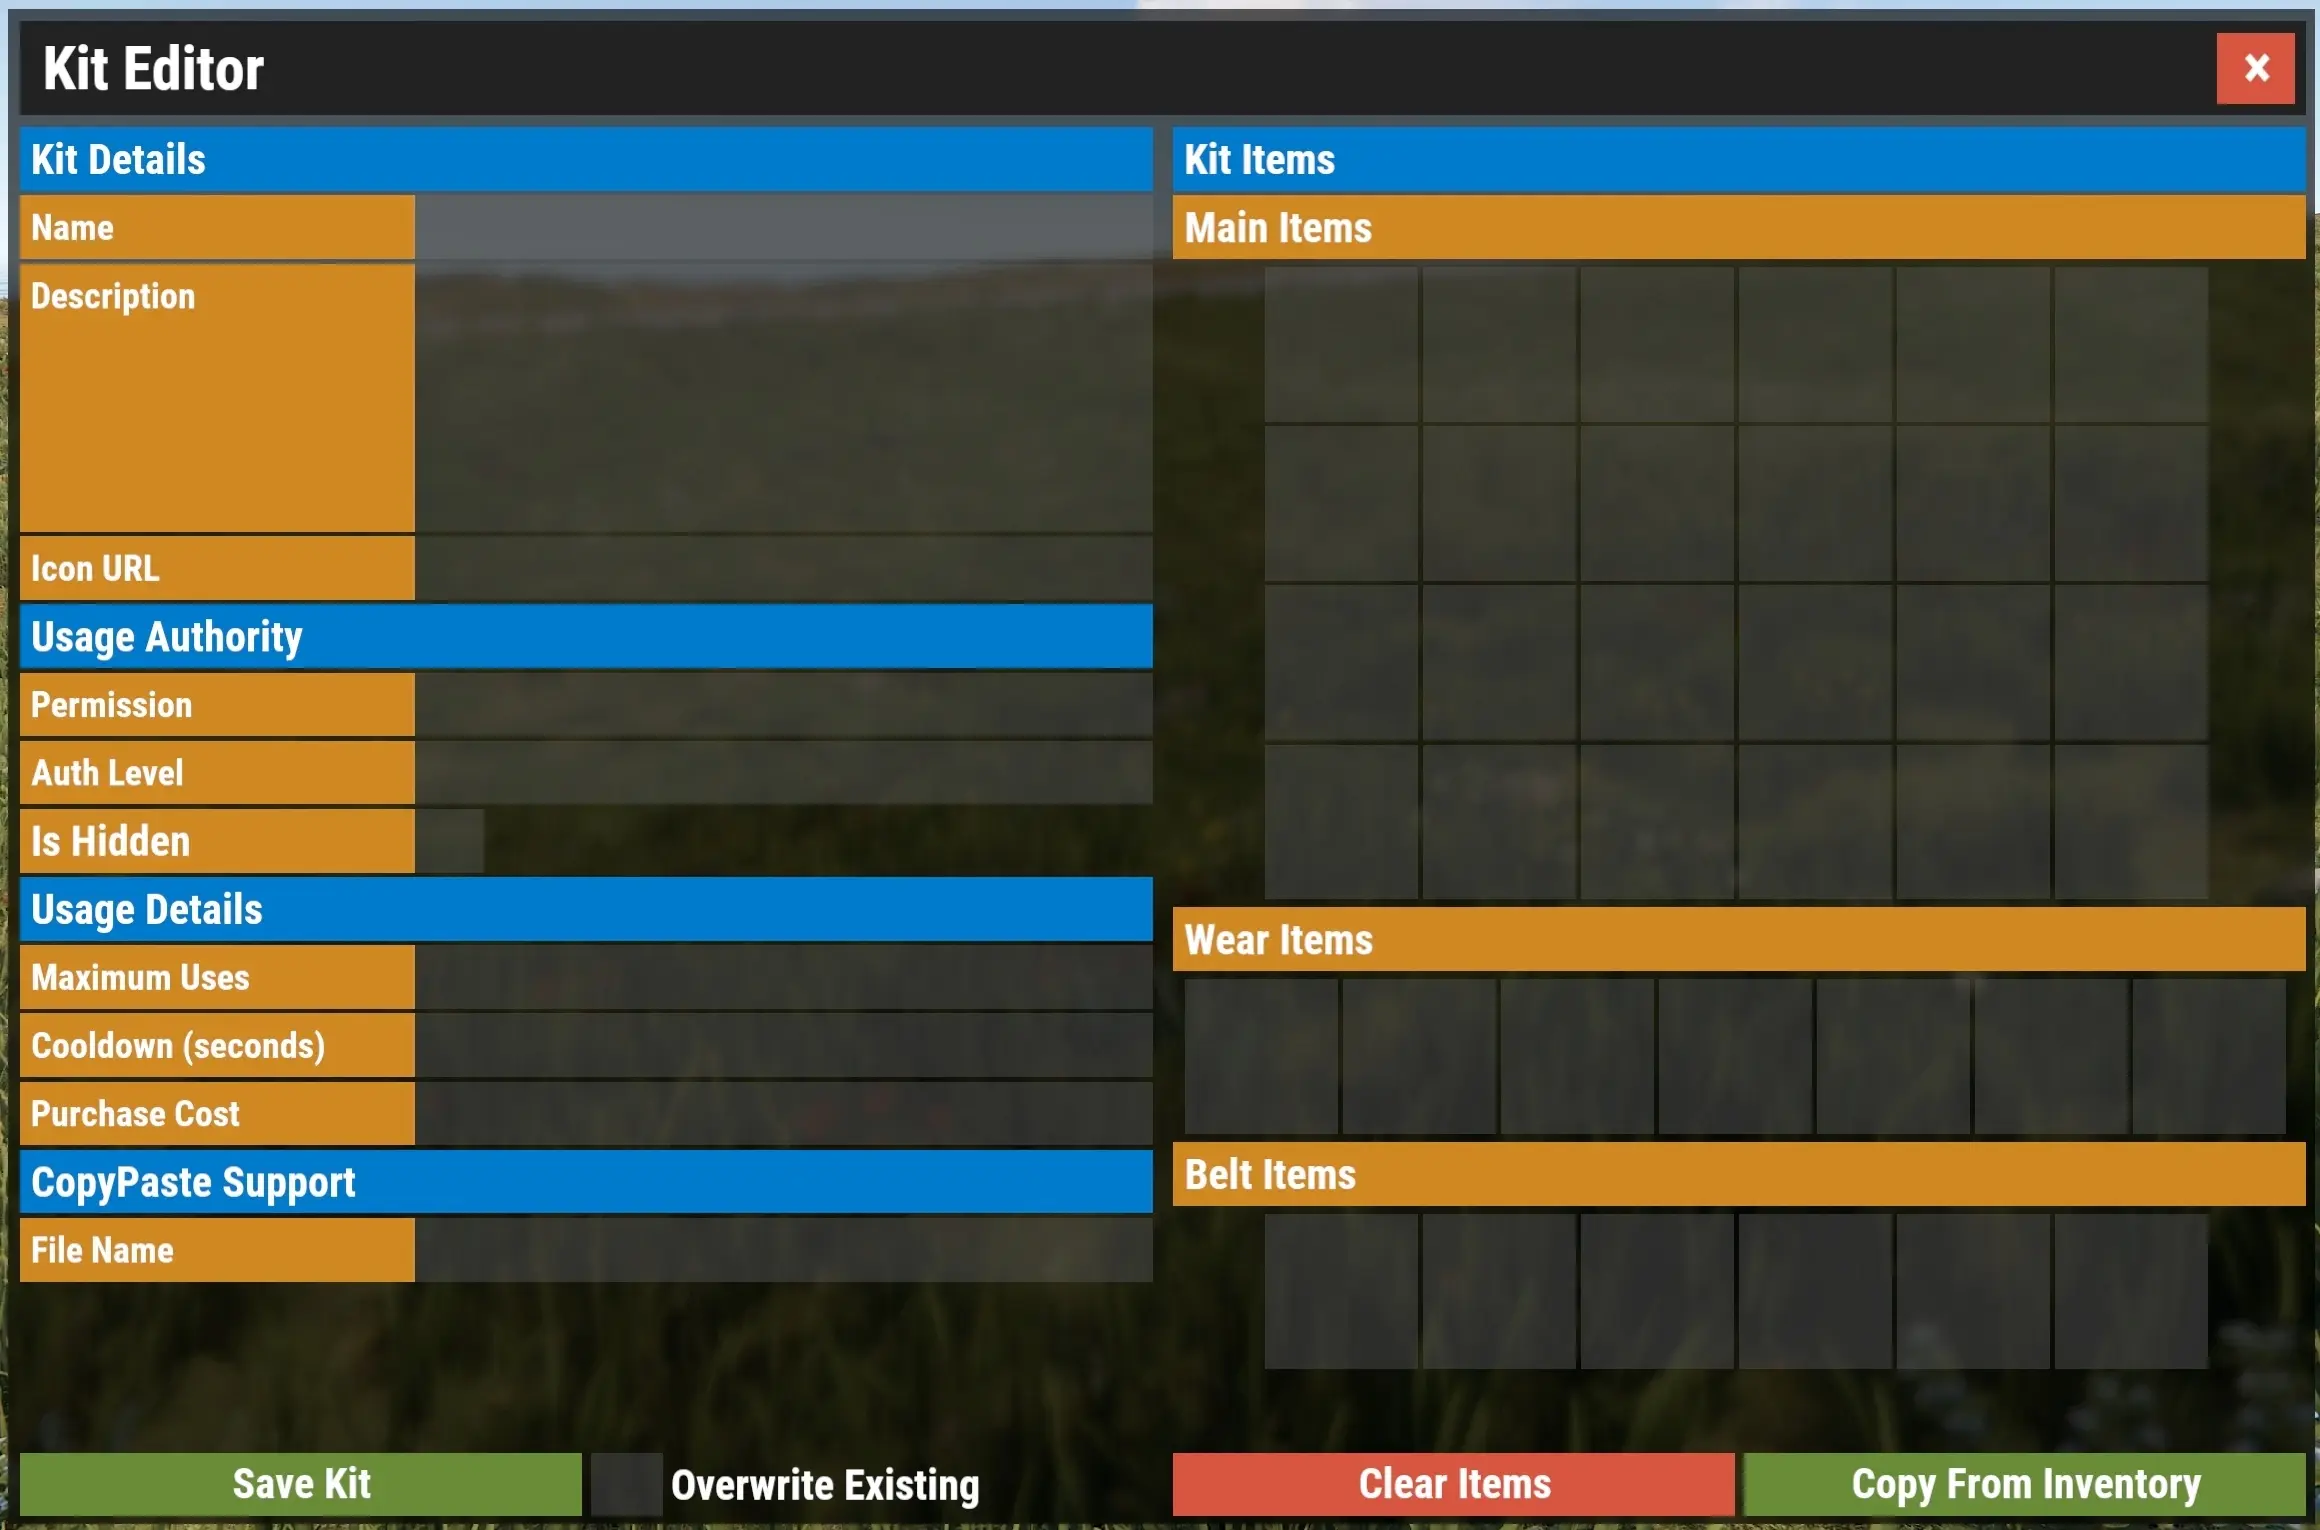
You can find options for the kit’s image, name, description, price, and contents. All of the kit’s data is available to edit in this menu.
You can copy all of the items in your inventory using the “Copy From Inventory” button to easily fill up the contents of your kit.
Once you have your kit all filled out, click “Save Kit”. With that, you know the basics of how to use this plugin! Below are a few more specific guides on setting up Autokits and creating private kits!
Setting Up AutoKits
Autokits can be set up in the configuration file. It should look like this:
  "Autokits ordered by priority": [
    "ExampleKitName",
    "OtherKitName"
  ],
You can add the names of different kits you want players to automatically obtain when they spawn in. The plugin will cycle through each kit in the list until it finds one that the player can use (so you can set up auto kits for VIPs or admins).
Save your file and update your config once you’re done!
Making Private Kits
To make private kits using the Rust Kits plugin:
-
Create a kit as you normally would for any other by opening the menu
-
Fill out everything you want the player to have access to
-
Next, you want to assign either the Permission or Auth Level, depending on what you want to do
-
If you want to lock this kit behind a specific permission (such as kits.admin) you would put the specific permission ID in that box.
-
If you want to lock it behind an Authority Level, set the Auth Level option to a number between 0 (User) and 2 (Admin).
-
-
Click Save, and you’re done!
Conclusion
The Rust Kits plugin stands out thanks to its unique kit system and flexible configuration, making it a strong building block for any server looking to manage loadouts efficiently. With features like custom items, advanced item settings, selling price, and integration with the economy, the kits addon simply makes preset loadouts an easy task. Whether you’re assigning different permissions, tweaking max usage, or adjusting double cooldown values, the plugin gives you precise control over how players interact with kits.
On the backend, the plugin also supports deeper customization through its API, with hooks and methods, and tools to get kit names, reset data, or manage usage and cooldowns per player. This makes it compatible with other plugins and adaptable to almost any server setup. Take the time to experiment and build a system that fits your community because when used right, Kits doesn’t just distribute items, it helps define your server’s entire gameplay loop.
If you run into any problems, feel free to reach out or peruse the plugin page. Make sure all of your options have valid values, and string names don’t wind up causing any syntax errors.