Keeping your Rust community connected doesn’t have to stop when players log out of the game. By linking your Rust server with Discord, you can create a bridge between in-game chat and your Discord channels, allowing players, moderators, and administrators to communicate seamlessly from anywhere. Whether you want a simple global chat relay, dedicated team and clan channels, or a complete Discord management system, the Discord Extension and its companion plugins make it possible.
In this guide, we’ll walk through installing the Discord Extension, creating and configuring a Discord bot, connecting it to your server, and setting up the Discord Chat plugin so messages can flow between Rust and Discord in real time.
 Installing the Extension to Your Server
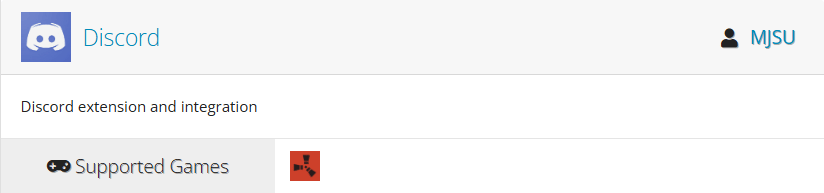
The very first thing you have to do is download the extension from uMod. You can find it by visiting https://umod.org/extensions/discord. To install the extension:
- Click the Download button on uMod.
- You should have received a DLL file called Oxide.Ext.Discord.dll.
- Stop your server. The file won’t load and can cause problems if you leave it running while doing this.
- Open your server’s root folder either using your File Manager, FTP/SFTP access, or your machine’s file browser depending on how you’re hosted.
- Navigate to RustDedicated_Data/Managed and drag and drop the DLL file into the folder.
- Restart your server.
Install Compatible Plugins
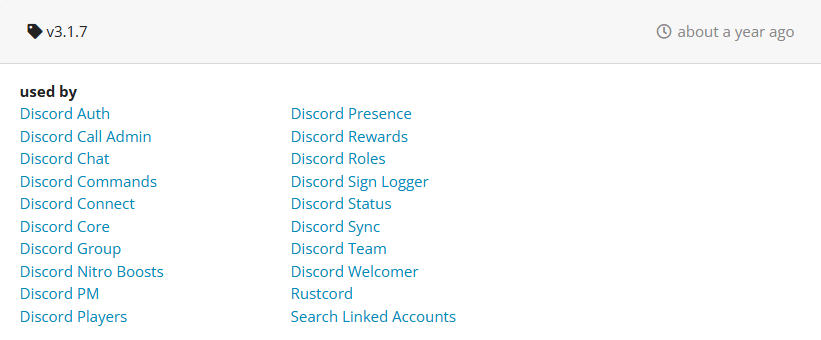
The extension on its own doesn’t do much without plugins that use it. The extension creator has created a ton of compatible plugins. You can find these on the plugin page at the very top where it says “used by”.
To download any one of these plugins:
- Visit the page of the plugin you want to download.
- Click the Download button.
- Open your server’s root folder and go to oxide/plugins.
- Drag and drop the CS file into the directory.
- Either restart your server or type oxide.reload followed by the plugin’s name.
Keep in mind that different plugins may require additional steps to install. Read the documentation closely for any plugins you add to your server. For the sake of this guide, we will be using the Discord Core plugin when referencing how plugins work with the extension.
Setting Up Your Discord Application
Setting Up an API Key
You may have noticed when you restarted your server that the extension is asking for a Discord API Key. Well, that’s the next step. To set up a Discord Application:
- Visit https://discord.com/developers/applications.
- Create a new application.
- Give your app a name.
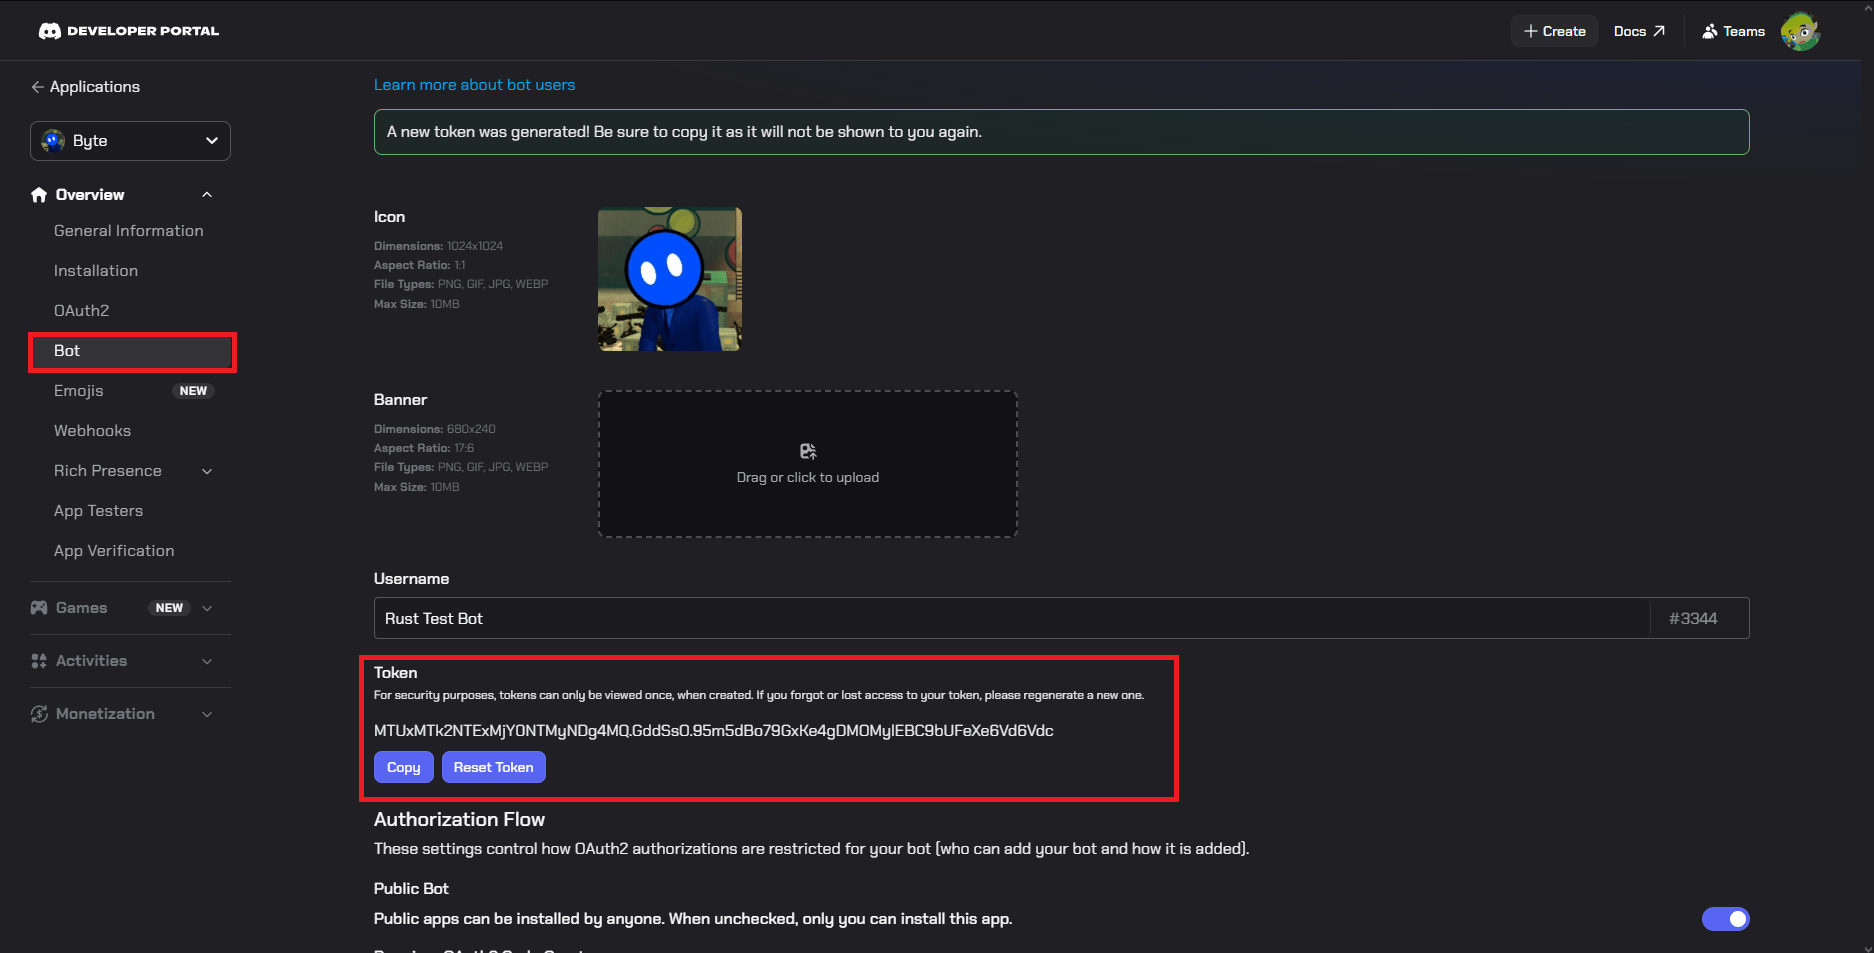
- Click the Bot tab in the left navbar.
- Configure your bot however you’d like. You should make sure to enable the Presence Intent, Server Members Intent, and Message Content Intent.
- Copy your bot’s token. If you don’t see one, you may have to click Reset Token.
- Return to your Rust server files and navigate to oxide/config/DiscordCore.json (or whatever plugin you’re using).
- Inside, you should see a Discord Bot Token argument. Paste your bot’s token into there.
- In most cases, what you’re learning here can be implemented into other Discord integration plugins.
- Save the file and reload your server or plugin.
Getting Your Bot in Your Discord Server
Getting your Rust bot into your Discord is a bit more complicated than just inviting any other bot. You have to generate a URL on the application page first. To get your bot up and running in your Discord server:
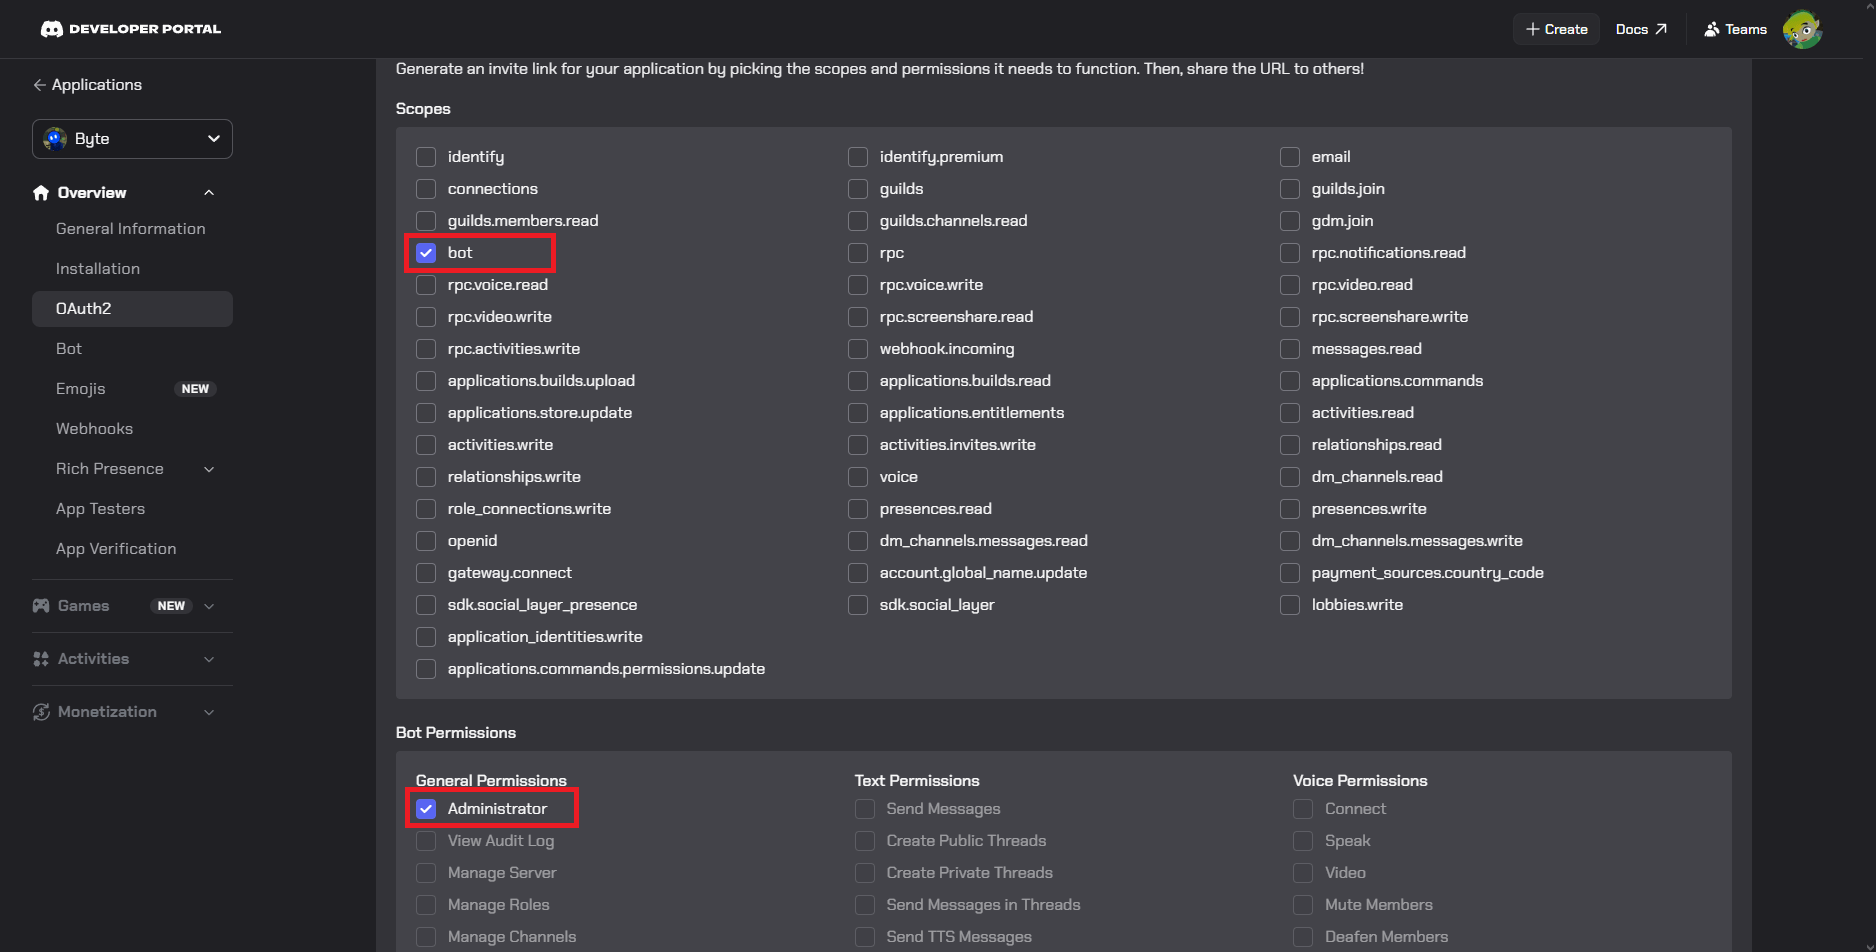
- Navigate to OAuth2 in the Discord Applications navbar.
- Scroll down until you find the URL generator.
- Check the bots box.
- Give the bot administrator permissions.
- Click on the copy button at the bottom.
- Now, paste the link into your browser, and you’ll be brought to the bot invite page.
- Invite it to the correct Discord and give it whatever roles it needs.
Configuring Your Extension
Each plugin using this extension is vastly different, so we recommend once again to closely review the page for each plugin because there are just too many to cover here. However, there are some base configurations that can be made with the extension itself.
First of all, the configuration file. You can find this in oxide/discord.config.json. Inside this file you can edit command prefixes, enable or disable features, change request rates, and tweak logging settings. Most of the stuff in this file doesn’t need touching, but it’s nice to know it’s there.
The Discord extension also includes a range of commands that can be used for troubleshooting. Below is a list of commands that can be ran in your server console:
de.version- displays the current Discord Extension versionde.websocket.reset- resets all websockets to fix bugged connectionsde.websocket.reconnect- reconnect all websocketsde.rest.reset- reset all rest API clientsde.search.highperformance.enable 1/0- enable or disable high performance player name searchesde.placeholders.list- list all available placeholders registered in the Discord Extensionde.pool.clearentities- resets pool entitiesde.pool.remove- removes all pools currently registeredde.log.console- set’s the console log level (Verbose, Debug, Info, Warning, Error, Exception, Off)de.log.file- set’s the file log level (Verbose, Debug, Info, Warning, Error, Exception, Off)de.validation.enable 1/0- enable / disable api request validationde.debug- prints debug information for the Discord Extensionde.help- displays the command help text
There is also a bot command you can use in your Discord server. That is /de commands delete and it will delete an application command from the bot. The developer suggests only using this command when the plugin registers a command that doesn’t exist or is simply no longer in use.
Setting Up the Discord Chat Plugin
One last thing we’re going to cover. A very important feature of linking Discord with Rust is chat integration. Players in-game can communicate with players in Discord and vice versa. This is especially useful for players to speak with admins while they’re not in-game, or speak with their friends while they’re in the middle of a raid without tabbing out into Discord.
Using the information you learned in installing the DiscordCore plugin, install the Discord Chat plugin as well. Download it, drop it in the plugins folder, and reload the plugin. Simple as that.
Configuring the Plugin
You can find the configuration file for Discord Chat in oxide/plugins/DiscordChat.json. Inside this file you need to paste your bot token just like you did with DiscordCore.
In addition to the bot token setting, you can define chat channels for global, team, cards, and clans. You can change the visuals of the messages sent between Discord and Rust, as well as apply filters, anti-spam, and admin settings.
Obtaining a Channel ID
You may be wondering how you’re supposed to define what goes in which channels. Well, that all comes down to your channel ID. If you haven’t been using Discord for long, you might not know what any of that means. If that’s the case, keep on reading:
- Open your Discord Application.
- Open your User Settings in the bottom left corner.
- Scroll all the way down until you see “Developer”.
- Click it and enable Developer Mode.
- Now you can right-click on any channel to copy its ID!
All you have to do after that is return to your config file and assign your channel IDs where they need to go. We recommend having separate channels for each type of chat so things don’t get crossed or flooded.

Conclusion
Connecting your Rust server to Discord is one of the best ways to improve communication within your community. With the Discord Extension installed, a properly configured bot, and the Discord Chat plugin handling message relays, players can stay connected whether they’re actively playing, managing a raid, or simply hanging out in Discord.
While different Discord plugins may have their own setup requirements and features, the foundation remains the same: install the extension, configure your bot, and connect the channels you want to use. Once everything is in place, you’ll have a powerful communication system that helps keep your community active, informed, and engaged both in-game and out.