Palworld gives players the freedom to explore, build, capture Pals, and survive together in a persistent world. While single-player and co-op sessions are great for smaller groups, a dedicated server allows friends and communities to play at any time without relying on the host to be online.
This guide explains how to create a Palworld dedicated server using either a Physgun Game Hosting plan or a Physgun VPS. You’ll learn how to install the server, configure your settings, invite players, and keep your world running smoothly.
Before You Start
Before creating your server, make sure you have:
-
A copy of Palworld on Steam
-
A Physgun Palworld Game Hosting plan or VPS.
-
An internet connection capable of supporting your expected player count
Palworld’s dedicated server is not lightweight and typically needs 16GB of RAM for optimal performance.
Dedicated servers are intended for multiplayer worlds and can support significantly more players than the standard co-op mode.
Creating a Palworld Server with Physgun Game Hosting
Creating a Palworld server with a hosting provider like Physgun Game Hosting only takes a few minutes.
-
Log in to your Physgun Game Panel.
-
Select a plan and purchase a new Palworld server if you have not already done so The server will automatically deploy once purchased.
-
Start the server once to allow all required files and folders to generate.
-
Wait for the server to finish starting before stopping it again.
-
Open the Files section of your server.
Physgun hosting handles hardware, networking, and updates, which makes it easier to manage the server.
Your server is now ready to be configured.
Configuring Your Server
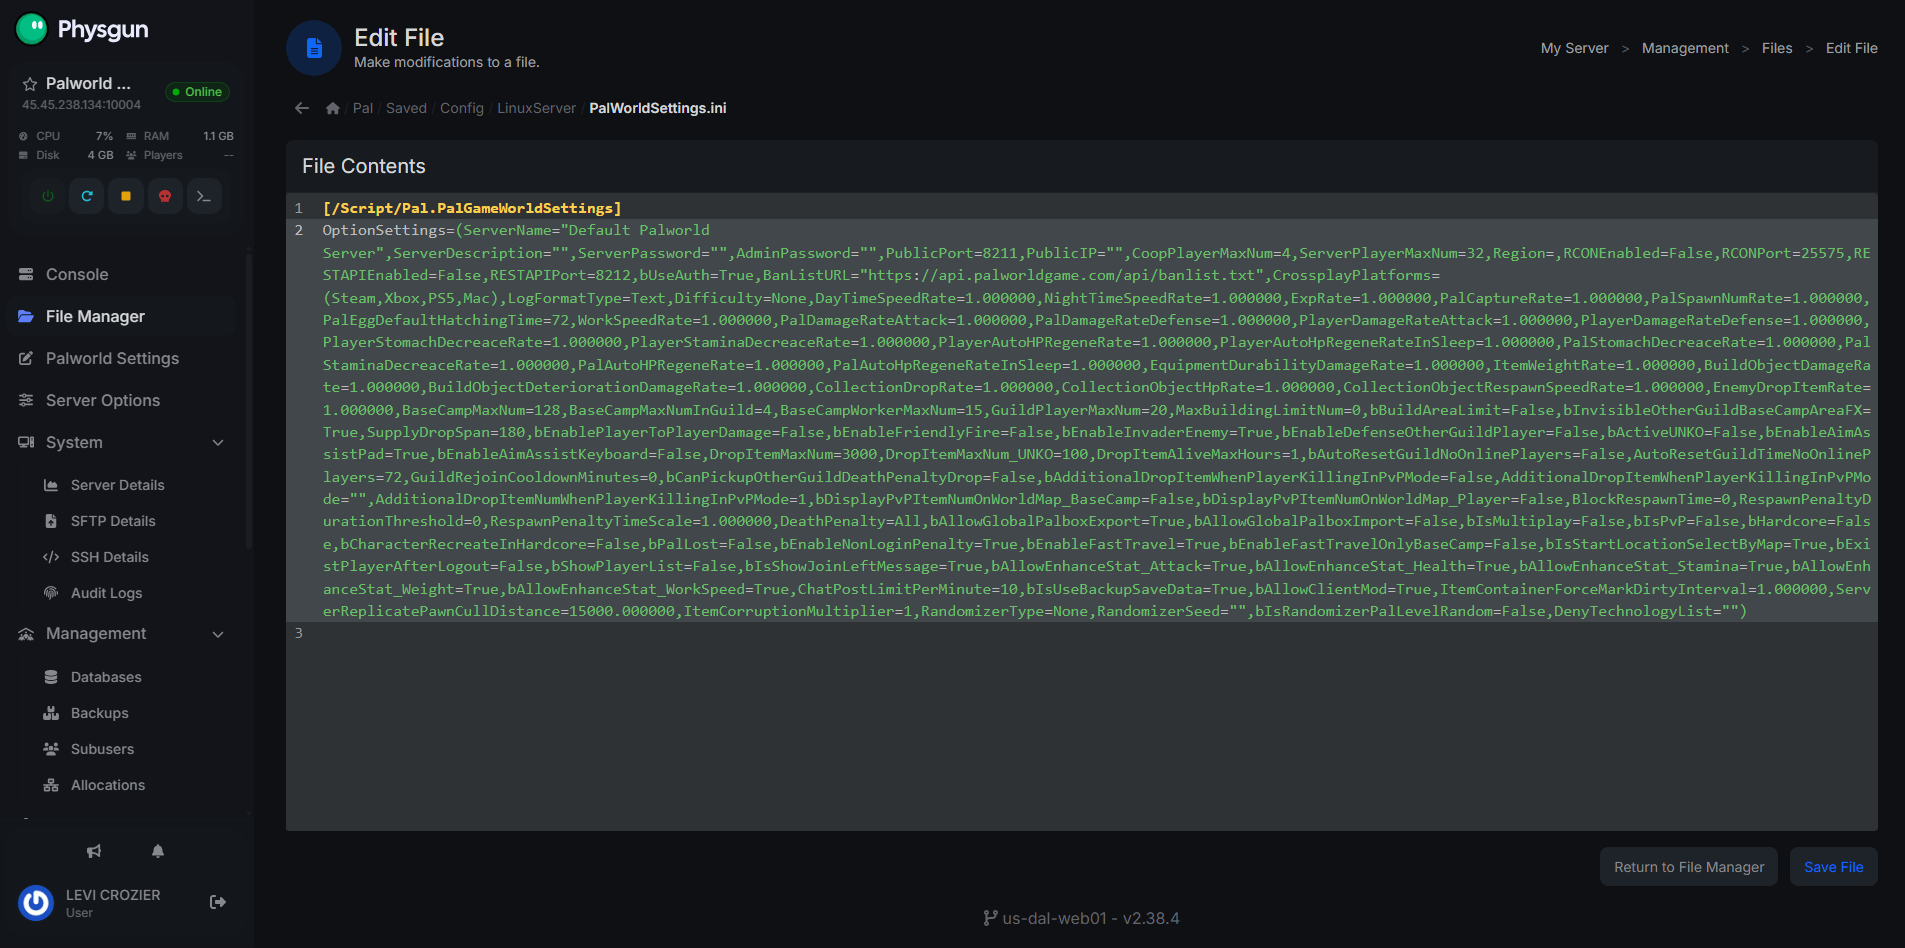
Most server settings are stored inside these key settings for server setup:
Pal/Saved/Config/LinuxServer/PalWorldSettings.iniIf the file contains only a small number of settings, copy the default configuration from:
DefaultPalWorldSettings.inilocated in the server installation and replace the existing contents of PalWorldSettings.ini.
Some of the most commonly changed settings include:
| Setting | Description |
|---|---|
| ServerName | Name shown in the server browser. |
| ServerDescription | Description displayed to players. |
| ServerPassword | Password required to join the server and improve security. |
| AdminPassword | Password used for administrator commands. |
| PublicPort | Game port used by the server. |
| PublicIP | Public IP address, usually left unchanged. |
| MaxPlayers | Maximum number of players allowed. |
| Difficulty | Overall world difficulty. |
| DayTimeSpeedRate | Length of daytime. |
| NightTimeSpeedRate | Length of nighttime. |
| ExpRate | Experience gain multiplier. |
| PalCaptureRate | Capture chance multiplier. |
| DropItemMaxNum | Maximum dropped items in the world. |
Note: avoid sharing your PublicIP publicly unless absolutely necessary to help prevent DDoS attacks.
After making changes, save the file and restart your server for the new settings to take effect.
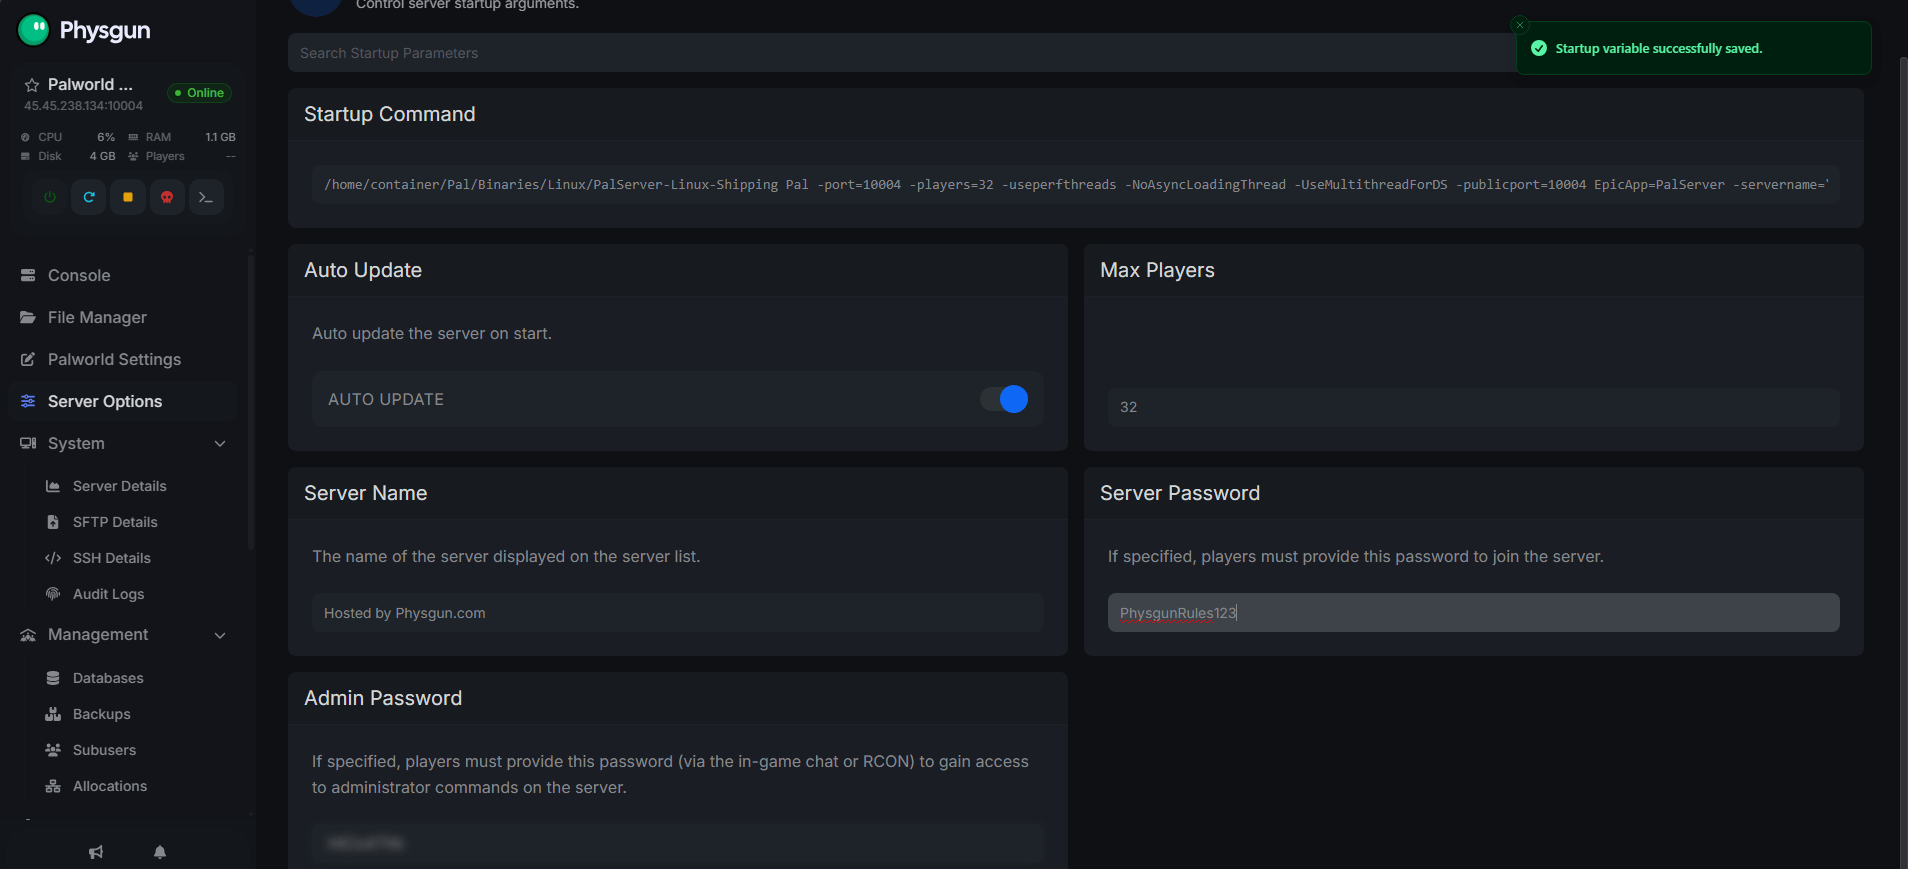
Changing Your Server Name
To change the name that appears in the server browser, edit the following setting:
ServerName="My Palworld Server"Choose a unique name so players can easily identify your server.
Setting a Password
To make your server a private server, configure the following setting:
ServerPassword="YourPasswordHere"Players must enter this password before joining. Setting a server password helps control access and improve security.
If you plan to use administrator commands, also configure:
AdminPassword="StrongPasswordHere"Using different passwords for players and administrators is recommended.
Creating a Palworld Dedicated Server on a VPS
A VPS provides full control over your server but is harder to setup.
To start, install SteamCMD using your distribution’s package manager or Valve’s official installation instructions.
Create a server directory and install Palworld:
steamcmd
login anonymous
force_install_dir ~/PalworldServer
app_update 2394010 validate
quit
Start the server using the included startup script or executable depending on your operating system.
After the first launch, edit the generated PalWorldSettings.ini file before restarting the server.
Opening Firewall Ports
Players must be able to reach your server over the internet.
The default Palworld server uses:
- UDP 8211
If you’re self-hosting, port forwarding on your router is required for external access, and port 8211 must be forwarded to allow others to join. Players on the same network should use the local IP, while external players should use the public IP with the forwarded port. Use your router’s admin panel to set this up, and if the menus differ, check a guide for your router model for the exact steps and details. As a final note, some setups also reference forwarding port 7777 TCP/UDP in the router, but the core Palworld connection port here remains 8211.
If you’re hosting on a VPS, ensure your operating system firewall and any cloud firewall allow incoming traffic on this port.
Physgun dedicated Palworld servers configure this automatically.
Updating Your Server
Palworld receives frequent updates that may include new content, bug fixes, and compatibility changes.
If you’re using Physgun Game Hosting, updates are generally handled through the control panel.
For VPS installations using SteamCMD, update the server by running:
login anonymous
force_install_dir C:\PalworldServer
app_update 2394010 validate
quit
or the equivalent Linux installation path.
Restart the server after updating.
Troubleshooting
Players cannot connect
Verify that the server is running and check the full connection process, including that UDP port 8211 is open if you’re hosting on a VPS.
In Palworld, select “Join Multiplayer Game,” then enter the IP address followed by :8211 if you’re connecting directly.
Also confirm that players are using the correct IP address, port, and password, and if those direct details are correct, check the server list entry as well.
Server settings are not changing
Make sure you’re editing the correct PalWorldSettings.ini file.
After saving your changes, completely restart the server.
Configuration file keeps resetting
Start the server once before editing the configuration. The server generates the required files during its initial launch.
If the configuration is incomplete, copy the contents of the default configuration file into PalWorldSettings.ini before making your changes.
High memory usage
Palworld servers can consume a significant amount of memory, especially with multiple players and large worlds. This is even more common when the server runs on the same gaming PC used to play, since smooth performance also depends on a strong CPU for heavier loads. On self-hosted setups, each user can also check local network details with the ipconfig /all command on Windows or the hostname command on Linux when troubleshooting access or resource issues.
Closing unnecessary applications, restarting the server occasionally, and allocating sufficient RAM will improve stability.
Frequently Asked Questions
Can I play on my own dedicated server?
Yes. You can use your own dedicated server to play Palworld while joining it like any other player, and friends can connect whenever the server is online.
Does a dedicated server need Steam to stay open?
No. SteamCMD is only used to install, update, and download the Palworld dedicated server files, while the steam client can also be used for installation on supported setups. Once installed, the dedicated server runs independently.
Can I password protect my server?
Yes. Set the ServerPassword option in PalWorldSettings.ini to require players to enter a password before joining.
How many players can join?
The maximum player count is controlled by the MaxPlayers setting. Keep in mind that larger player counts require more CPU and memory to maintain good performance. They also need a strong CPU, enough RAM, and fast storage for stable performance.
Next Steps
Your Palworld server is now ready for players to join. From here, you can customize world settings, adjust gameplay difficulty, configure administrator access, and invite friends to begin exploring together. Share connection details carefully: use a local IP for players on the same network and a public IP for external players. To reduce DDoS risk, avoid posting your public IP openly unless necessary.
As your community grows, remember to keep regular backups of save data, install updates promptly, check and update your server for optimized performance, and review your server settings occasionally; if problems appear, check your provider’s known issues page or contact the support team for help.