
Getting your own S&Box server up and running can feel confusing at first, especially if you are new to game server setup. The good news is that the process is much easier once you know the core pieces that matter. This guide walks you through how to make a S&Box server, avoid common mistakes, and get players connected faster. You will learn how to choose the right hosting setup, configure the server properly, and keep performance stable as your community grows.
Key things we will cover:
- server requirements
- setup basics
- configuration tips
- performance and management essentials
Making A S&Box Server Through Physgun
Creating your S&Box server through Physgun simplifies the process to just a few button clicks. With competitive pricing, almost instant setup, and top of the line performance, you can ensure that your S&Box server will be stable and secure.
To create a S&Box server through Physgun:
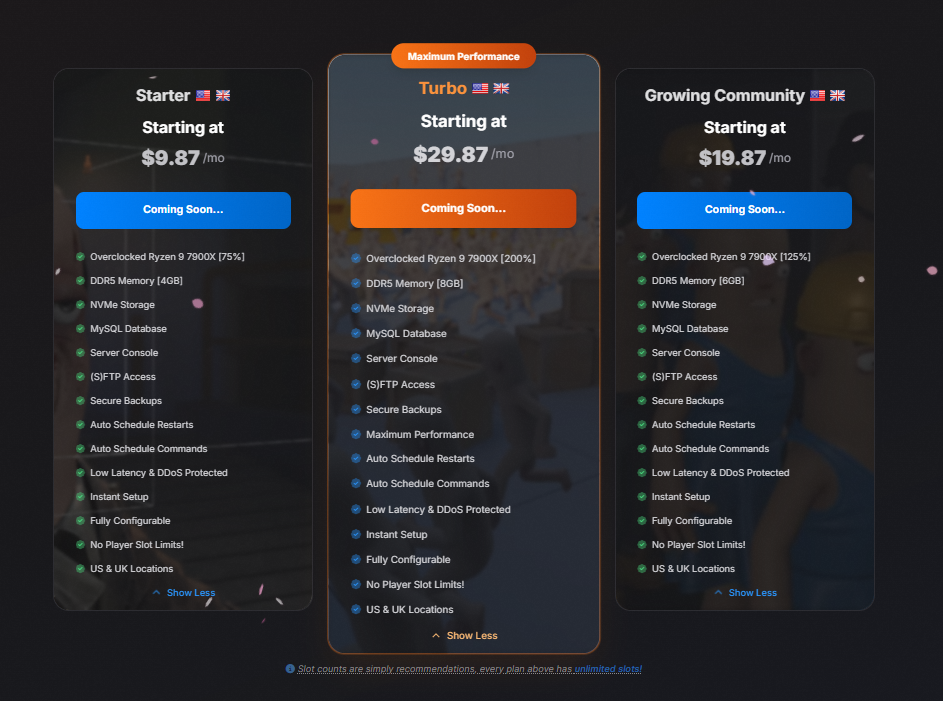
- Sign up and order a S&Box plan: You can do this through the Physgun Billing Portal or Game Hosting Page and select a S&Box server plan. Complete the checkout and your server will be automatically deployed! No need to manually download or configure anything.
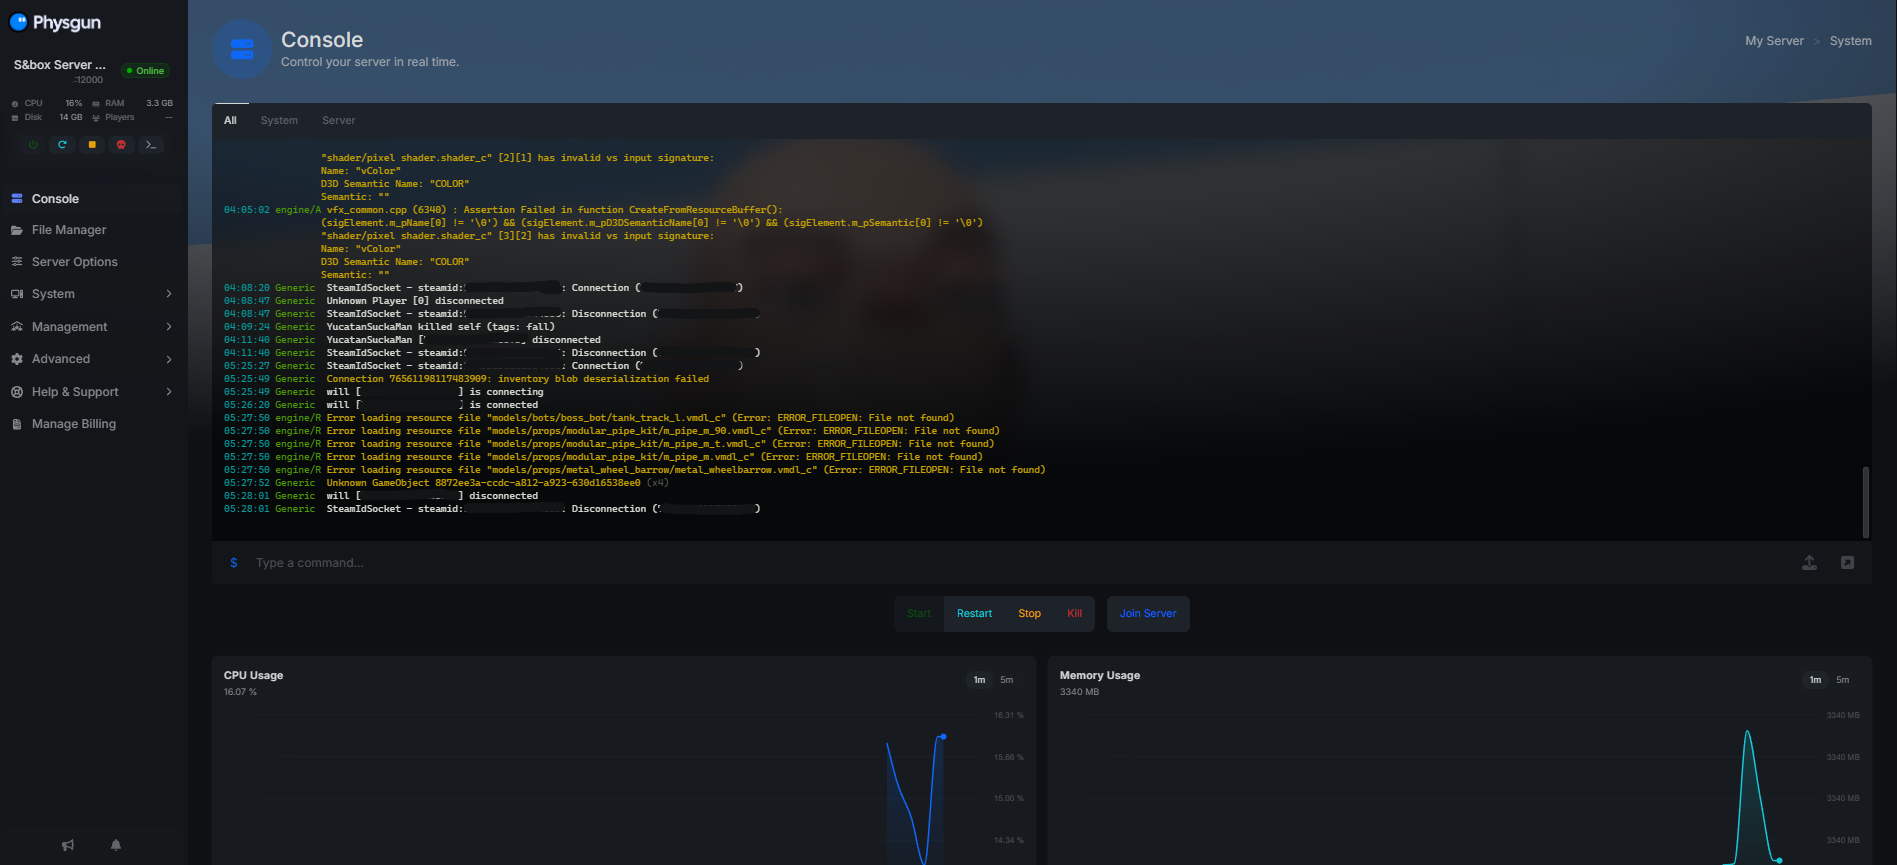
- Login to the Gamepanel: After deployment is finished, head over to the Physgun GamePanel. There, you will see your S&Box server ready to manage! Physgun’s modern gamepanel allows you to click to change settings like the server name or max players, without ever touching a config file!
- Modify Server Settings: With the Server Options, you can update your server’s name, game mode, and more.
- Find Ip Address and Port: At the top left of the Physgun GamePanel, you can find your server’s IP and Port
- Need more help? Check out our S&Box Server Hosting Guides!
Making A S&Box Server On A VPS
Running a dedicated S&Box server on a VPS or Windows system requires manual setup but gives you complete control over the process.
To create a S&Box server on VPS or self-hosting:
-
Make sure your system meets the minimum requirements for hosting a S&Box server.
- Running a S&Box server currently requires a Windows machine to run
-
Download SteamCMD, place it in a secure location where you would like to run your server from, and open the steamcmd.exe file.
-
Once SteamCMD is running, then you can download the S&Box dedicated server software:
login anonymous force_install_dir sboxserver app_update 1892930 validate quit -
Now, we can create the server’s startup script. Navigate to your server folder and create/edit the start.bat file:
sbox-server.exe +game facepunch.walker garry.scenemap +hostname My Dedicated Server- Make sure to save this file before continuing!
-
Double click on the run.bat file we just edited and your S&Box server will now start!
If you need more help with installing a dedicated S&Box server, be sure to check out the official Facepunch Documentation for S&box.