
Whitelisting a Rust server is the most reliable way to restrict access so only approved players can connect. This setup is commonly used for private servers, creator servers, testing environments, or communities that want full control over who is allowed to join.
In this guide, you will learn how to whitelist players on a Rust server using an Oxide whitelist plugin, how to enable whitelist mode, and how to add or remove users using the correct command syntax.
We will also cover how to whitelist players by Steam ID, manage permissions as an admin, and verify that blocked players cannot join while whitelisted users connect successfully through the game or console.
Note: You will need to have Oxide installed on your Rust server to use this guide.
Installing The Whitelist Plugin (Oxide Plugin)
Rust servers by default allow any users who find your server in the listing to join it and play. The Whitelist plugin allows you to regulate this. When the plugin is installed, your server will become locked to all players. Through configuration, you can choose who to allow onto your server using their Steam ID. This is extremely helpful for those who just want to play with their friends, have tighter security, or just want to temporarily private their server for updates or downtime.
To install the Whitelist plugin on your Rust server:
-
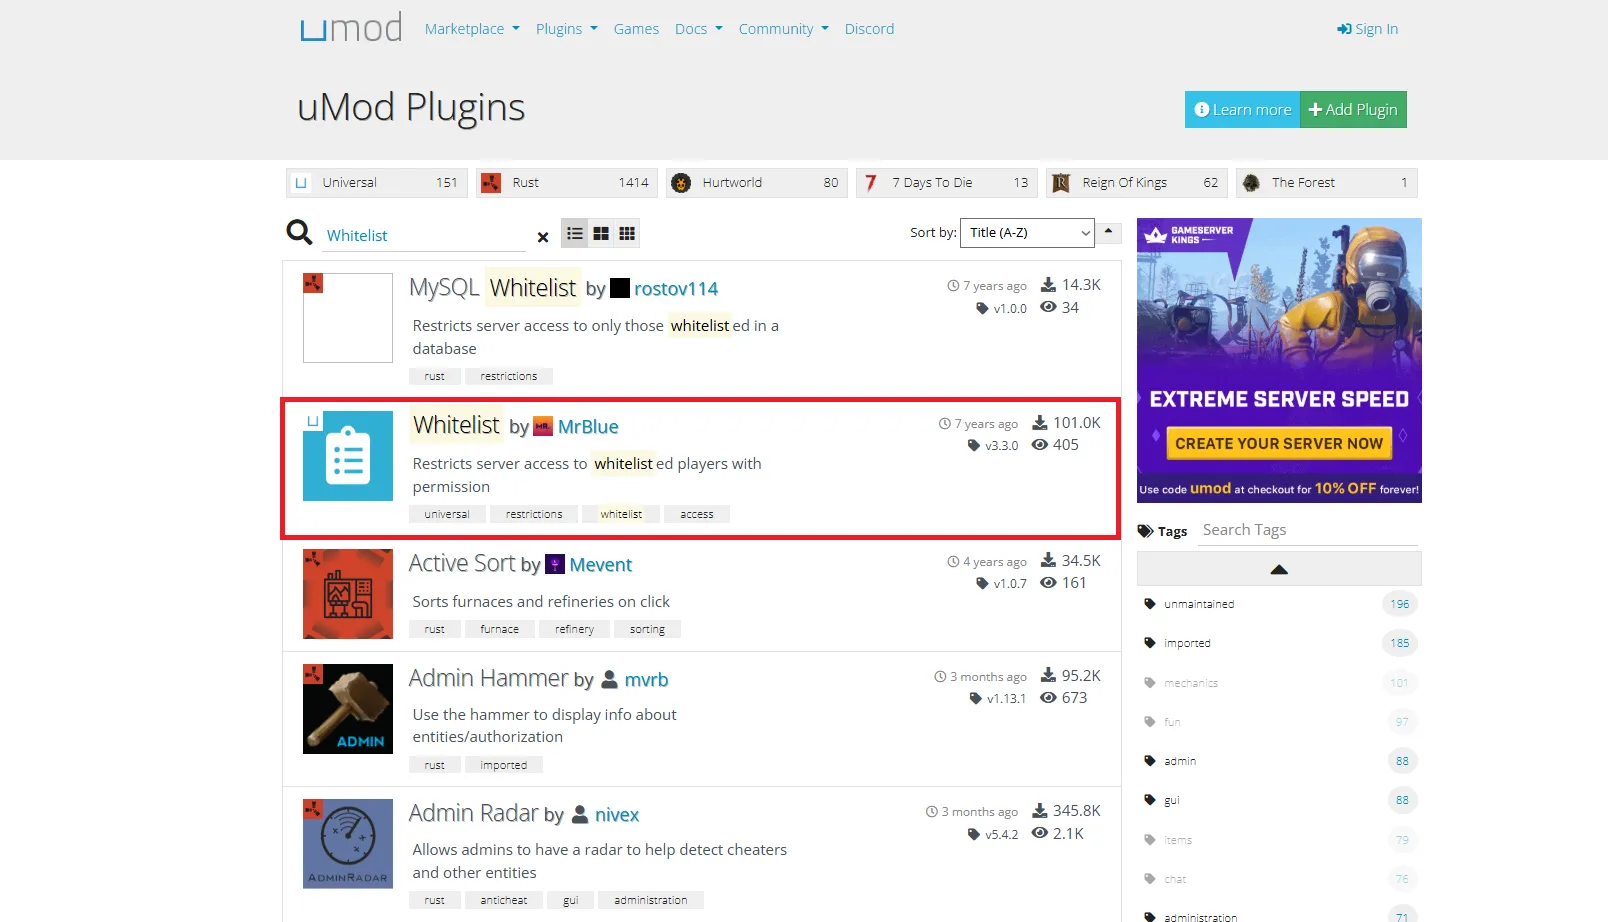
Visit the uMod website and search for “Whitelist” in the plugins tab.
-
Find the Whitelist plugin by MrBlue.
-
Click the Download button.
-
You should have received a file named Whitelist.cs.
-
Open your Physgun server panel and select the File Manager tab.
-
Open your plugins folder located in the oxide/plugins directory and upload Whitelist.cs to the folder.
-
Restart your server to allow the file to install.
-
You’re done with the installation!
Configuring The Whitelist Plugin
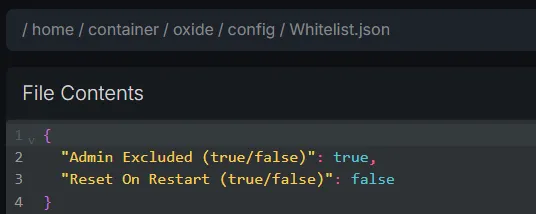
Once your server has restarted and the plugin has installed all of the necessary files, navigate to the oxide/config directory and open the Whitelist.json file. Here you will find the Admin Excluded and Reset on Restart options.
The Admin Excluded option determines whether or not admins should always be whitelisted to your server. The Reset on Restart option determines whether or not whitelists should be revoked after the server restarts.
You can also find another file under the oxide/lang/ directory. Here, you can add support for other languages, just in case it’s needed.
Adding Whitelisted Players
To add a whitelisted player on your Rust server:
-
Open your server console or press F1 while on your server.
-
Type in the following console command:
oxide.grant [user or group] [Name or Steam ID] whitelist.allow
// EXAMPLE: oxide.grant user CoolMan32 whitelist.allow- That’s it! You’ve successfully whitelisted a player to your server!
It’s important to note that some people get confused regarding Oxide’s grant command. The first argument asks if the target is an individual or a specific access group. The second argument asks for the name of the group or user or the user’s Steam ID.
Removing Whitelisted Players
To remove a whitelisted player on your Rust server:
-
Open your server console or press F1 while on your server.
-
Type in the following console command:
oxide.revoke [user or group] [Name or Steam ID] whitelist.allow // EXAMPLE: oxide.revoke user STEAM_0:0:123456789 whitelist.allow -
All done. Now you know how to remove someone’s access to your server!