
If you’re running a Rust server on shared hosting, updates are something you can’t ignore. Rust pushes frequent updates, with a major monthly update on the first Thursday, and servers that don’t update through their control panel quickly become outdated and unjoinable. This guide focuses specifically on how to update a Rust server in a shared hosting environment, without getting into dedicated or self-hosted setups.
Since everything with Physgun is handled through the hosting control panel, the update process is straightforward. You’ll stop the server, apply the Steam update, verify the installed version, and restart so players can connect again. We’ll also cover what to do with Oxide, Carbon, and plugins after a new Rust version goes live, since those are often what cause issues after an update.
Don’t host a Physgun server? Don’t worry, this guide will cover how to update your Rust server on a VPS as well.
Updating A Rust Server On A Physgun Server
To update a Rust server on a Physgun server:
-
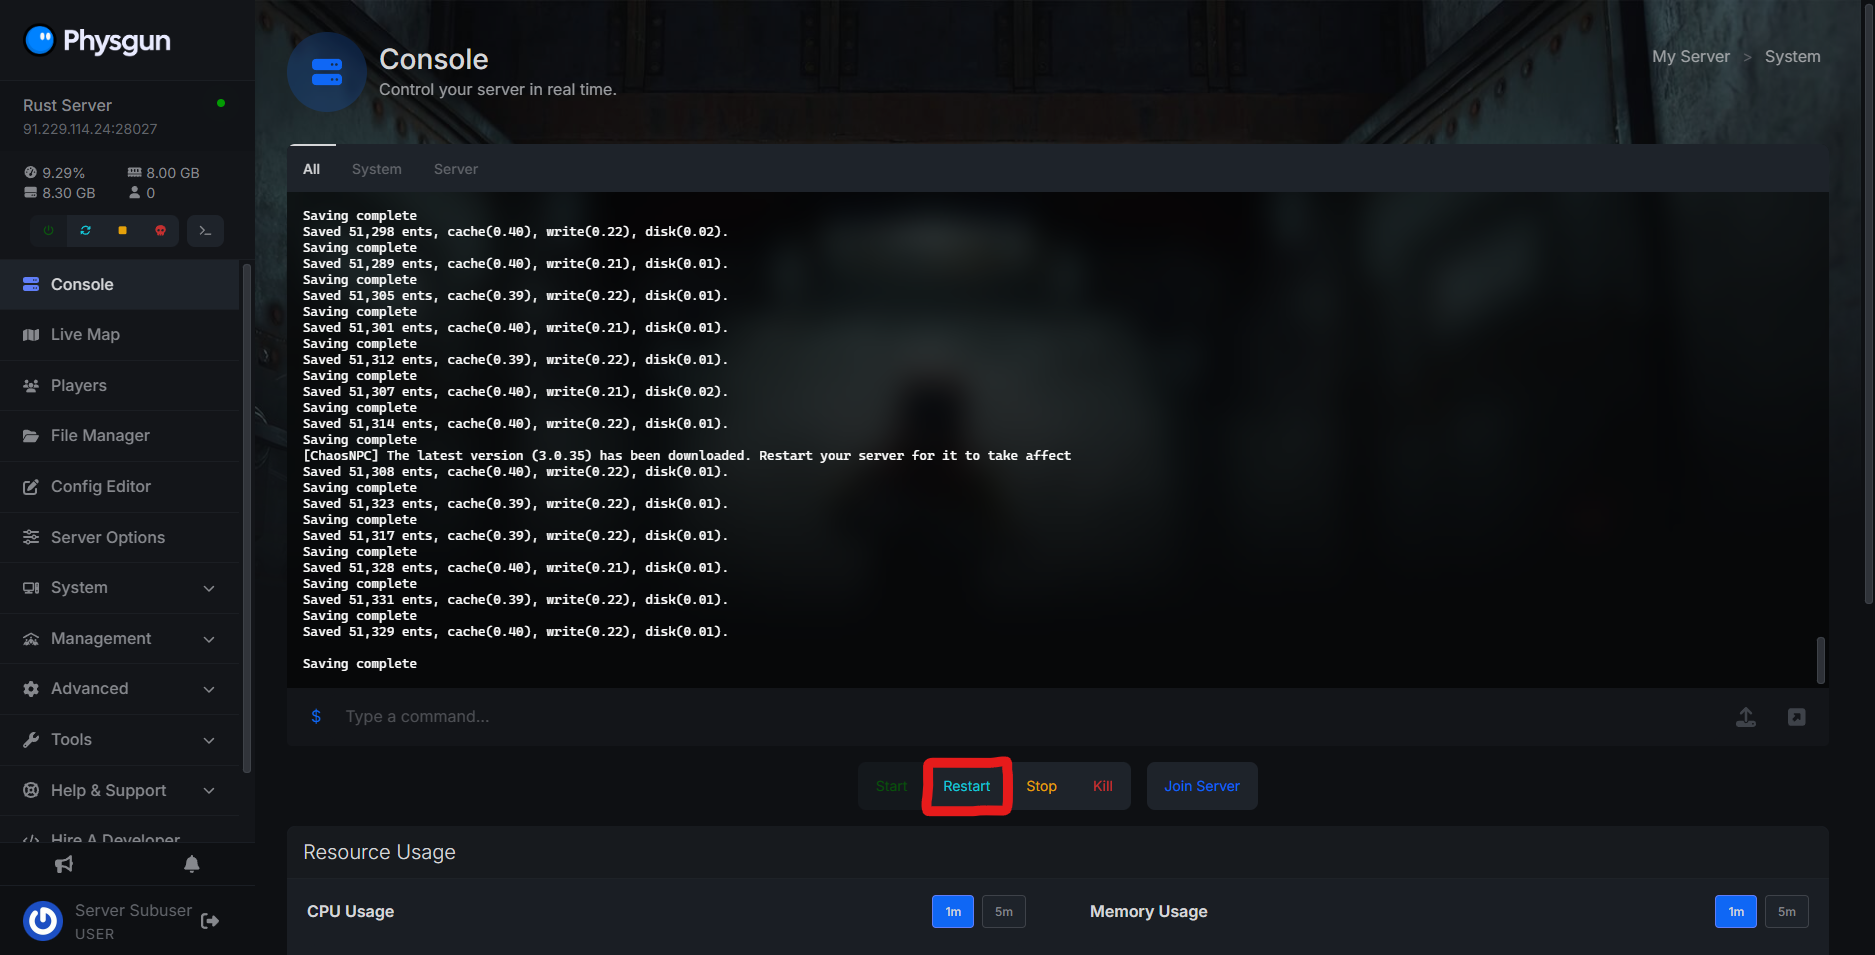
Start by accessing your Physgun server console.
-
Click the restart button on your server panel.
-
Wait for the server to reboot.
-
Connect to your Rust server and troubleshoot your plugins and any new features that have been added or changed in the update.
-
Now your server is all up to date with the latest version! Physgun automatically handles game and mod base updates for you, so server management isn’t a hassle. Not a Physgun client? Well, don’t worry! The rest of this guide will walk you through step-by-step on how to update a private server, too, to ensure any Rust server owner finds this answer helpful.
Updating A Rust Server On A VPS
To update a Rust server on a VPS:
-
The first step is to stop your VPS or dedicated Rust server.
-
Open SteamCMD. If you don’t already have SteamCMD, you can download it for Windows using this link.
-
Type “login anonymous” into the program.
-
Once you’re logged in, type the command: “force_install_dir” followed by the directory of your server’s main folder. Example: force_install_dir C:/serverstuff/myrustserver.
-
Now that SteamCMD knows where to install the update, type the command: “app_update 258550”. 258550 is the game ID for Rust.
-
SteamCMD will either tell you your server is already up to date, or it will begin downloading the newest game update onto your server. The update may take a few minutes or a few seconds to apply, depending on your internet connection, so sit tight and wait for it to complete.
-
Close SteamCMD using the quit or exit command to ensure it does so safely.
-
If you’re running a vanilla Rust server, that’s the final step! Your Rust update is installed, and no other actions are needed. If your server is running a mod base, proceed to the next step.
-
Download the newest version of Oxide or Carbon onto your server.
-
After you’ve downloaded the latest version of your mod base, install it by replacing your old mod base folder with the one you downloaded.
-
Start your server using your console or by running the batch file.
As a server owner, it’s crucial to note that you make sure your server is up to date with Rust changes to avoid downtime, player uproar, security risks. Rust performs routine changes and hotfixes on the first Thursday of every month, along with routine wipes of official servers.