Getting players to vote for your server on a Minecraft server list is one of the most effective ways to grow, but it only works if Votifier is set up correctly to receive and process those votes. The plugin acts as a listener — when a player votes on a listing website, that site sends a signal to your server’s Votifier port, which triggers whatever vote rewards you’ve configured. The setup involves installing the plugins, editing config.yml, opening the right port, and connecting everything to your server listing.
You’ll need to be running Spigot, Bukkit, or any other server type that supports SpigotMC plugins.
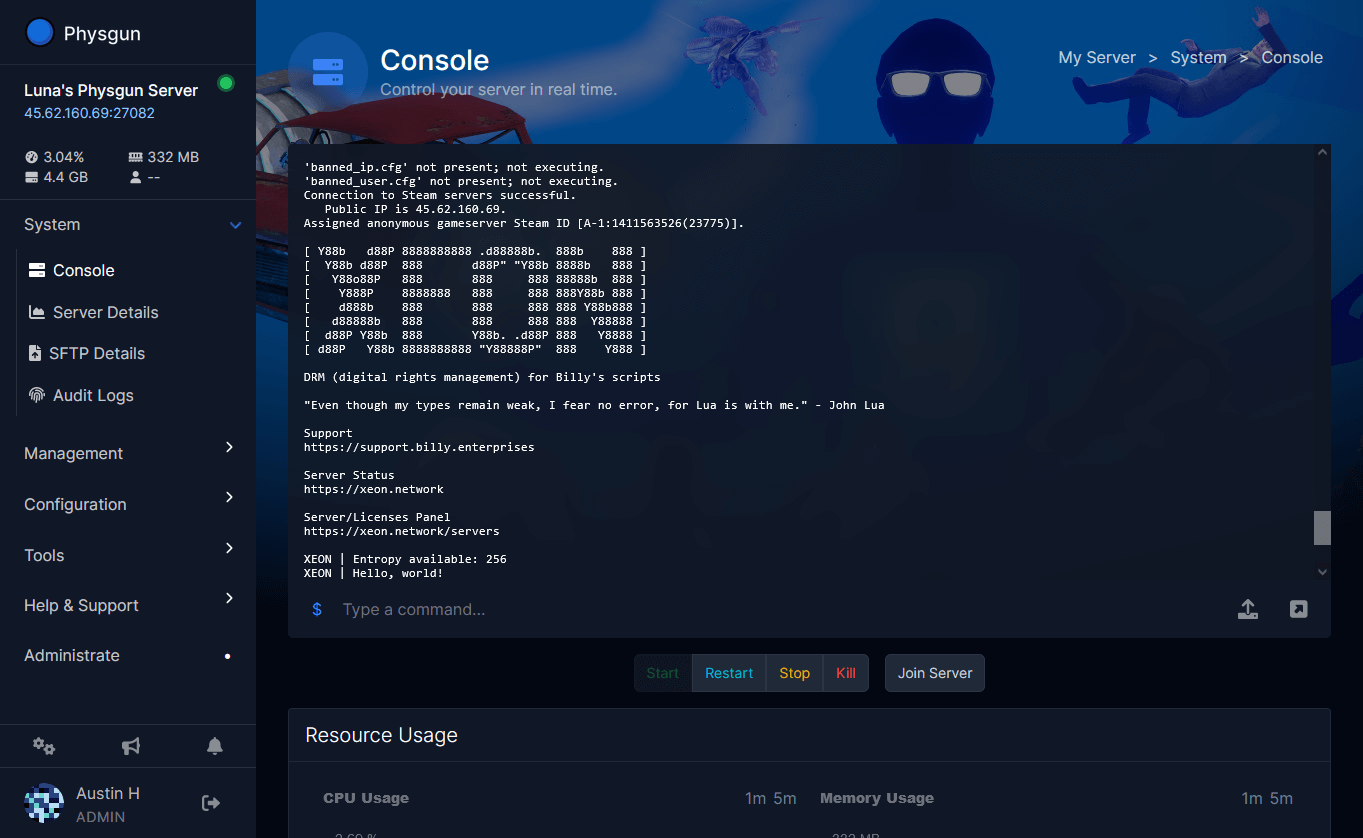
Need a server to set this up on? Physgun’s Minecraft server hosting includes a built-in plugin installer and full file manager access — getting NuVotifier running takes just a few minutes.
Step 1: Install NuVotifier & VotingPlugin
- Download the latest versions of NuVotifier and VotingPlugin from SpigotMC.
- Open your server files through your panel’s File Manager, an SFTP program, or your PC’s file explorer.
- Navigate to your plugins folder and paste both
.jarfiles in. - Restart your server to install the plugins.
Step 2: Set Up a Secondary Port
Once the server has loaded and generated the Votifier config, shut it back down and open the Votifier config file:
plugins/Votifier/config.ymlNote the port number (default: 8192) and host IP (default: 0.0.0.0). You can change the port if needed, but make sure whatever you use is opened on your server.
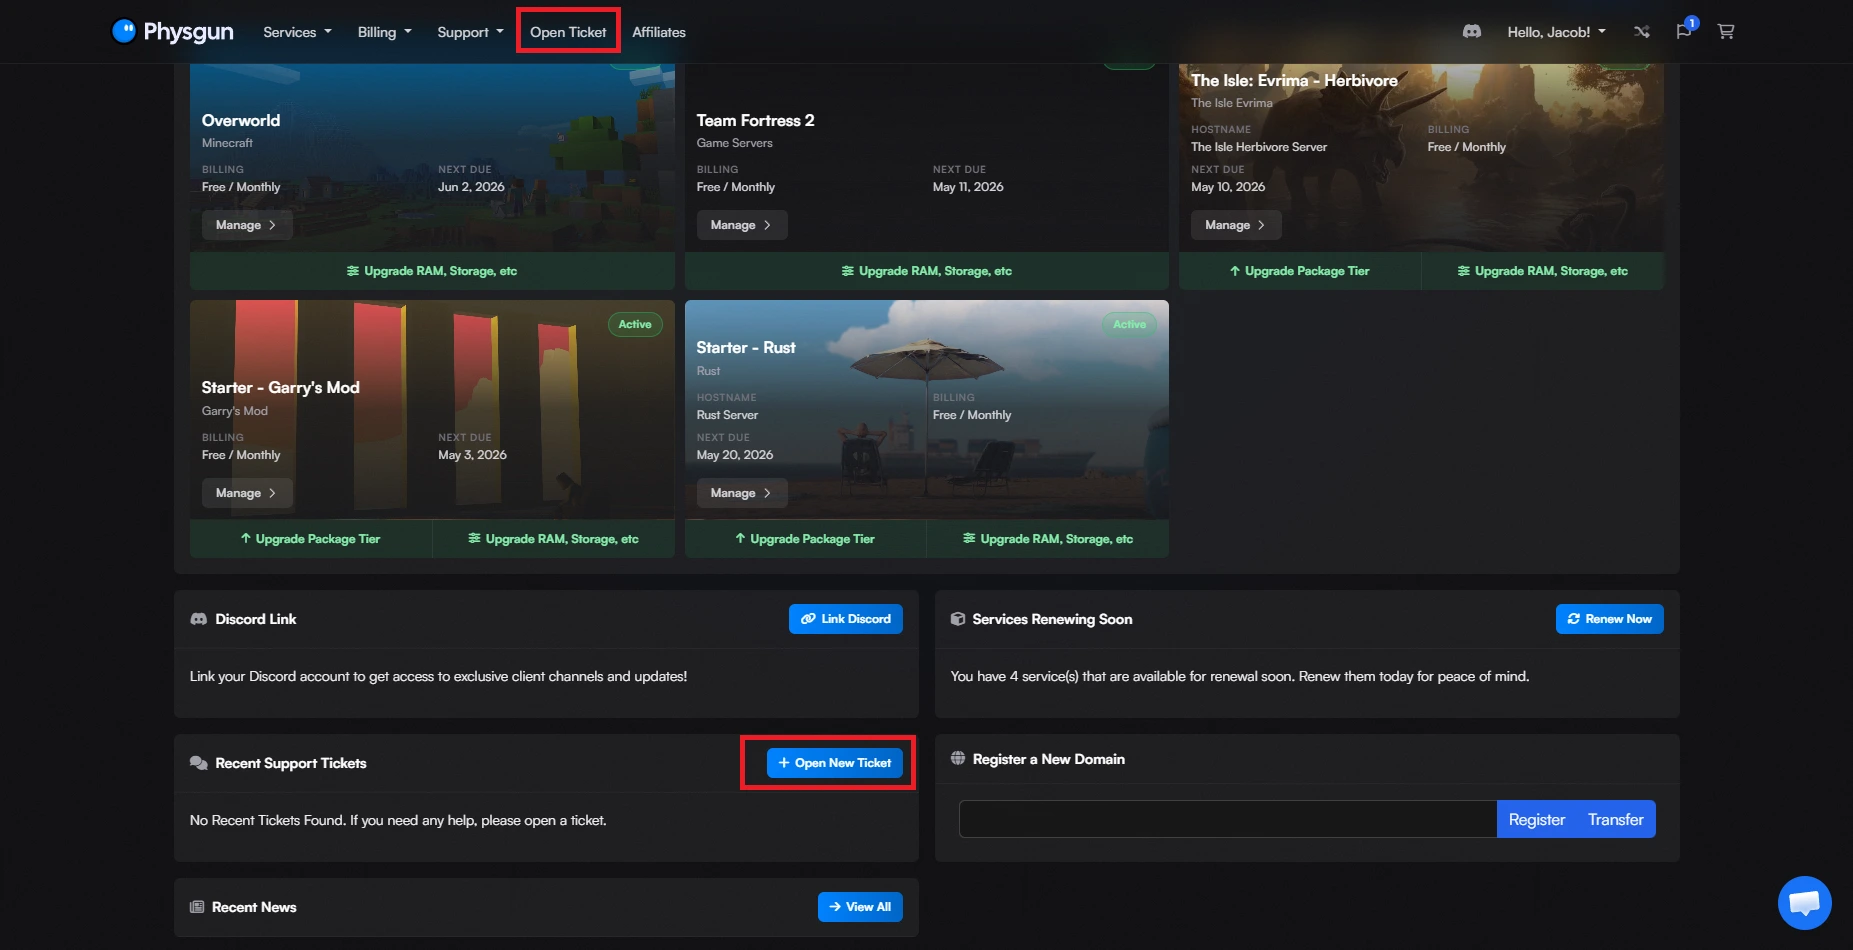
On Physgun: Open a support ticket through the billing portal under Minecraft Support and ask for a secondary allocation using your Votifier host IP and port. We’ll get it set up for you.
Self-hosted: Port forward the Votifier port on your router the same way you forwarded your Minecraft server port.
Step 3: Add Your Server to a Voting Site
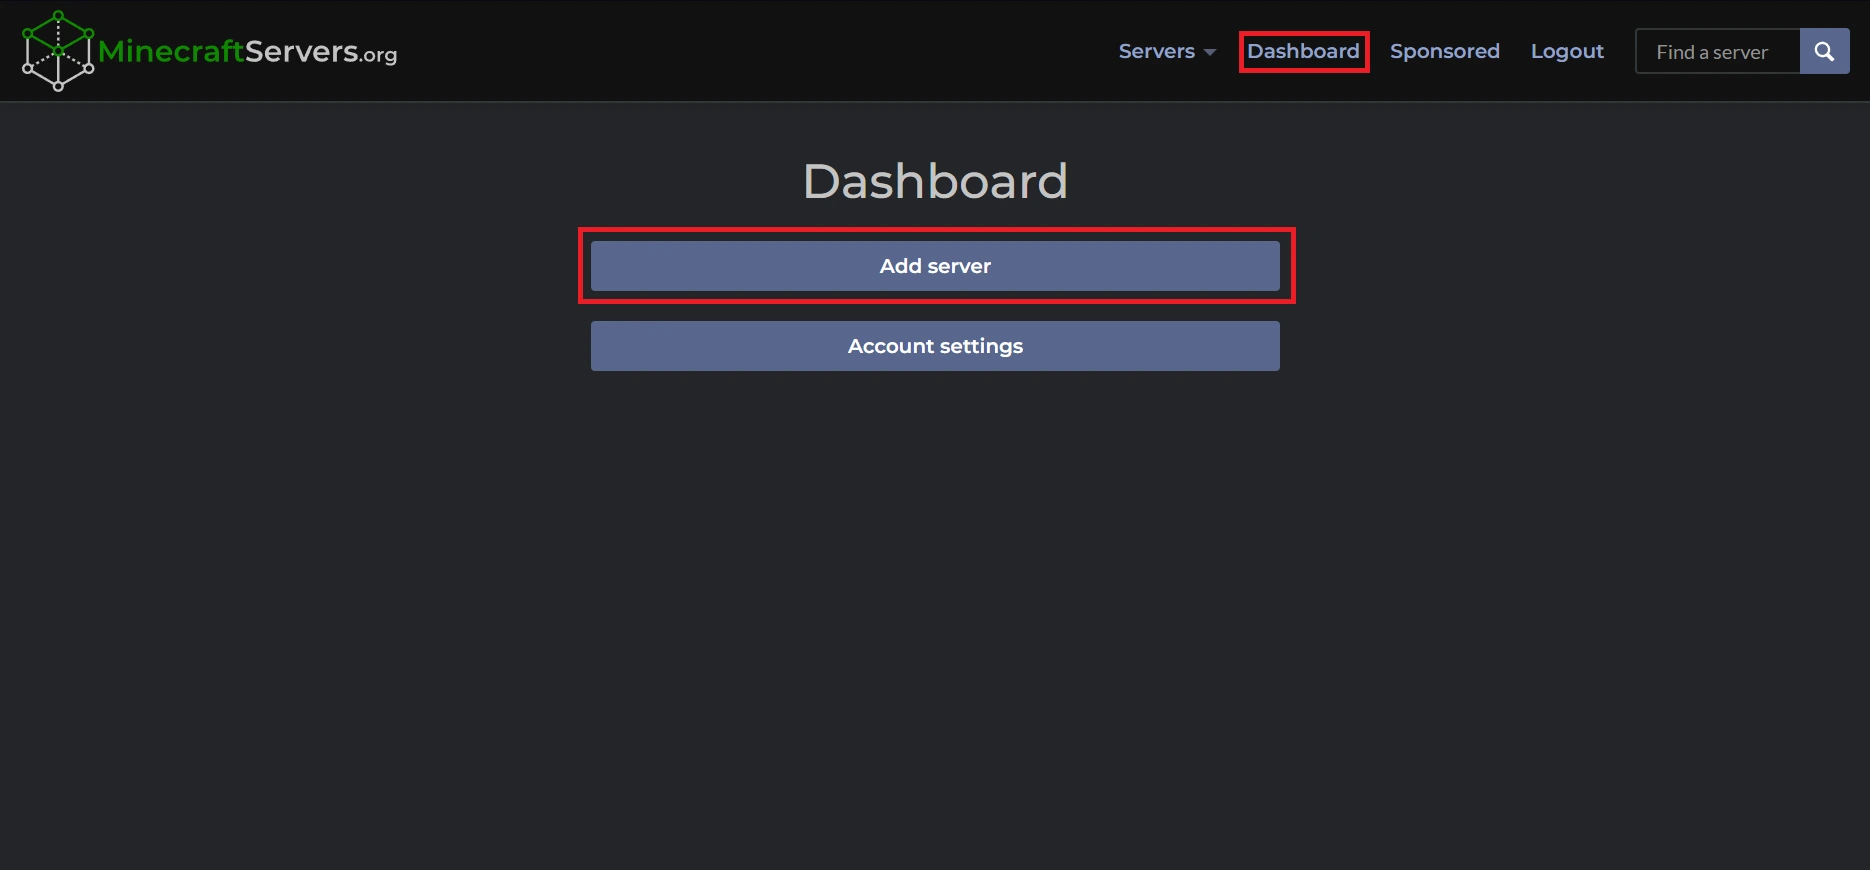
This example uses MinecraftServers.org, but the process is similar for any voting site. Research a few options to find the ones most relevant to your community.
-
Visit MinecraftServers.org and log in or create an account.
-
Go to your Dashboard and click Add Server.
-
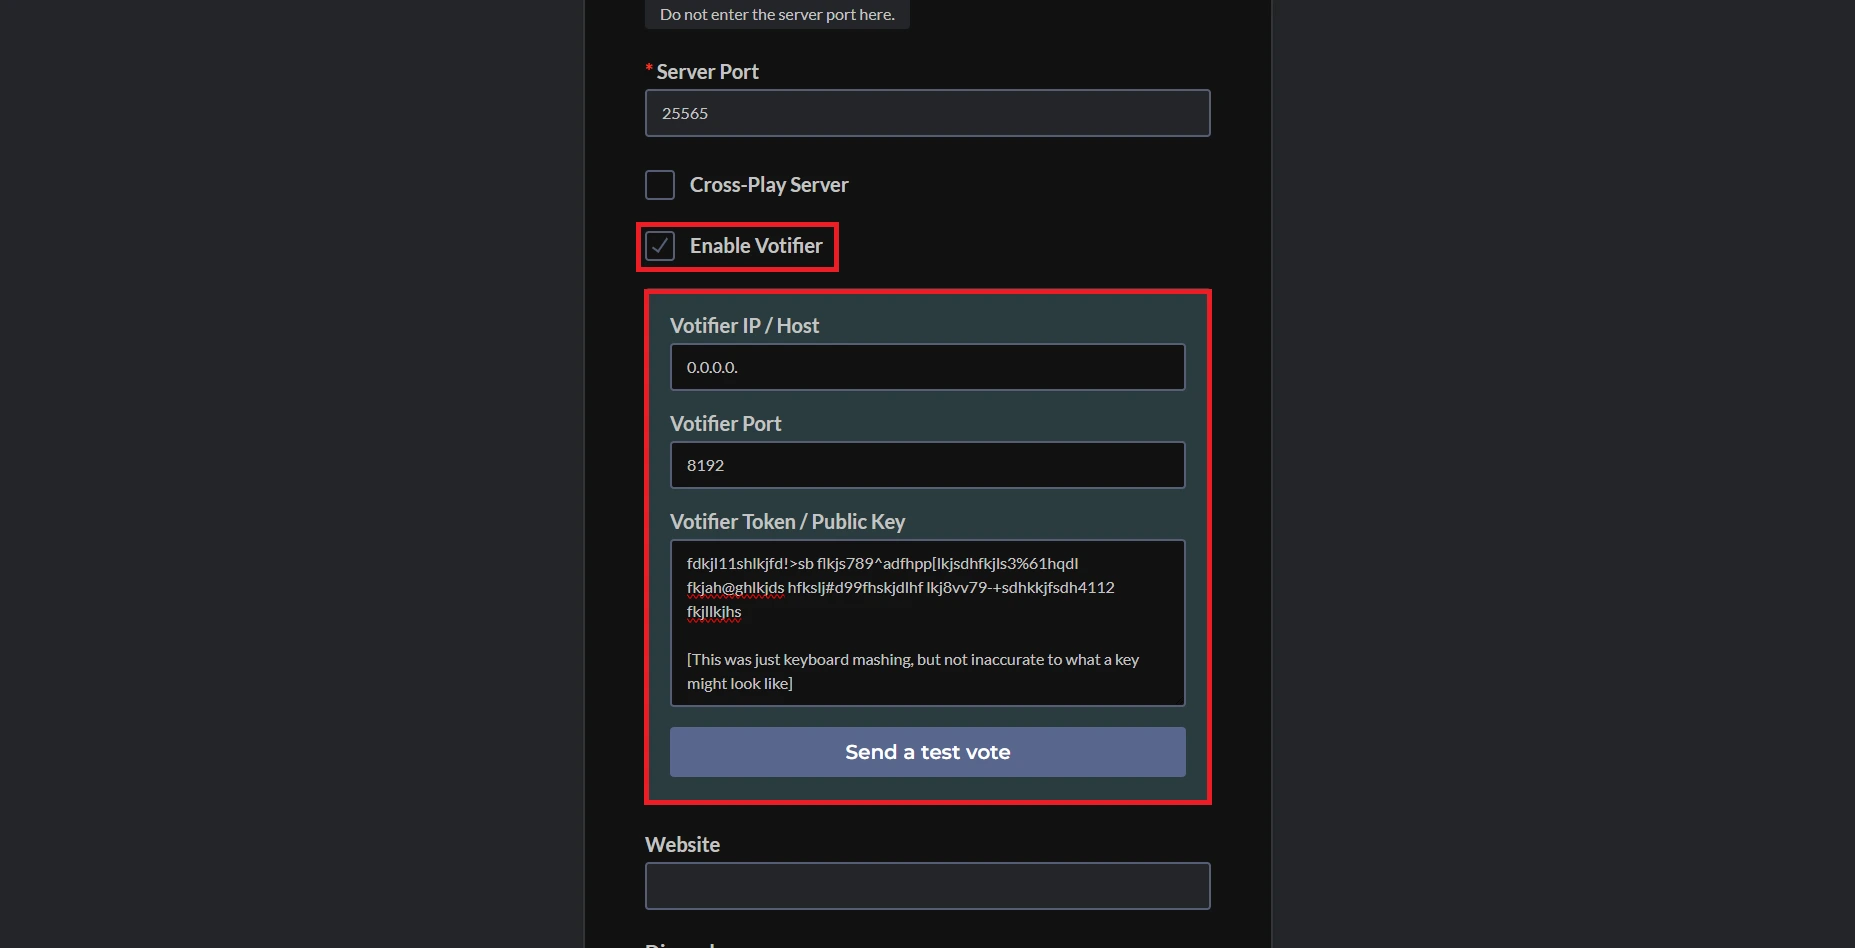
Fill in your server’s IP, port, description, and cosmetic options.
-
Check Enable Votifier.
-
Enter your Votifier host IP and port from
config.yml. -
To get your public key, open:
plugins/Votifier/rsa/public.keyCopy the full contents and paste them into the public key field on the site.
-
Click Add Server.
Step 4: Configure Vote Rewards
Open the VotingPlugin rewards config:
plugins/VotingPlugin/VoteSites.ymlReplace the example entry with your voting site’s details. Here’s a working example:
MinecraftServers:
  Enabled: true
  Name: 'MinecraftServers.org'
  Priority: 5
  ServiceSite: 'minecraftservers.org'
  VoteURL: 'https://minecraftservers.org/vote/123456'
  VoteDelay: 24
  WaitUntilVoteDelay: false
  ForceOffline: false
  Item:
    Material: 'DIAMOND'
    Amount: 1
  Rewards:
    Commands:
      Console:
      - 'give %player% minecraft:diamond 64'
      - 'give %player% minecraft:diamond_sword 1'
    Messages:
      Player: 'You voted! Have some diamonds!'
Read the comments in the example file carefully — each line has notes explaining what it controls.
Once saved, restart your server. Every vote submitted through your listing page will now trigger the rewards automatically.