Learning how to make a GMod server lets you create a custom Garry’s Mod server where you control the game mode, addons, maps, and who can join.
Whether you want a small server for friends or a full dedicated server for a growing community, the setup process follows the same core steps. In this tutorial, we will walk through how to create a GMod server, choose the right server hosting option, configure server settings, and manage server files using an intuitive interface.
You will also learn how GMod server hosting simplifies instant server setup, provides DDoS protection, and keeps your server data safe, compared to running a server on your own PC with SteamCMD.
By the end of this guide, you will understand how to set up a Garry’s Mod server, install mods and addons from the Steam Workshop, configure your server IP and slots, and get your game server online so other players can join and start playing.
Making A Garry’s Mod Server Through Physgun
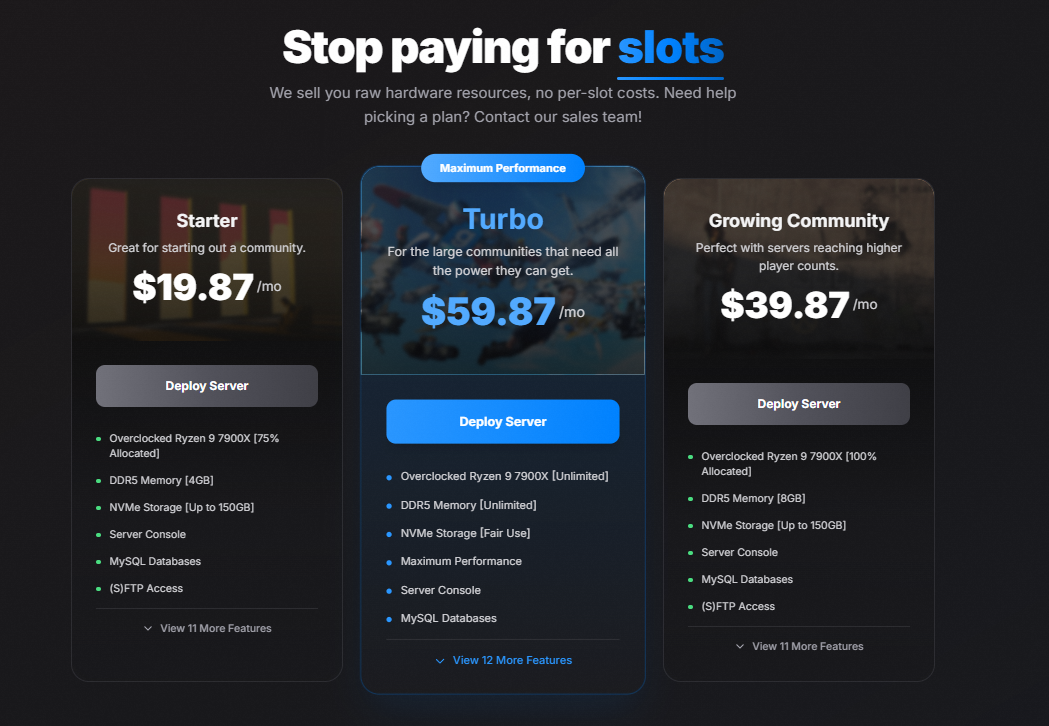
Physgun offers GMod server hosting plans that let you launch a server in minutes through a web panel. For example, the Starter” plan is great for beginners! It includes an overclocked CPU, 4 GB DDR5 RAM, and up to 150 GB NVMe SSD storage for just $19.87/mo. All plans come with features like DDoS protection, automatic backups, and no slot fees (unlimited player slots at no extra cost). Physgun sells raw hardware resources rather than per-player slots, so you can scale as big as you want (up to 128 players for free) without changing plans.
To Make a Garry’s Mod server through Physgun:
-
Sign up and order a GMod plan: You can do this through the Physgun Billing Portal or game hosting page and select a Garry’s Mod plan. Complete the checkout and your server will be automatically deployed! No need to manually download or configure anything.
-
Login to the Gamepanel: After deployment is finished, head over to the Physgun Gamepanel. There, you’ll see your GMod server ready to manage. Physgun’s modern gamepanel allows you to click to change settings like the hostname or max players, without ever touching config files!
-
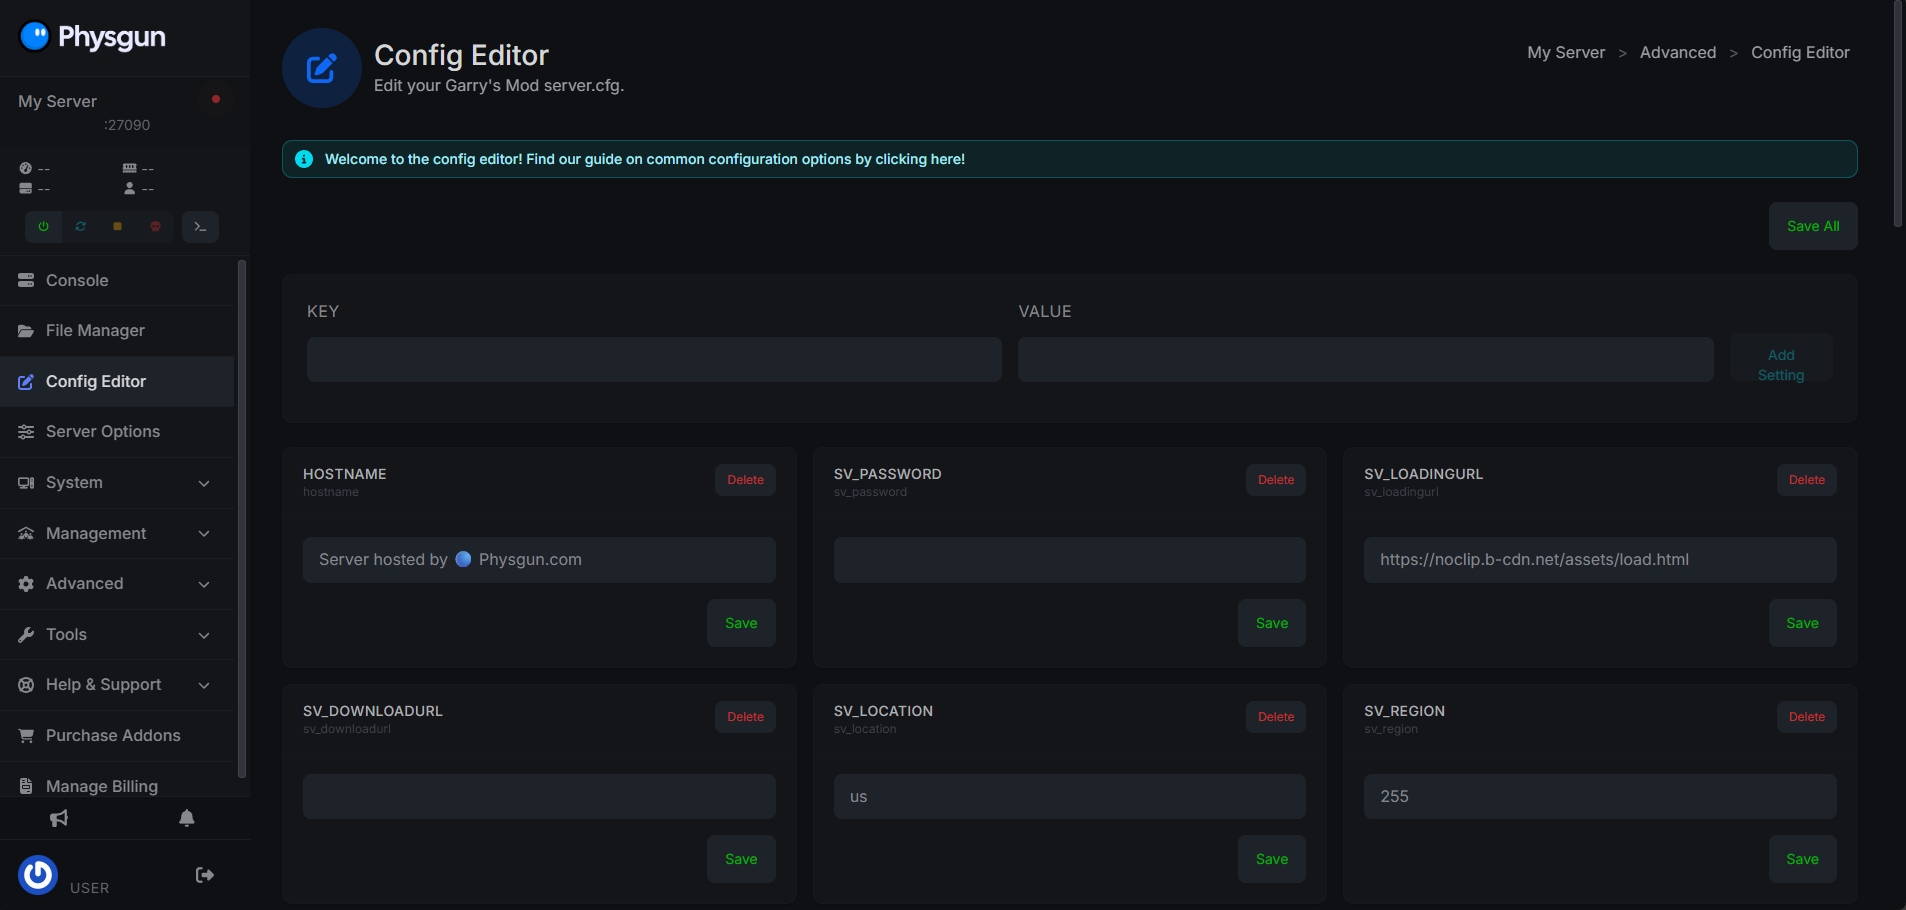
Modify Server Settings: Within the Server Settings + Config Editor, you can update your Server Name (Hostname) and Max Player (slots), as well as your default Game Mod (e.g. Sandbox, DarkRP, TTT) and Map. These can either be type into the settings tabs, or you can directly edit/upload the config files.
-
Find IP Address and Ports: At the top left of the Physgun Gamepanel, you can find your server’s IP and Port (for example 123.45.67.89:27015). You can share this with your friends or players to join your server, or they can find your server in the In-Game server browser.
- Thanks to Physgun’s Anycast network your server ping is globally low, and you get a boost on the server list!
-
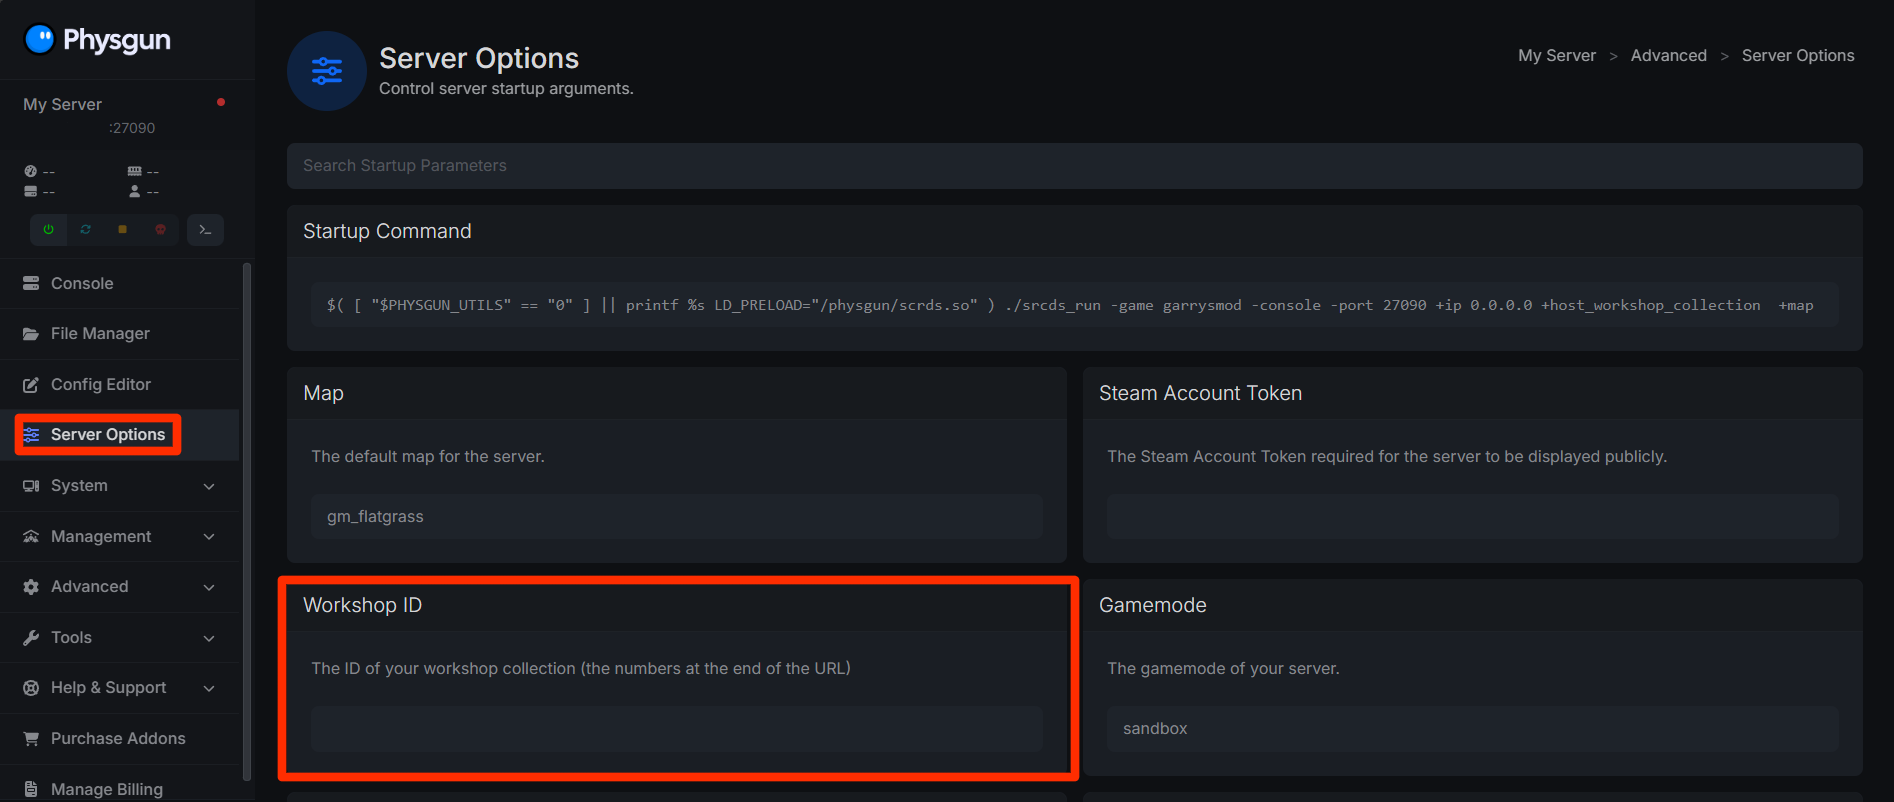
Adding Addons From The Workshop: Head to the Server Options tab on the left side nav bar and select it. Then, find the Workshop ID section. Here, you can add the ID for a workshop collection you have created on Steam!
- Use the numbers at the end of the steam workshop collection share link (e.g. If your Workshop collection share link is https://steamcommunity.com/sharedfiles/filedetails/?id=xxxxxxxxxx, you will only put xxxxxxxxxx into the Workshop ID section in the Server Options)
That’s all! You can now modify, start, join, and play your server however you please!
Need help with your Garry’s Mod server through Physgun? Contact our support team 24/7!
Making a Garry’s Mod Server Through a VPS
If you are hosting your GMod server on your PC, a dedicated server, or through a VPS, you can use SteamCMD to install the Garry’s Mod dedicated server files. This is Steams Command Line Interface that allows you to interact with steam servers through a command line or terminal.
What You’ll Need
-
Ubuntu 20.04+ (recommended)
-
Root or Sudo access
-
At least 2 CPU cores and 4 GB RAM
-
Open Ports and Firewall (GMod uses 21705 by default)
-
A user for the Garry’s Mod server
- It is
To Make A Garry’s Mod Server Through A VPS:
-
Prepare your server by installing the required dependencies:
sudo apt update && sudo apt upgrade -y
sudo dpkg --add-architecture i386
sudo apt install lib32gcc-s1 steamcmd -y
SteamCMD is required to download and update the Garry’s Mod files.
-
Create a folder for your server files:
mkdir ~/gmodserver cd ~/gmodserver -
Download the Garry’s Mod dedicated server:
steamcmd +login anonymous \
+force_install_dir ~/gmodserver \
+app_update 4020 validate \
+quit
This will install all required server files for Garry’s Mod.
-
Configure your server settings how you would like them by navigating to the config folder and editing server.cfg
cd ~/gmodserver/garrysmod/cfg
nano server.cfg
Example server.cfg:
hostname "My Linux GMod Server"
sv_lan 0
sv_password ""
rcon_password "changeme"

gamemode sandbox
This file controls your server’s name, access, and basic gameplay settings.
-
Open your firewall port for port 27015. On Ubuntu, this can be done via UFW:
sudo ufw allow 27015/udp sudo ufw allow 27015/tcp sudo ufw reload -
Start your Garry’s Mod Server with the following command:
./srcds_run -game garrysmod +map gm_construct +maxplayers 32- You can also create a file called something like start_server.sh in the same place you start the server form and add that command to the file then save it. Once you do that, run the .sh file you created and that will start your server instead.
If you want to change your server port or add a workshop collection, you can do this by modifying the startup command. For example:
./srcds_run -game garrysmod \
+map gm_construct \
+maxplayers 32 \
+sv_setsteamaccount YOUR_GSLT_HERE \
+host_workshop_collection 123456789 \
-port 27015
In the above example, you can modify the GSLT, workshop collection URL, and port just by changing the associated lines.
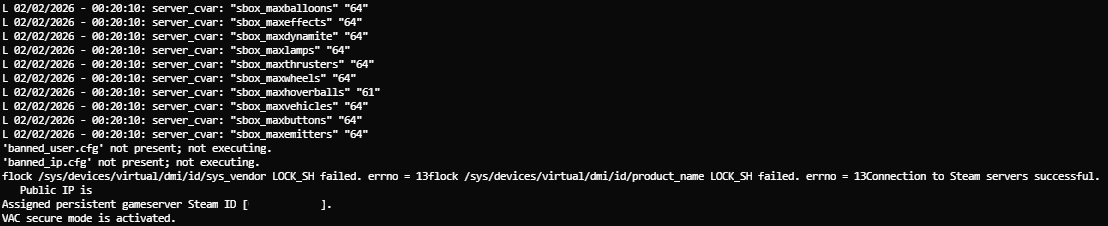
Once your GMod server is fully started, you can then join in game, either via the console, or the in-game server browser! You will know the server is fully started when you see “Connection to Steam servers successful.” and “Vac secure mode is activated”.