
If Rust loading screens are the part of the game you hate most, you’re not alone. Rust loading times can be long because the game has a heavy asset load step on your computer and then has to connect and sync with a rust server. The goal isn’t a single “magic setting”, it’s stacking a few simple steps that make rust load faster, reduce load times, and get you into the action with fewer slow load times.

Why Rust loading can be so slow
When users search “how to load into a rust server faster,” they’re usually fighting two bottlenecks: local loading performance (disk + CPU + RAM) and the final “server handshake” where the client receives data. The biggest time sink has historically been “Asset Warmup,” where Rust loads prefabs from disk and preprocesses them so they’re ready when you spawn, which improves in game performance once you’re actually moving.
Facepunch Studios has targeted this problem directly. In the August 7, 2025 “Harder Core” update, the developers reported up to 65% quicker loading from desktop to loading into a server after a major refactor of how assets load, plus roughly 10–20% lower memory usage (results vary by system). They also removed the old optimized loading toggle because the new method replaces it and can’t be switched off.
That’s why an “asset load skip” is usually a bad trade. Community discussions warn that skipping asset warmup can cause crashes and stutters and can show up as graphical errors or unloaded textures because you’re pushing that work into live gameplay instead of letting the loading process finish cleanly.

Join A Staging Branch Server Before Force Wipe For Faster Load Times
If your rust load is slowest on force wipe day, the staging branch trick is really about being updated early. Rust - Staging Branch is a separate build where new updates are tested before release.
Because monthly updates go live on a predictable Thursday schedule (Facepunch regularly references the “regular time” Thursday patch + wipe cadence), having Staging Branch already installed can mean you’ve already downloaded the latest version while other users are stuck updating the main game.
Two community tips that can help on busy servers:
Update Staging Branch ahead of time, then launch it right before wipe so you’re not downloading with everyone else.
Join a low-demand server first, then connect to your target server. Some rust players report it feels close to instant because common assets are already in memory for that session.
This won’t bypass queues, and it won’t fix a slow hard drive—but it can remove the “patch download + first load” bottleneck that makes wipe day feel like it takes forever.
Install Rust On An SSD, Not A Hard Drive
For most PCs, storage is the biggest hardware lever for load times. SSDs reduce loading time by improving disk read performance—exactly what games need when they’re reading thousands of assets.
Steam’s own listing is unusually direct about this: it says an SSD is highly recommended or you should expect longer than average load times, and the recommended notes say “SSD Required.”
A SATA SSD is already a big upgrade over an HDD for rust load faster; NVMe can be faster again, but the noticeable jump is usually “hard drive → solid state drive.”
If you need to move the game without a full re install rust, Steam supports moving an installed game to another drive using its built-in Move feature. That’s often the fastest way to install rust on the SSD without re-downloading everything.
Also double-check basics: have enough space. Rust currently lists about 45 GB storage, and updates need extra working room, so keeping enough space free helps keep installs, patching, and file operations from slowing down.
Change Your Game Settings
Game settings rarely cut raw loading screens time dramatically (that’s mostly disk + CPU), but they can reduce the “I’m in, but it’s hitching” phase that makes it feel like you’re still loading. Think of this as protecting smooth asset loading after you spawn, since fewer stalls means you’re playable sooner.
If you want a simple settings baseline that improves game performance on mid-range systems, the high-impact options are usually:
Lower shadow quality and reduce draw distance (both can be heavy on CPU/GPU).
Disable motion blur, lower anti aliasing, and turn off v sync if you need responsiveness and steadier frame pacing.
These tweaks won’t change your game files, but they can reduce stutters that feel like “loading” for the first few minutes (especially if your computer is tight on enough ram).
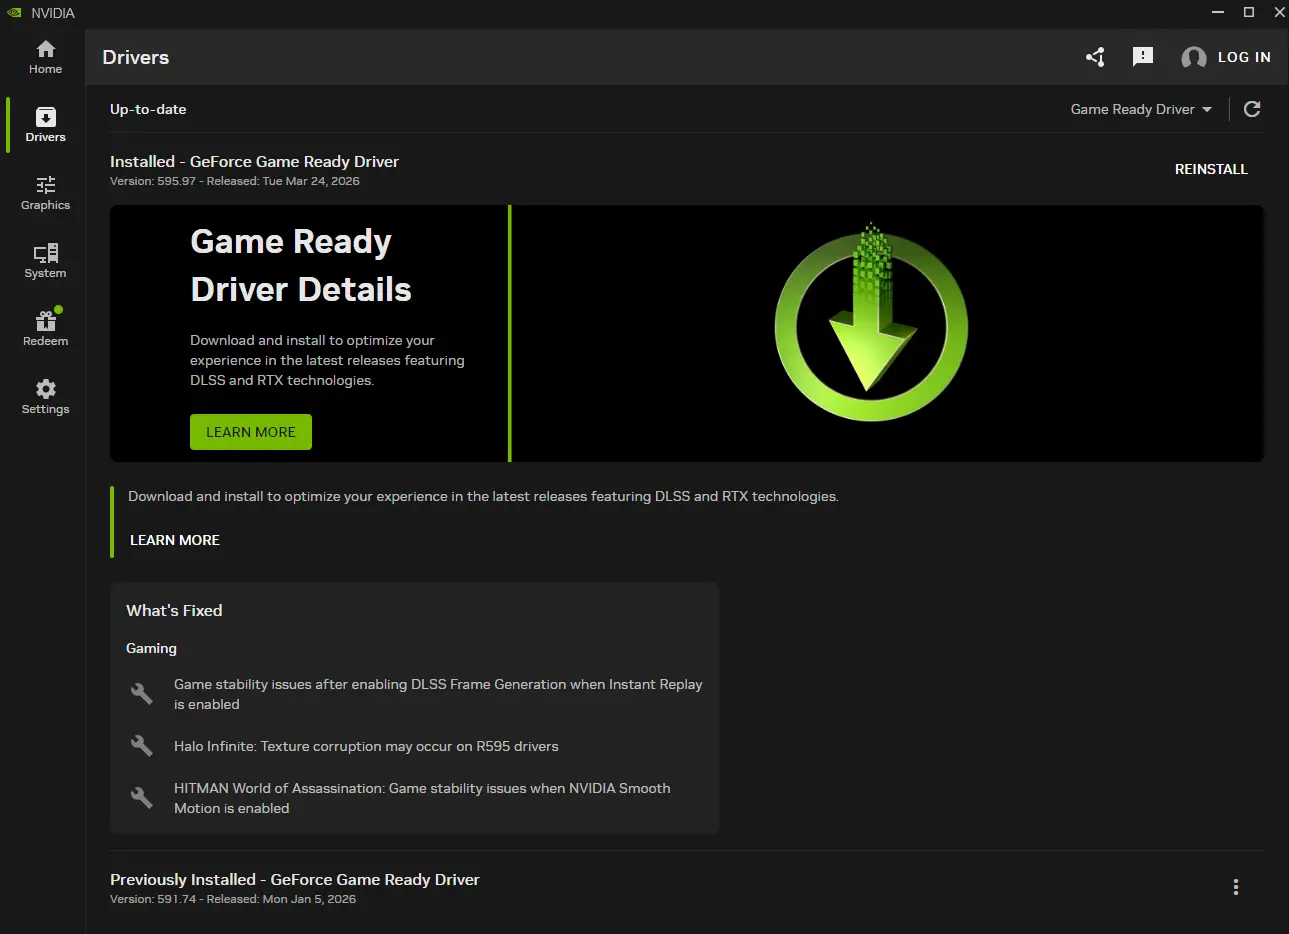
Updating Your Graphics Drivers
Outdated graphics drivers (graphics card drivers / GPU drivers) can cause performance issues that look like “Rust is loading wrong,” including crashing, stuttering, or rendering glitches after launching rust. Keeping drivers current is a free fix that removes a common source of instability.
Use official tools, not random download sites:
NVIDIA: get official GeForce drivers from NVIDIA and update via their documented driver tools.
AMD: AMD’s support docs cover installing/updating AMD Software: Adrenalin Edition on Windows.
Intel Arc: Intel provides official driver downloads and automatic update instructions in Arc Control.
Quick tip: the Windows search bar is the fastest way to open your vendor app (for example, search “AMD Software: Adrenalin Edition”), then check for updates.
Change Your Launch Options
Launch options can help troubleshooting, but they’re rarely the main reason rust loading times are slow. The safest approach is: keep launch options minimal, and remove old “tweak packs” that claim to optimize cpu threads unless you have a current reason to keep them—Rust’s loading system has changed a lot.
To set launch options correctly in the Steam client: open Steam → Steam library → right click Rust → Properties → General → Launch Options. Steam also documents using launch settings to address video/display problems, which is where launch options tend to be most useful.
If your current goal is “make rust load faster,” your best launch-options test is often cleanup: start with nothing, then only add options you can explain and measure.
Keep Your Game Files On The Latest Version
If load times suddenly spike or you start seeing crashes and odd behavior, assume it might be your game files. Rust gets frequent updates, and most servers require that your client matches the latest version before you can join.
The most reliable “fix” inside Steam is verifying files. In the Steam client: Steam Library → right click Rust → Properties → Installed Files tab (older guides may call this the local files tab) → Verify integrity of game files. Steam will scan and re-download missing or corrupted files.
If you’re still slow after that, check the system-level bottlenecks that commonly affect Rust:
RAM: Rust’s Steam listing currently calls for 12 GB minimum and 16 GB recommended; upgrading to more ram can be noticeable for overall gameplay experience and fewer stalls after load.
Background load: close unnecessary programs before launching rust so the game has enough ram and CPU headroom.
Network stability: if “receiving data” drags, wired Ethernet is typically more stable than Wi‑Fi and can reduce packet loss and lag spikes during server connections.
If none of this helps, a clean reinstall can still be a practical last resort (especially if your Steam install folders have been moved around repeatedly). If you do it, install Rust on the SSD, then verify afterward so you start from clean game files.